It’s no secret that I am a pretty darn crafty person and the wedding ended up being my perfect outlet and excuse for creating all things cute! I hated wedding planning. Hate, hate, hate… hated it! At every point along the year-long process it took to plan our wedding, I kept thinking it would get better and more enjoyable, and it never did. But if there was one thing that made the whole process tolerable, it was being able to put my creative talents to the test and make cute things for our special day.
Of course, the first details I created for the wedding were our wood-slice save the dates and our woodland-themed invites, because how can you have a party without first telling people about it.
After finishing with the save the dates and invites, I really began debating how much DIY madness and detail I wanted to incorporate into the wedding.
I initially thought that hiring a wedding planner with full planning services would get me a ticket to easy street for planning and designing a wedding. Seeing my wedding planner’s portfolio of gorgeous weddings made me think that she would come up with so many amazing details for our woodland wedding and we would just sit back and put our stamp of approval on everything.
As the wedding came closer and closer, we became very uncertain of this assumption. We had not heard much from our wedding planner when we were several months out from our wedding. We thought this because she was busy focusing on other weddings that were coming right up.
But as months turned into weeks, we still hadn’t heard from her about decor details she might be creating for our wedding, besides the floral design that we had clearly already contracted her out for. In fact, not only was she not working on any particular decor projects for our wedding, but it didn’t seem like she ever intended to.
We had assumed wrong. All those details we had seen in other weddings were likely the product of the bride and groom’s work. So I began to panic. Did I need to get my butt and gear to make sure we didn’t have a butt-naked wedding reception or did these details even matter? After all, I kept reminding myself that this wedding was all about us becoming husband and wife; not about having cute table numbers or matching hand-crafted cocktail signs.
But who was I kidding? If we were going to have a big party, we should do it right and do it in style.
In the meantime I began reading advice on wedding forums and blogs and many married women claimed that all the little details didn’t really matter in the end and most even went unnoticed. So should I even bother spending two hours wood-burning a cocktail menu onto a wood plank for the wedding?
The answer was yes. I ignored the advice that “details were not worth it” and “the party still went on without them” and listened to my inner crafty goddess. Haha! You know me!
I went all out when it came to DIYing the woodland-themed decor details because I wanted everything to tie in neatly together. Guests did indeed notice all the details I spent hours creating and some guests even had high expectations for what I would come up with and I wasn’t going to disappoint.
Welcome Bags
I had debated really hard and long on whether to do welcome bags because I knew it would be a huge task to take on and a very expensive one at that. But I couldn’t resist the opportunity to carry-on the playful woodland design from our invites throughout our entire wedding.
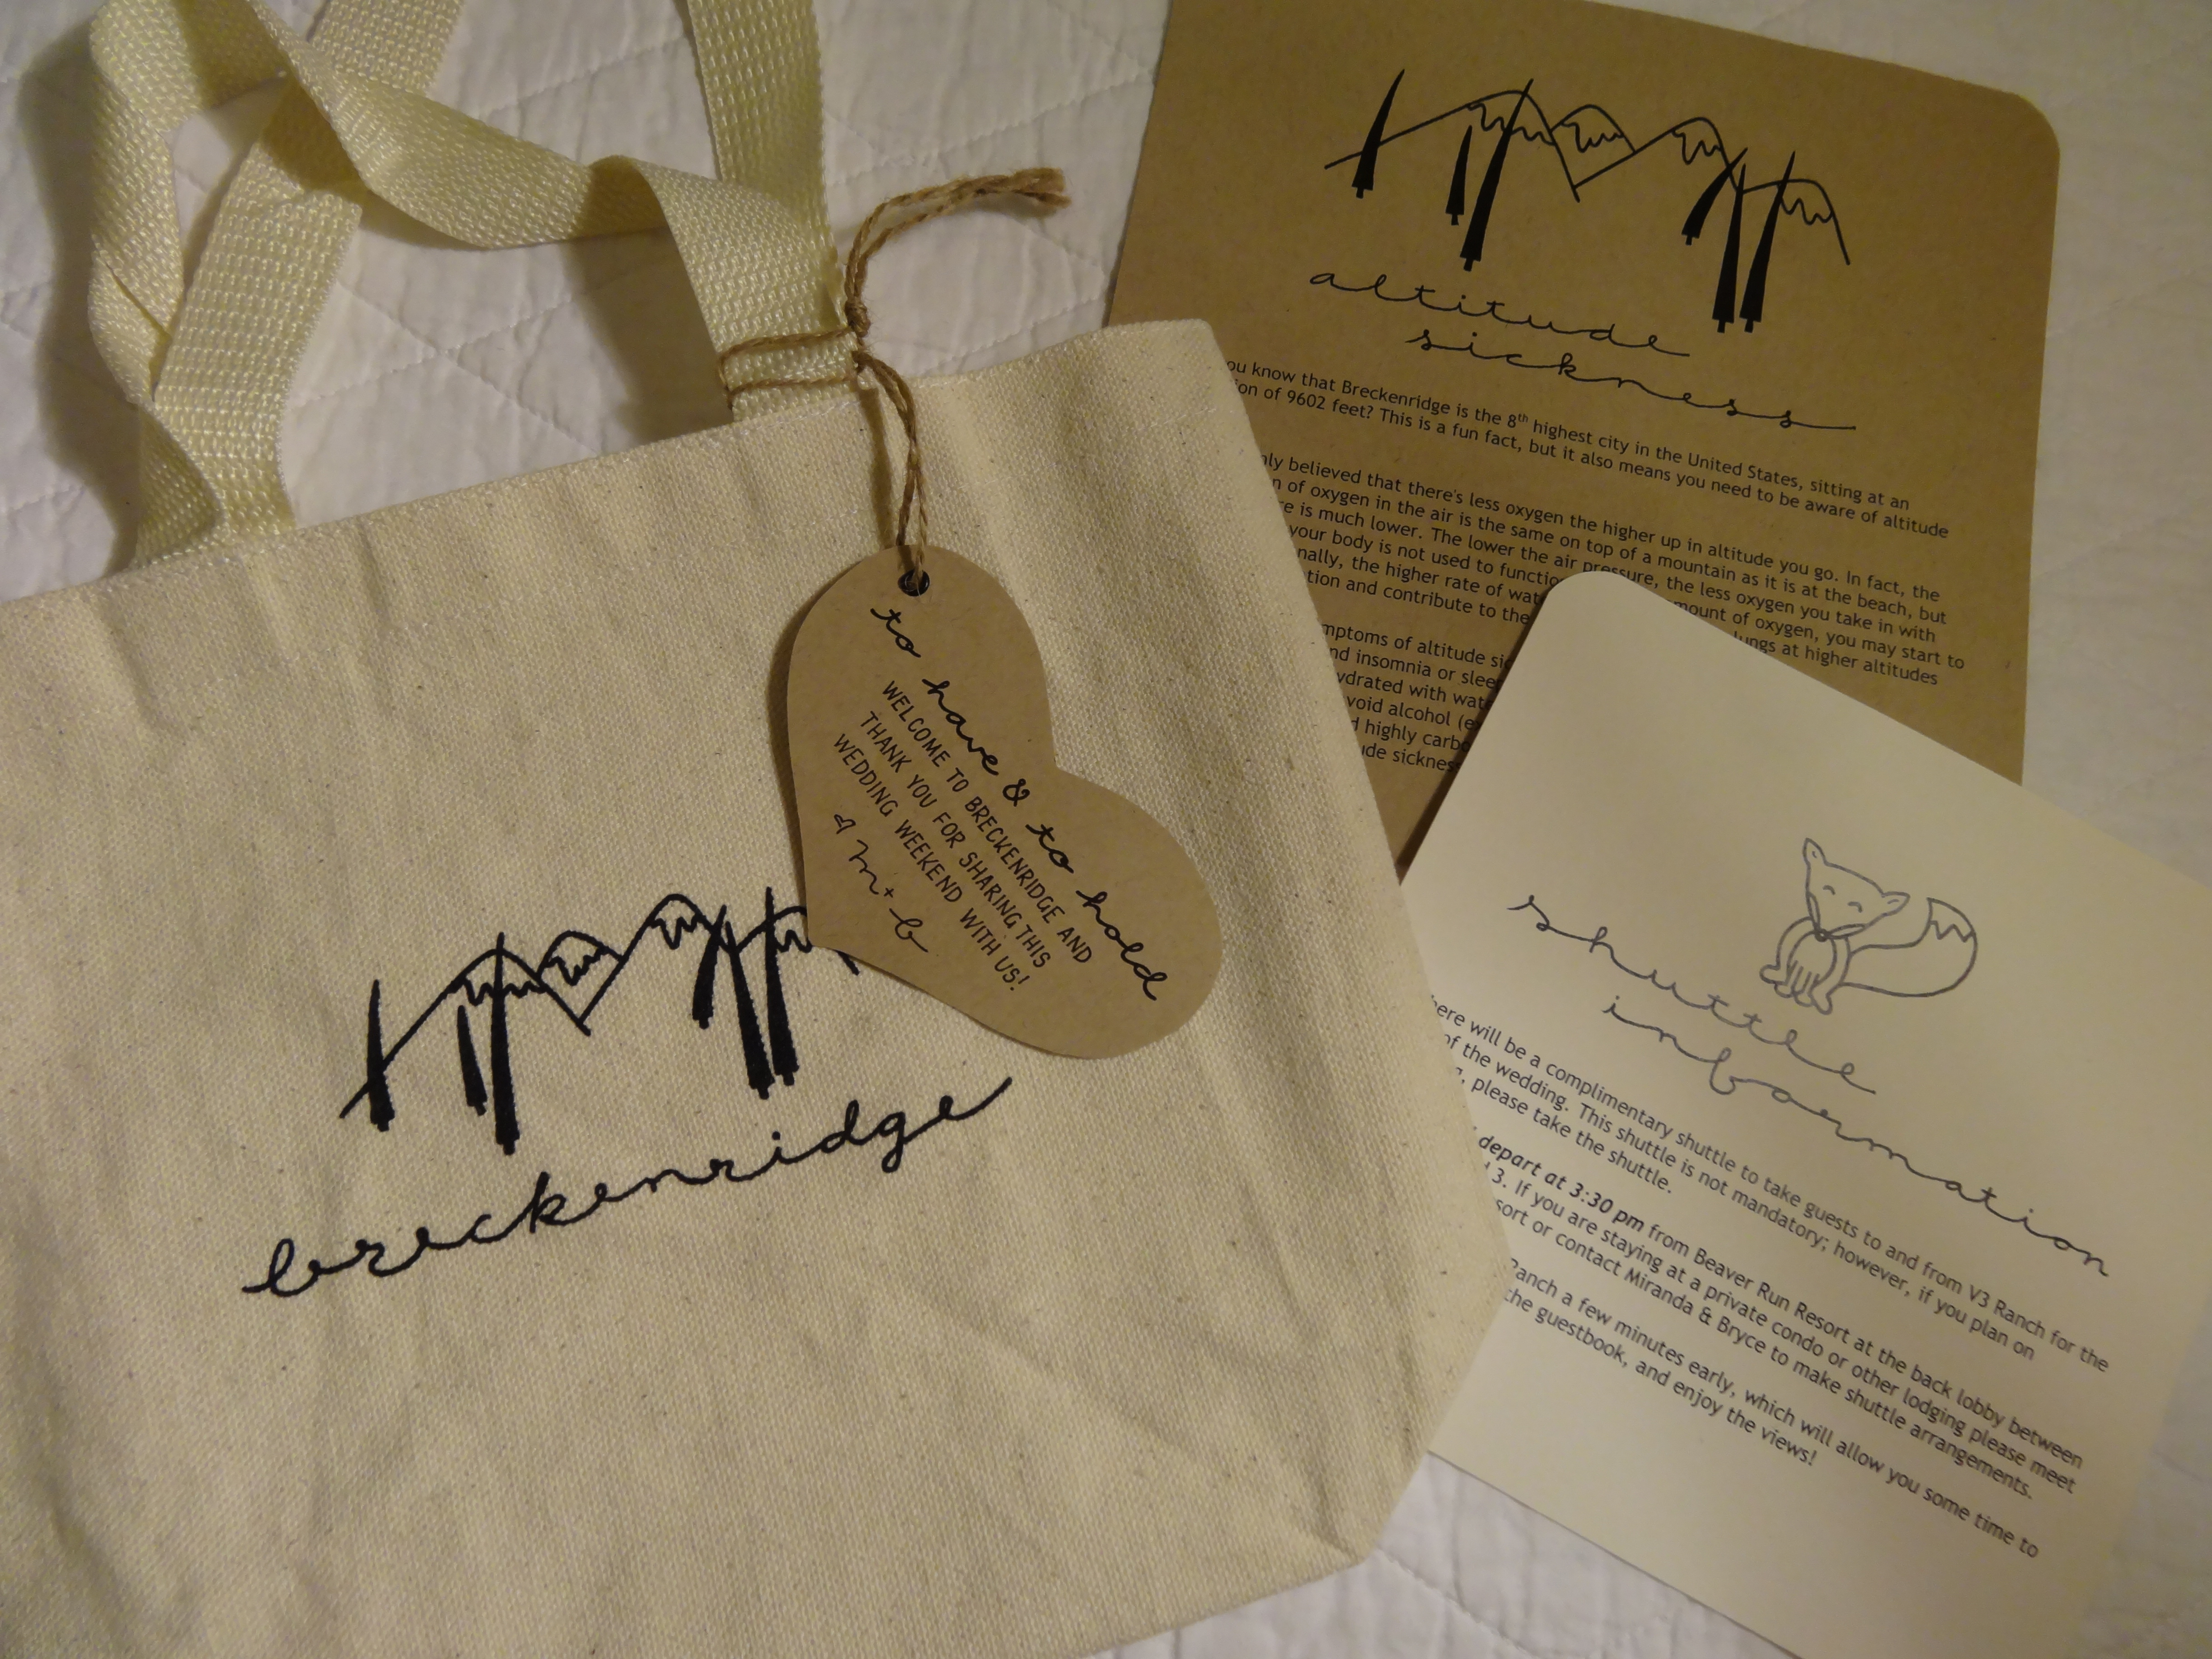
Furthermore, since all of our guests would be arriving from out-of-town, I thought it would be a nice, welcoming gesture for the guests to be greeted with a cute Breckenridge bag when they arrived.
With the permission of our Etsy seller who created the design for our wedding invites, I scanned in the mountain design and adorable fox and spent hours cleaning up the images on a paint program so they could be reprinted on stationary and small canvas bags I purchased from Hobby Lobby.
We had a local company do the screen-printing on the canvas bags, which costed about $3 a bag. We could have saved money and gone with paper bags, but we wanted an environmentally-friendly bag that guests could reuse over again. Inside the bag, we put snacks, chips, gatorade, and water (to keep our guests hydrated at Breck’s high altitude of 10,000 feet) and I created three inserts: one on altitude sickness, another on shuttle information, and lastly, a personalized thank you note (not pictured below).

Menus
Similar to the welcome bags, the menus became a great opportunity to re-use the mountain design featured on our invites. I created many versions of the calligraphy and design placement on the menus and it was several weeks before I had finally decided on the perfect menu… but not before creating 60 menus that I thought I was happy with and ended up scraping. Needless to say, by the end of this project, I had our menus memorized by heart.
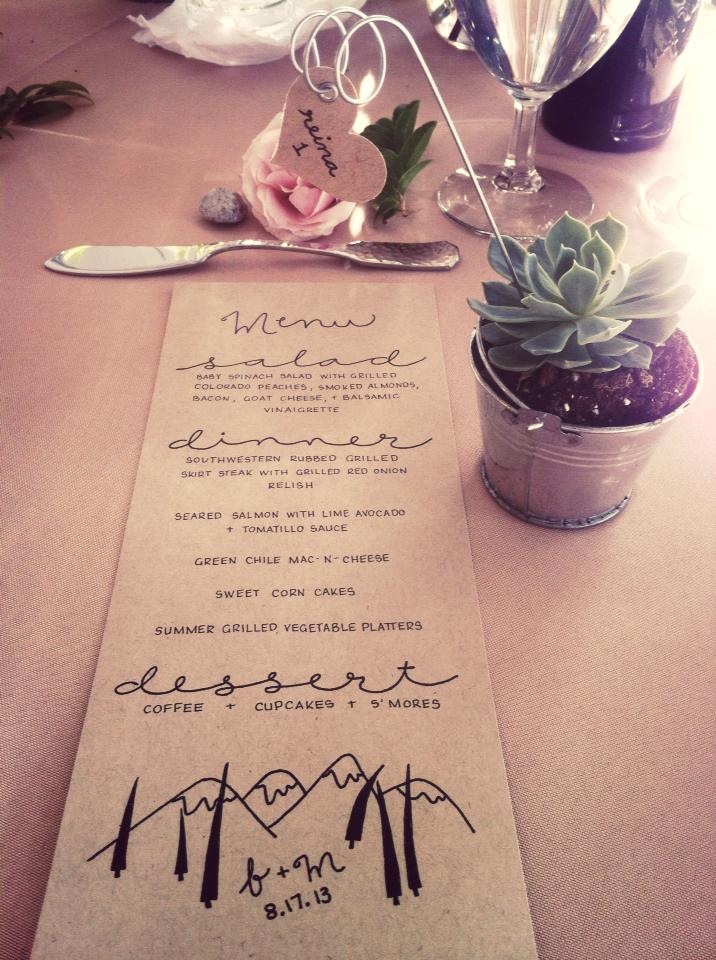
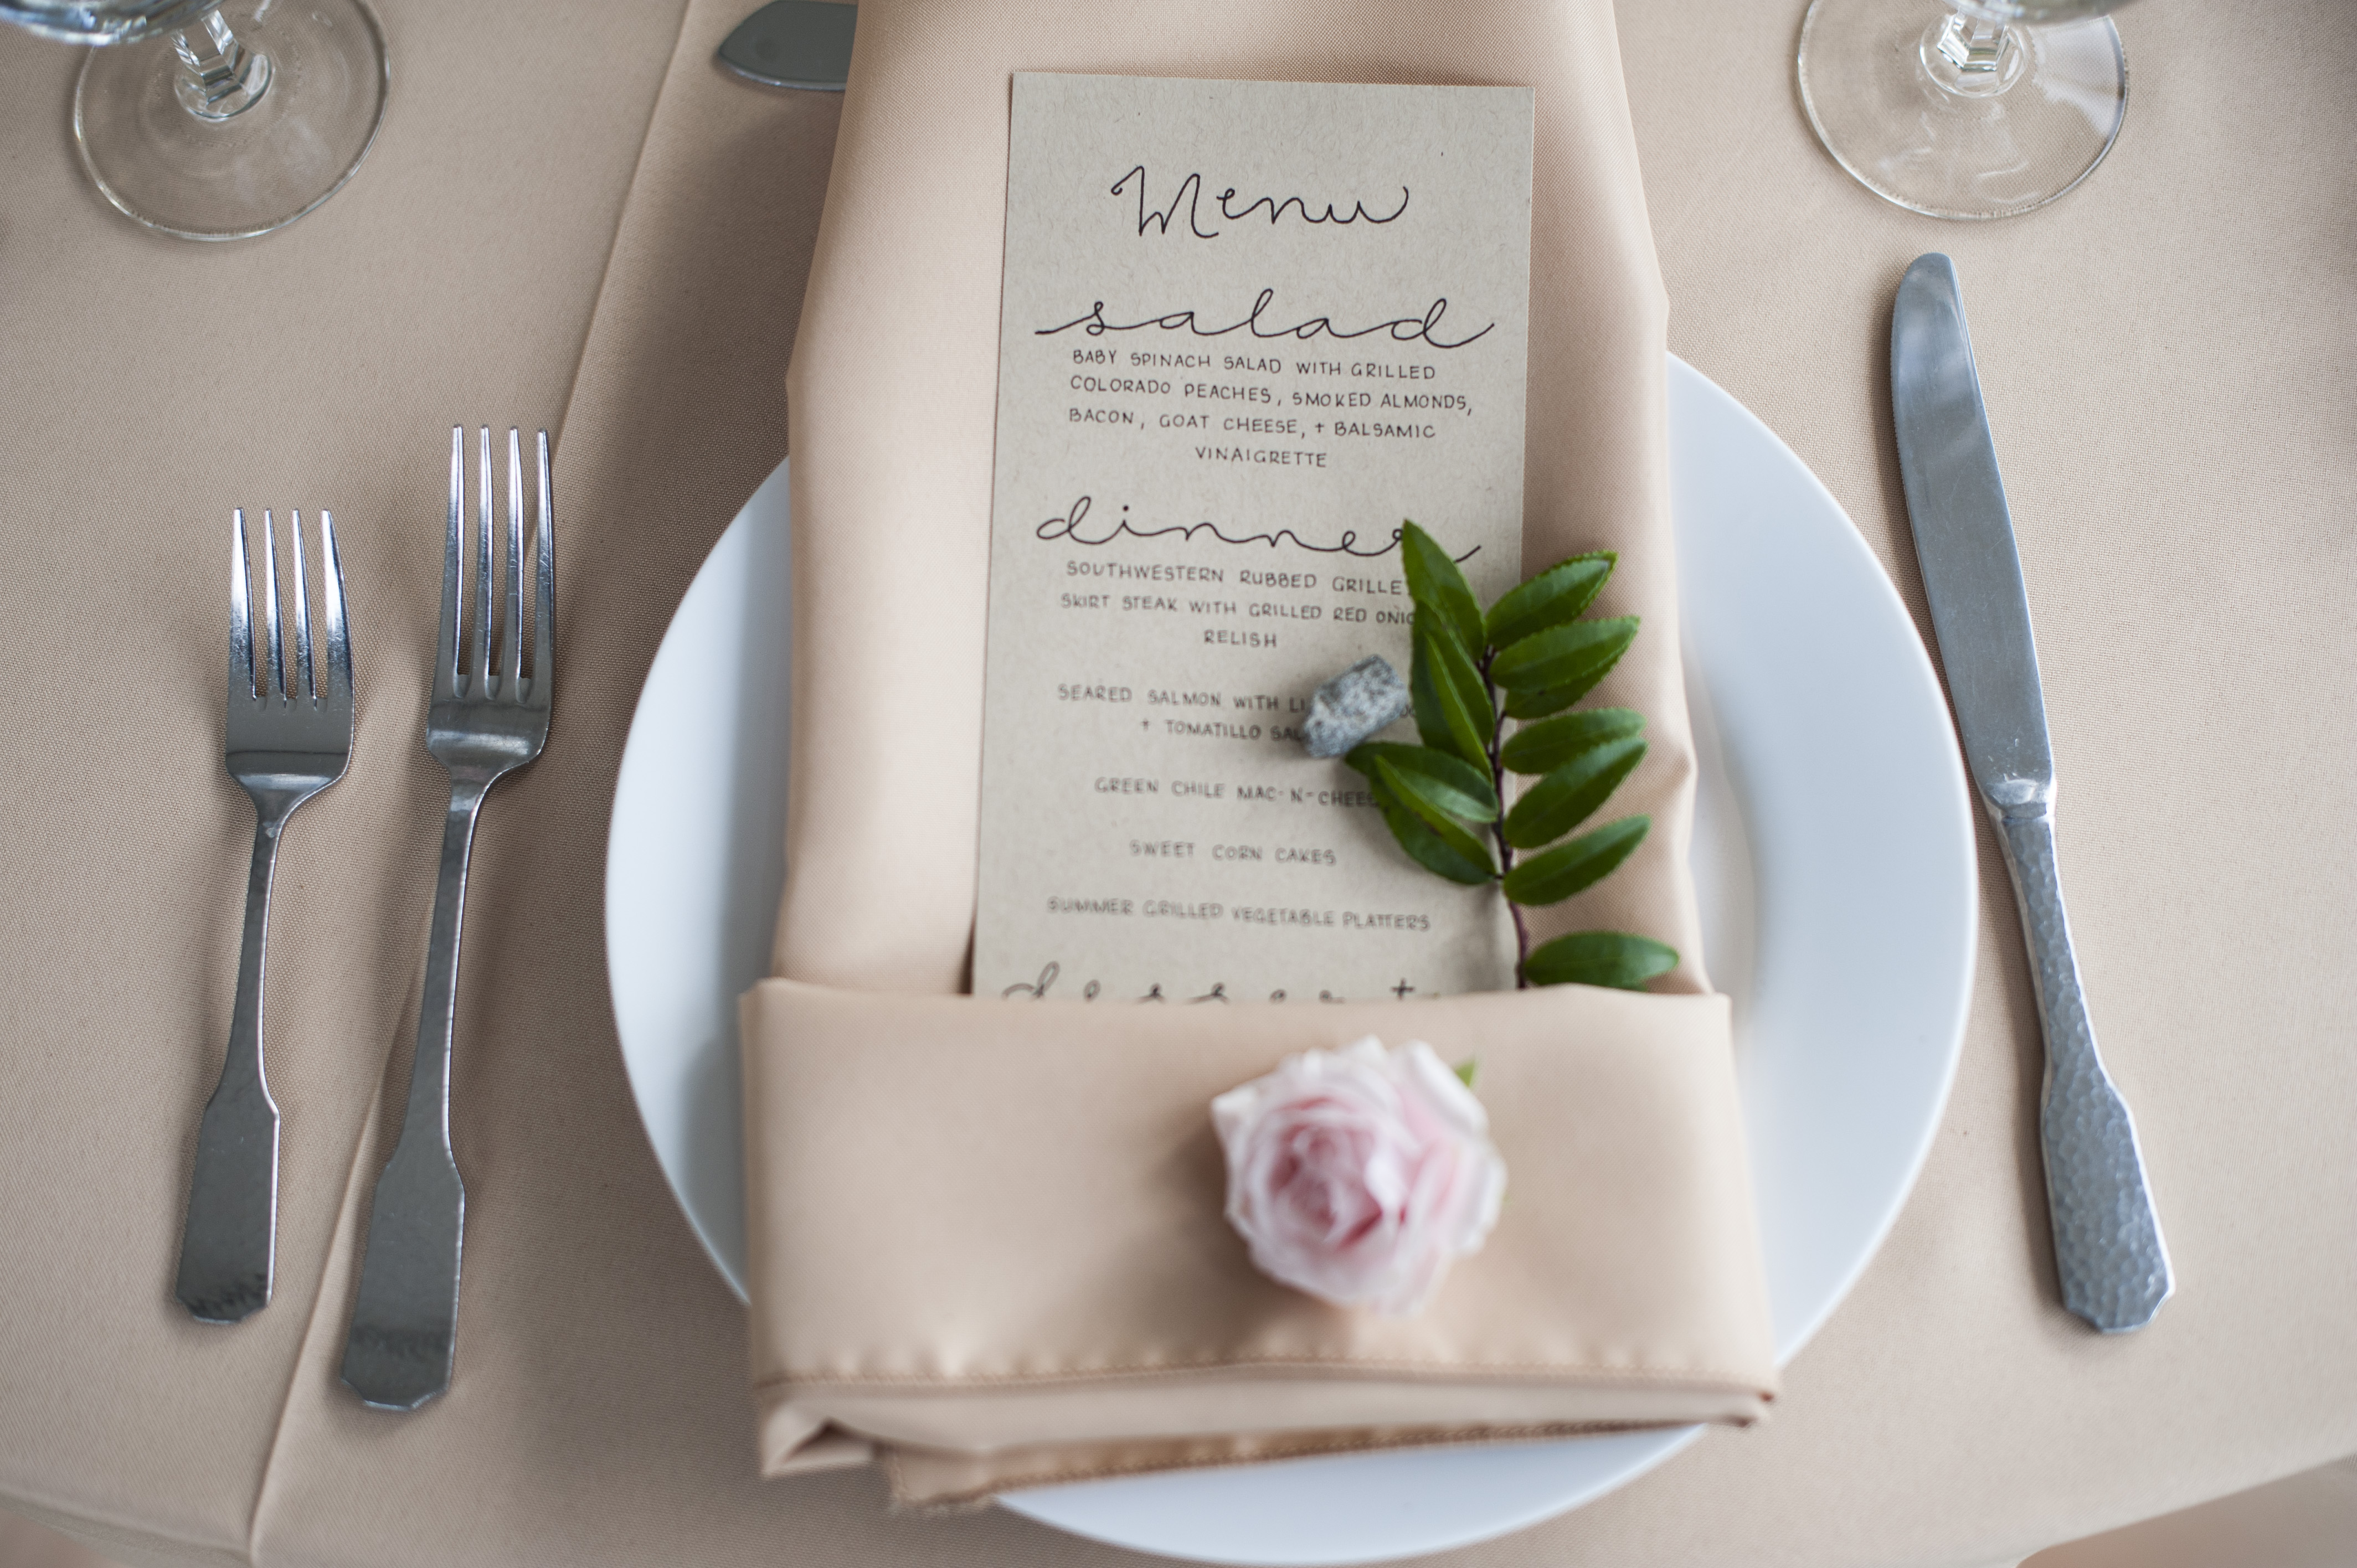
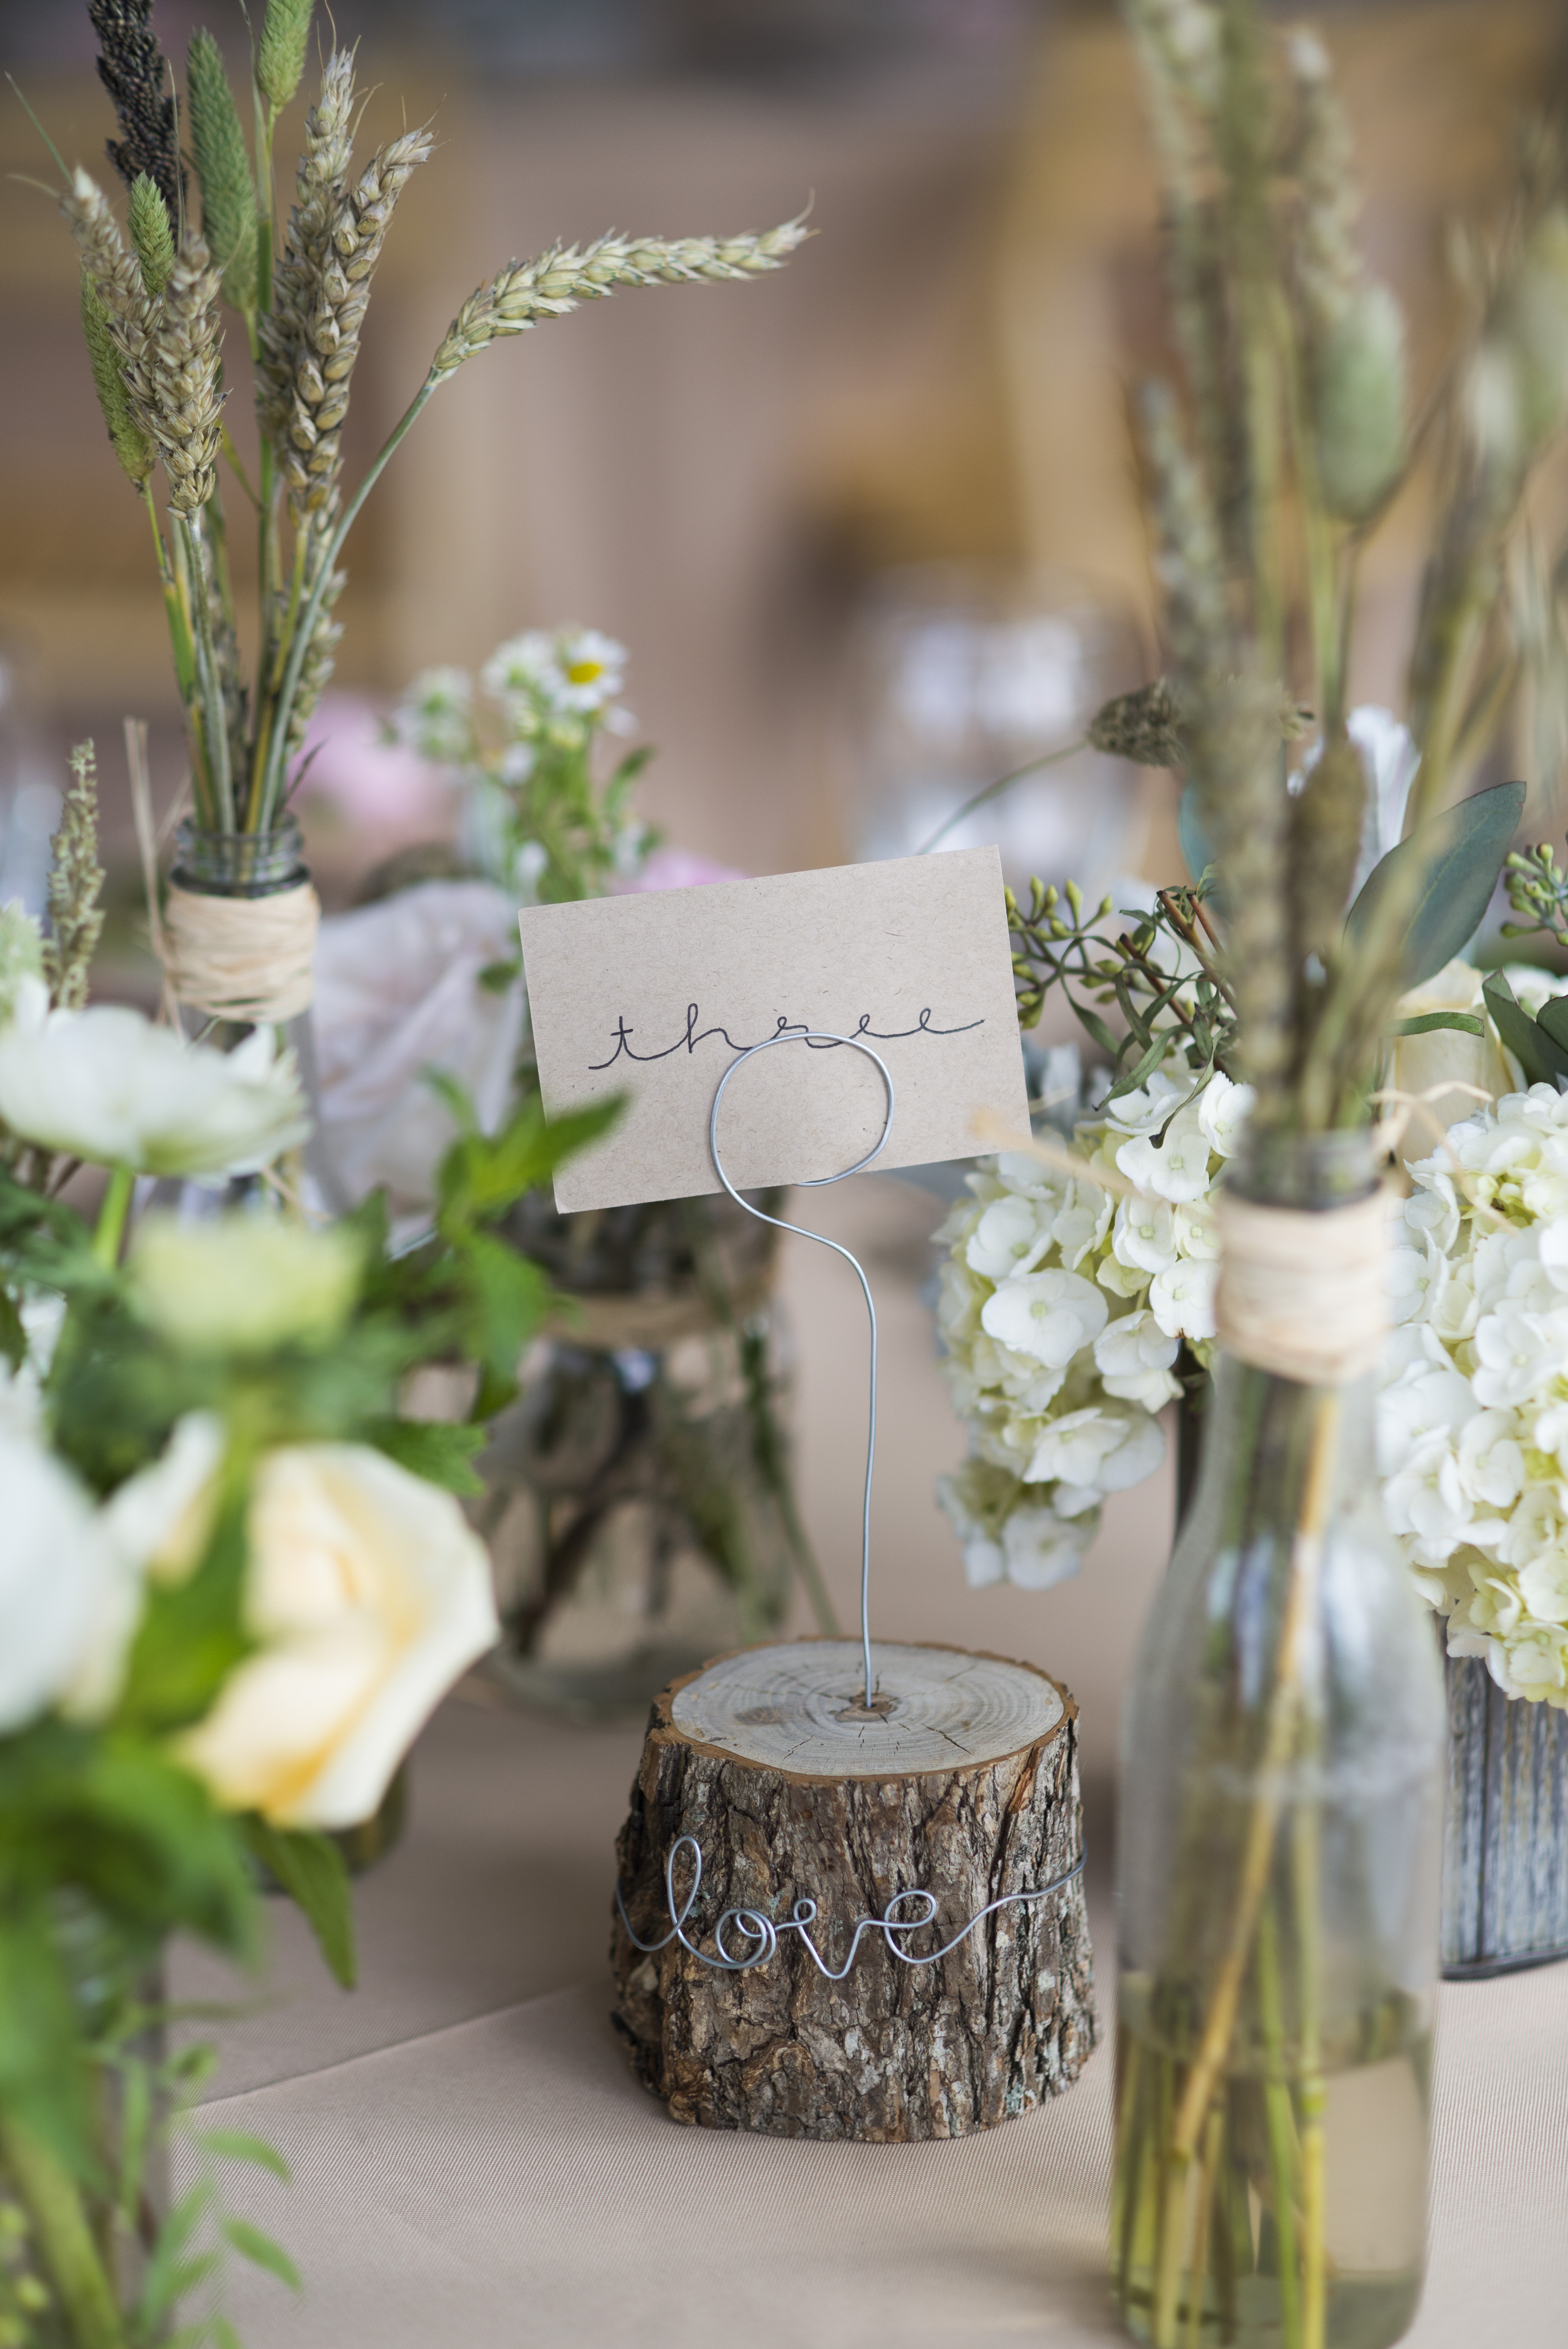
Table Numbers
The table numbers were one of my favorite projects because they were super easy and fit in with our woodland theme so perfectly. I purchased small wood stumps that were about 3 inches tall and 3 inches wide on Etsy about a month before the wedding (so they wouldn’t dry out or crack before the wedding), and using 22-gauge aluminum wire from the beading section of Hobby Lobby and a pair of needle nose pliers, I shaped the word “love” to wrap around my wood stumps. Using the needle nose pliers again, I shaped one end of a piece of wire into flat swirls and poked the wire into the top of the stump to hold the cardstock table numbers.

Wood Slice Guestbook
It wasn’t long into my DIY binge that I started to get a little carried away with the wood theme for our wedding. I was finding all kinds of ideas on how to incorporate wood into our wedding and the guestbook was no exception!
I purchased a wood-burning pen (similar to this one), along with a round basswood wood plank, from Hobby Lobby to do the wood slice guestbook. Actually, to be honest, I bought two wood planks because I thought I might mess up on my first attempt using the wood-burning pen, but it turned out I had beginner’s luck, or something, and the first attempt came out awesome. Or maybe I’m just that good?
Also, it’s important to note that I did do a little practice on some pine wood slices that a friend had cut for us and right off the bat became nervous about wood burning because it was so difficult to do such perfect detail with a large, hot object as your writing object. But it turns out that basswood is the preferred type of wood to burn designs on because the wood is so soft, compared to woods like pine which are not as smooth or easy to write on. The basswood ended up being so much easier to burn on than the pine!
I used the thinnest wood-burning tip attachment to write all the calligraphy and it took a lot of patience. If you tried to write too fast or too hard, the wood would not burn and the tip of the pen would just bend from the intense heat.
I was soooo in love with how well the calligraphy turned out on my guestbook wood slice. We set out small sharpie markers for guests to write on our guestbook and it turned out to be the perfect guestbook to display in our house.


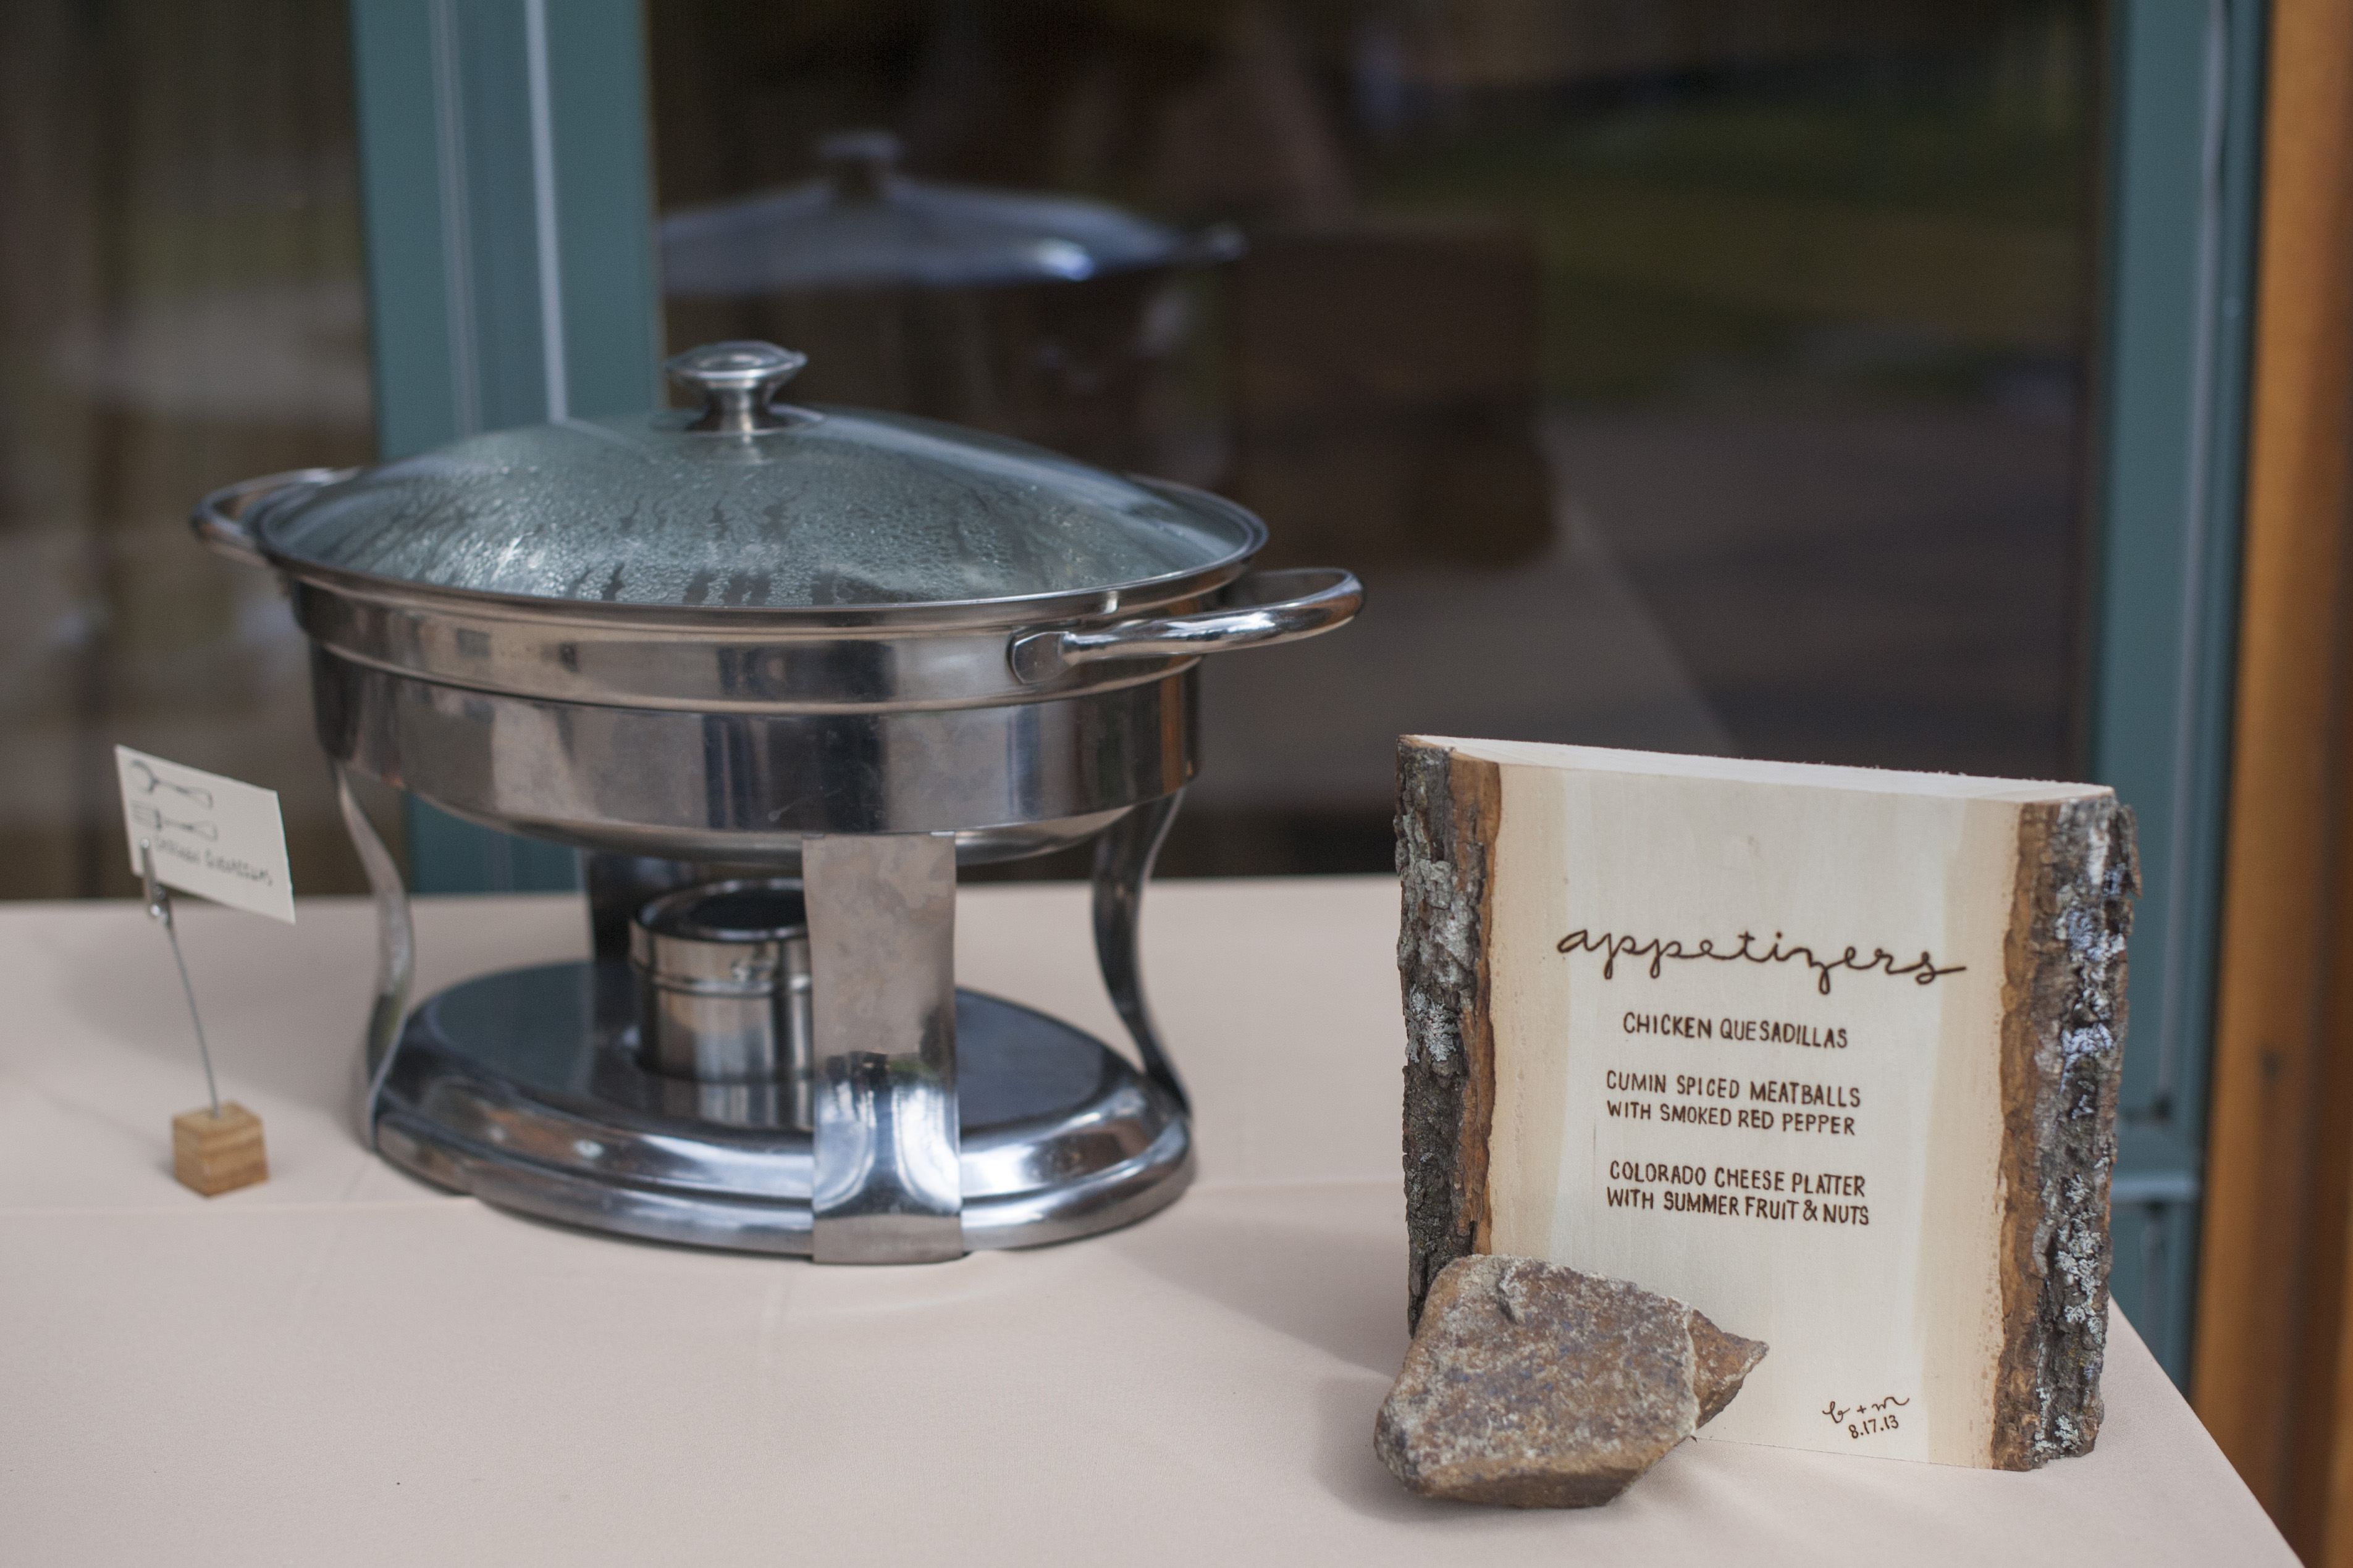
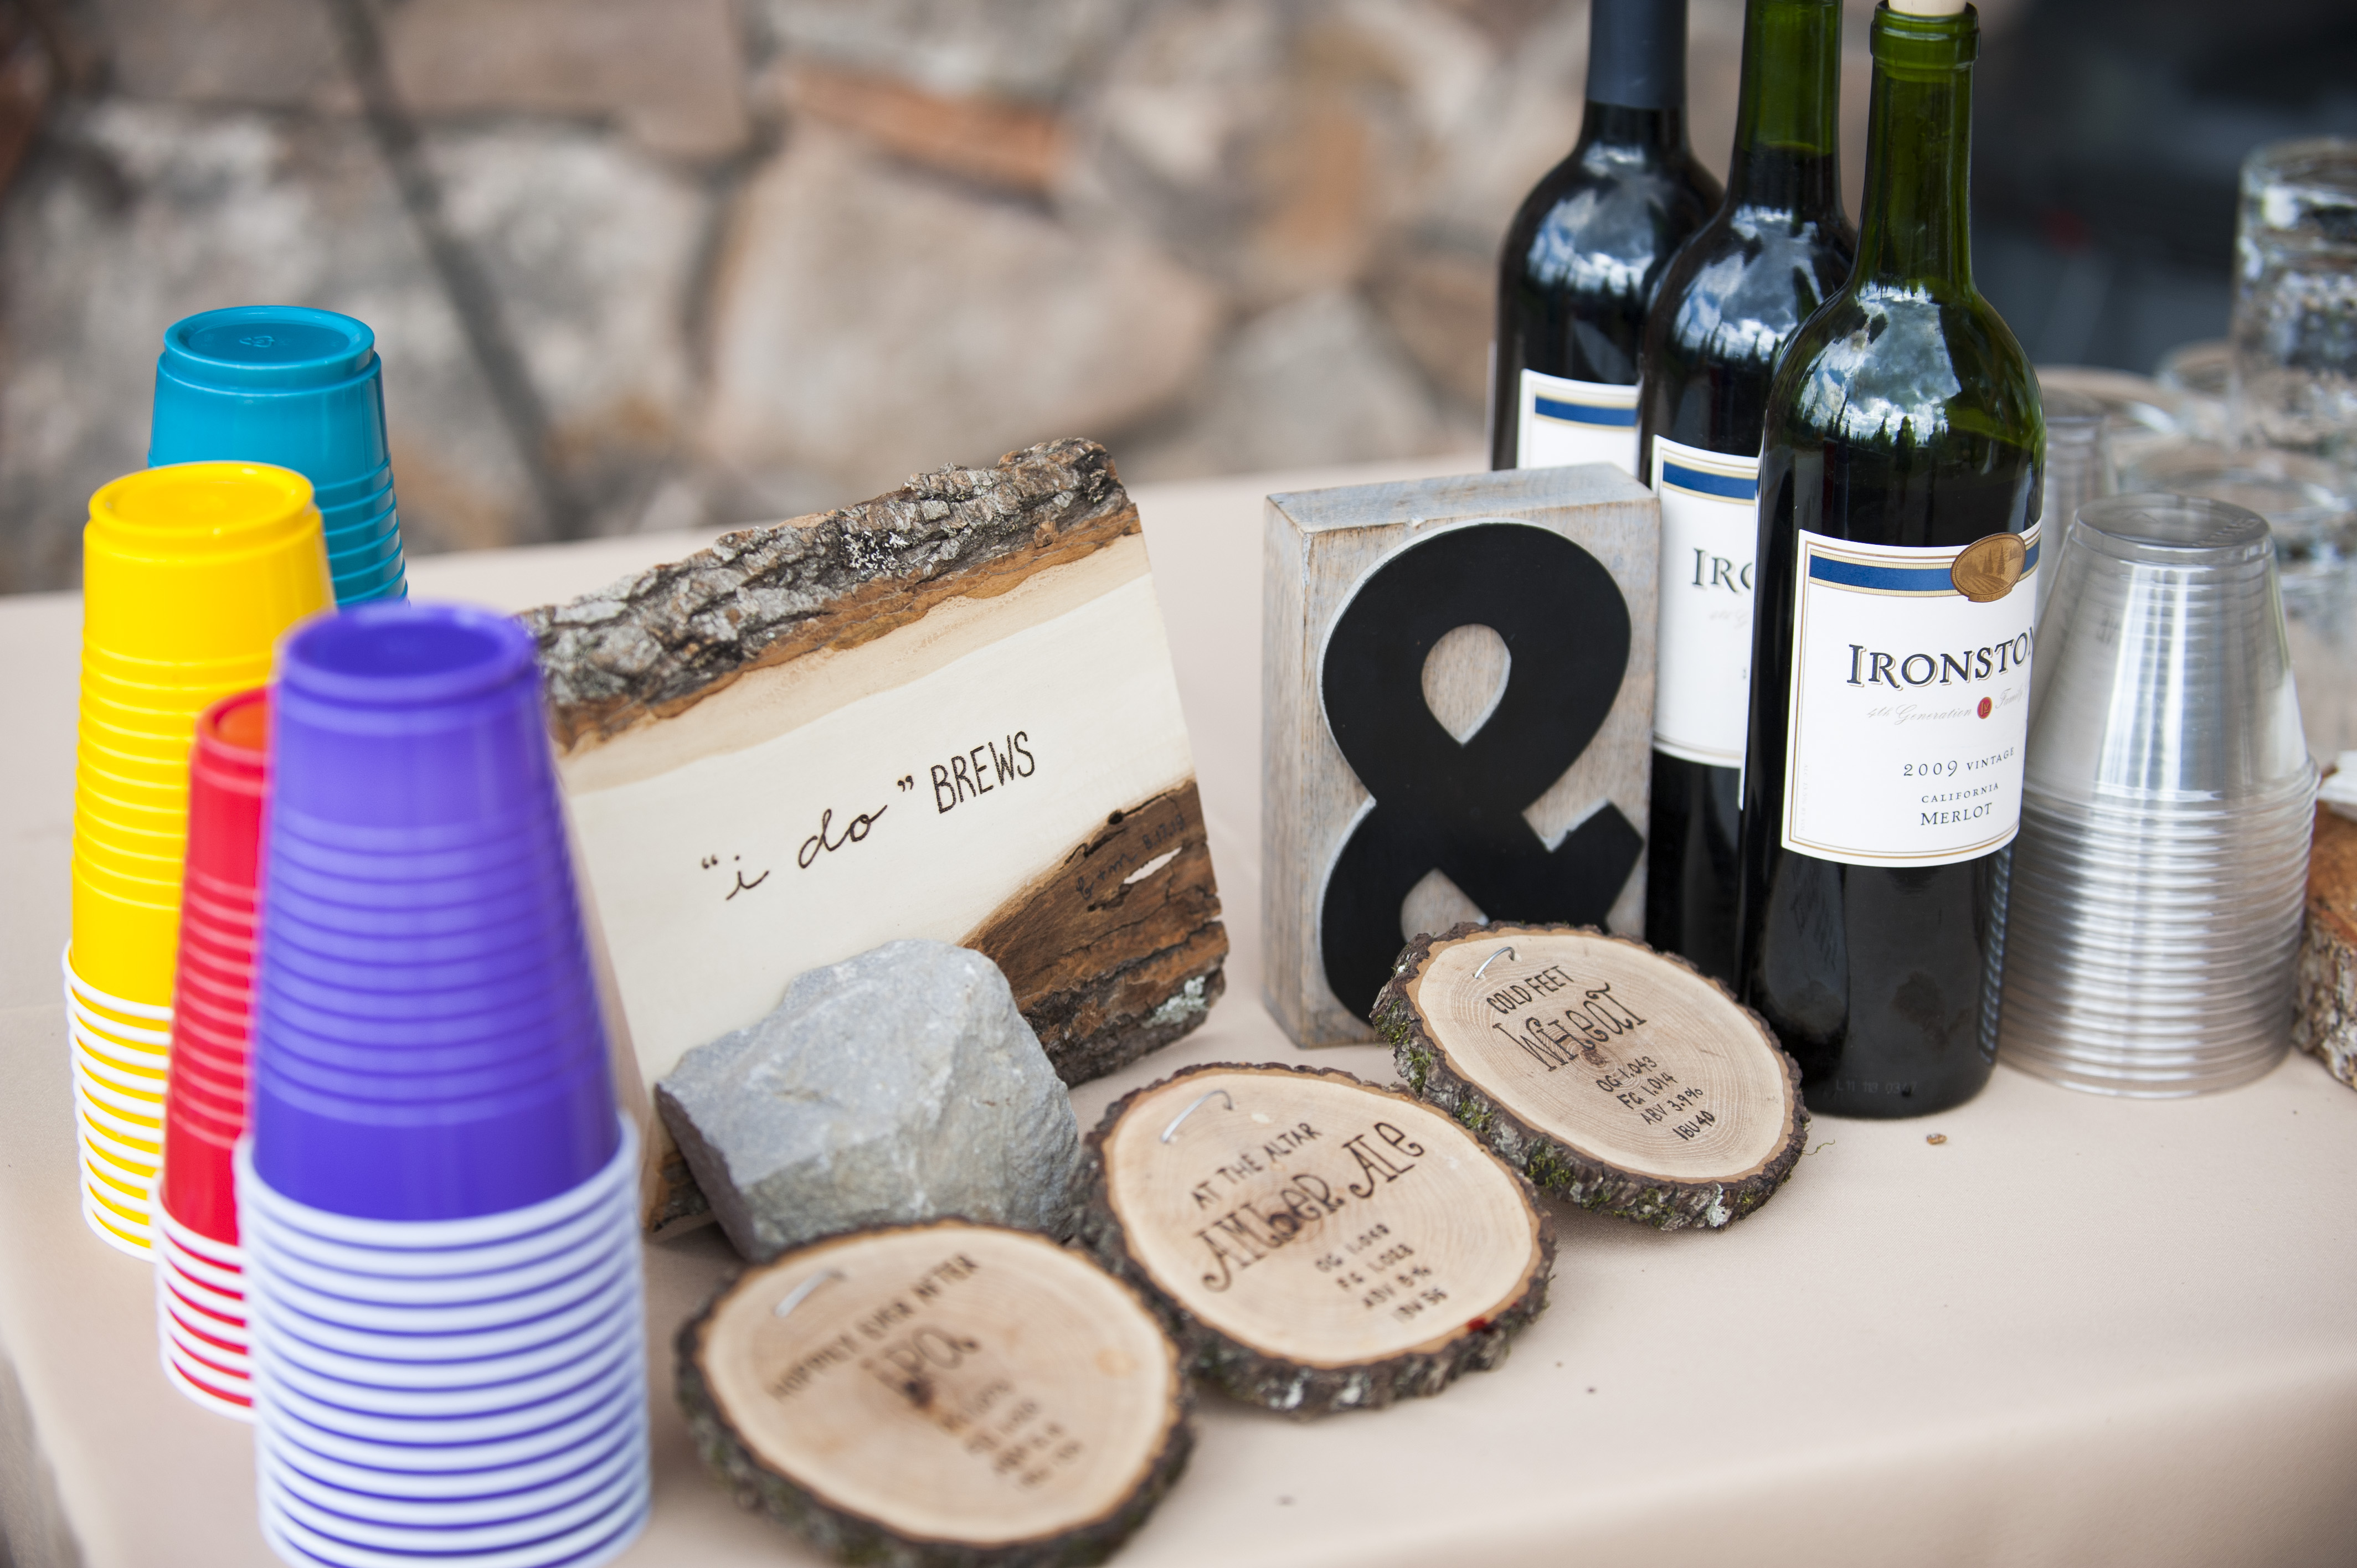
Reception Signage
After successfully completing the guestbook wood-burning, I had the great idea of torturing myself some more and wood-burning all the reception signage. If I thought the guestbook was tedious enough, the reception signs were even worse because they required much smaller lettering and detail.
I purchased several more basswood planks from Hobby Lobby (this time, the square ones instead) and I spent many nights drafting up designs before I began the intense process of wood-burning the lettering for our reception signs. Although it was the most difficult project I did, it was also the most rewarding. I did five signs in total, keeping with the same calligraphy I had already used on the welcome bags, menus, table numbers, and guestbook. My favorite sign was the cocktail sign!


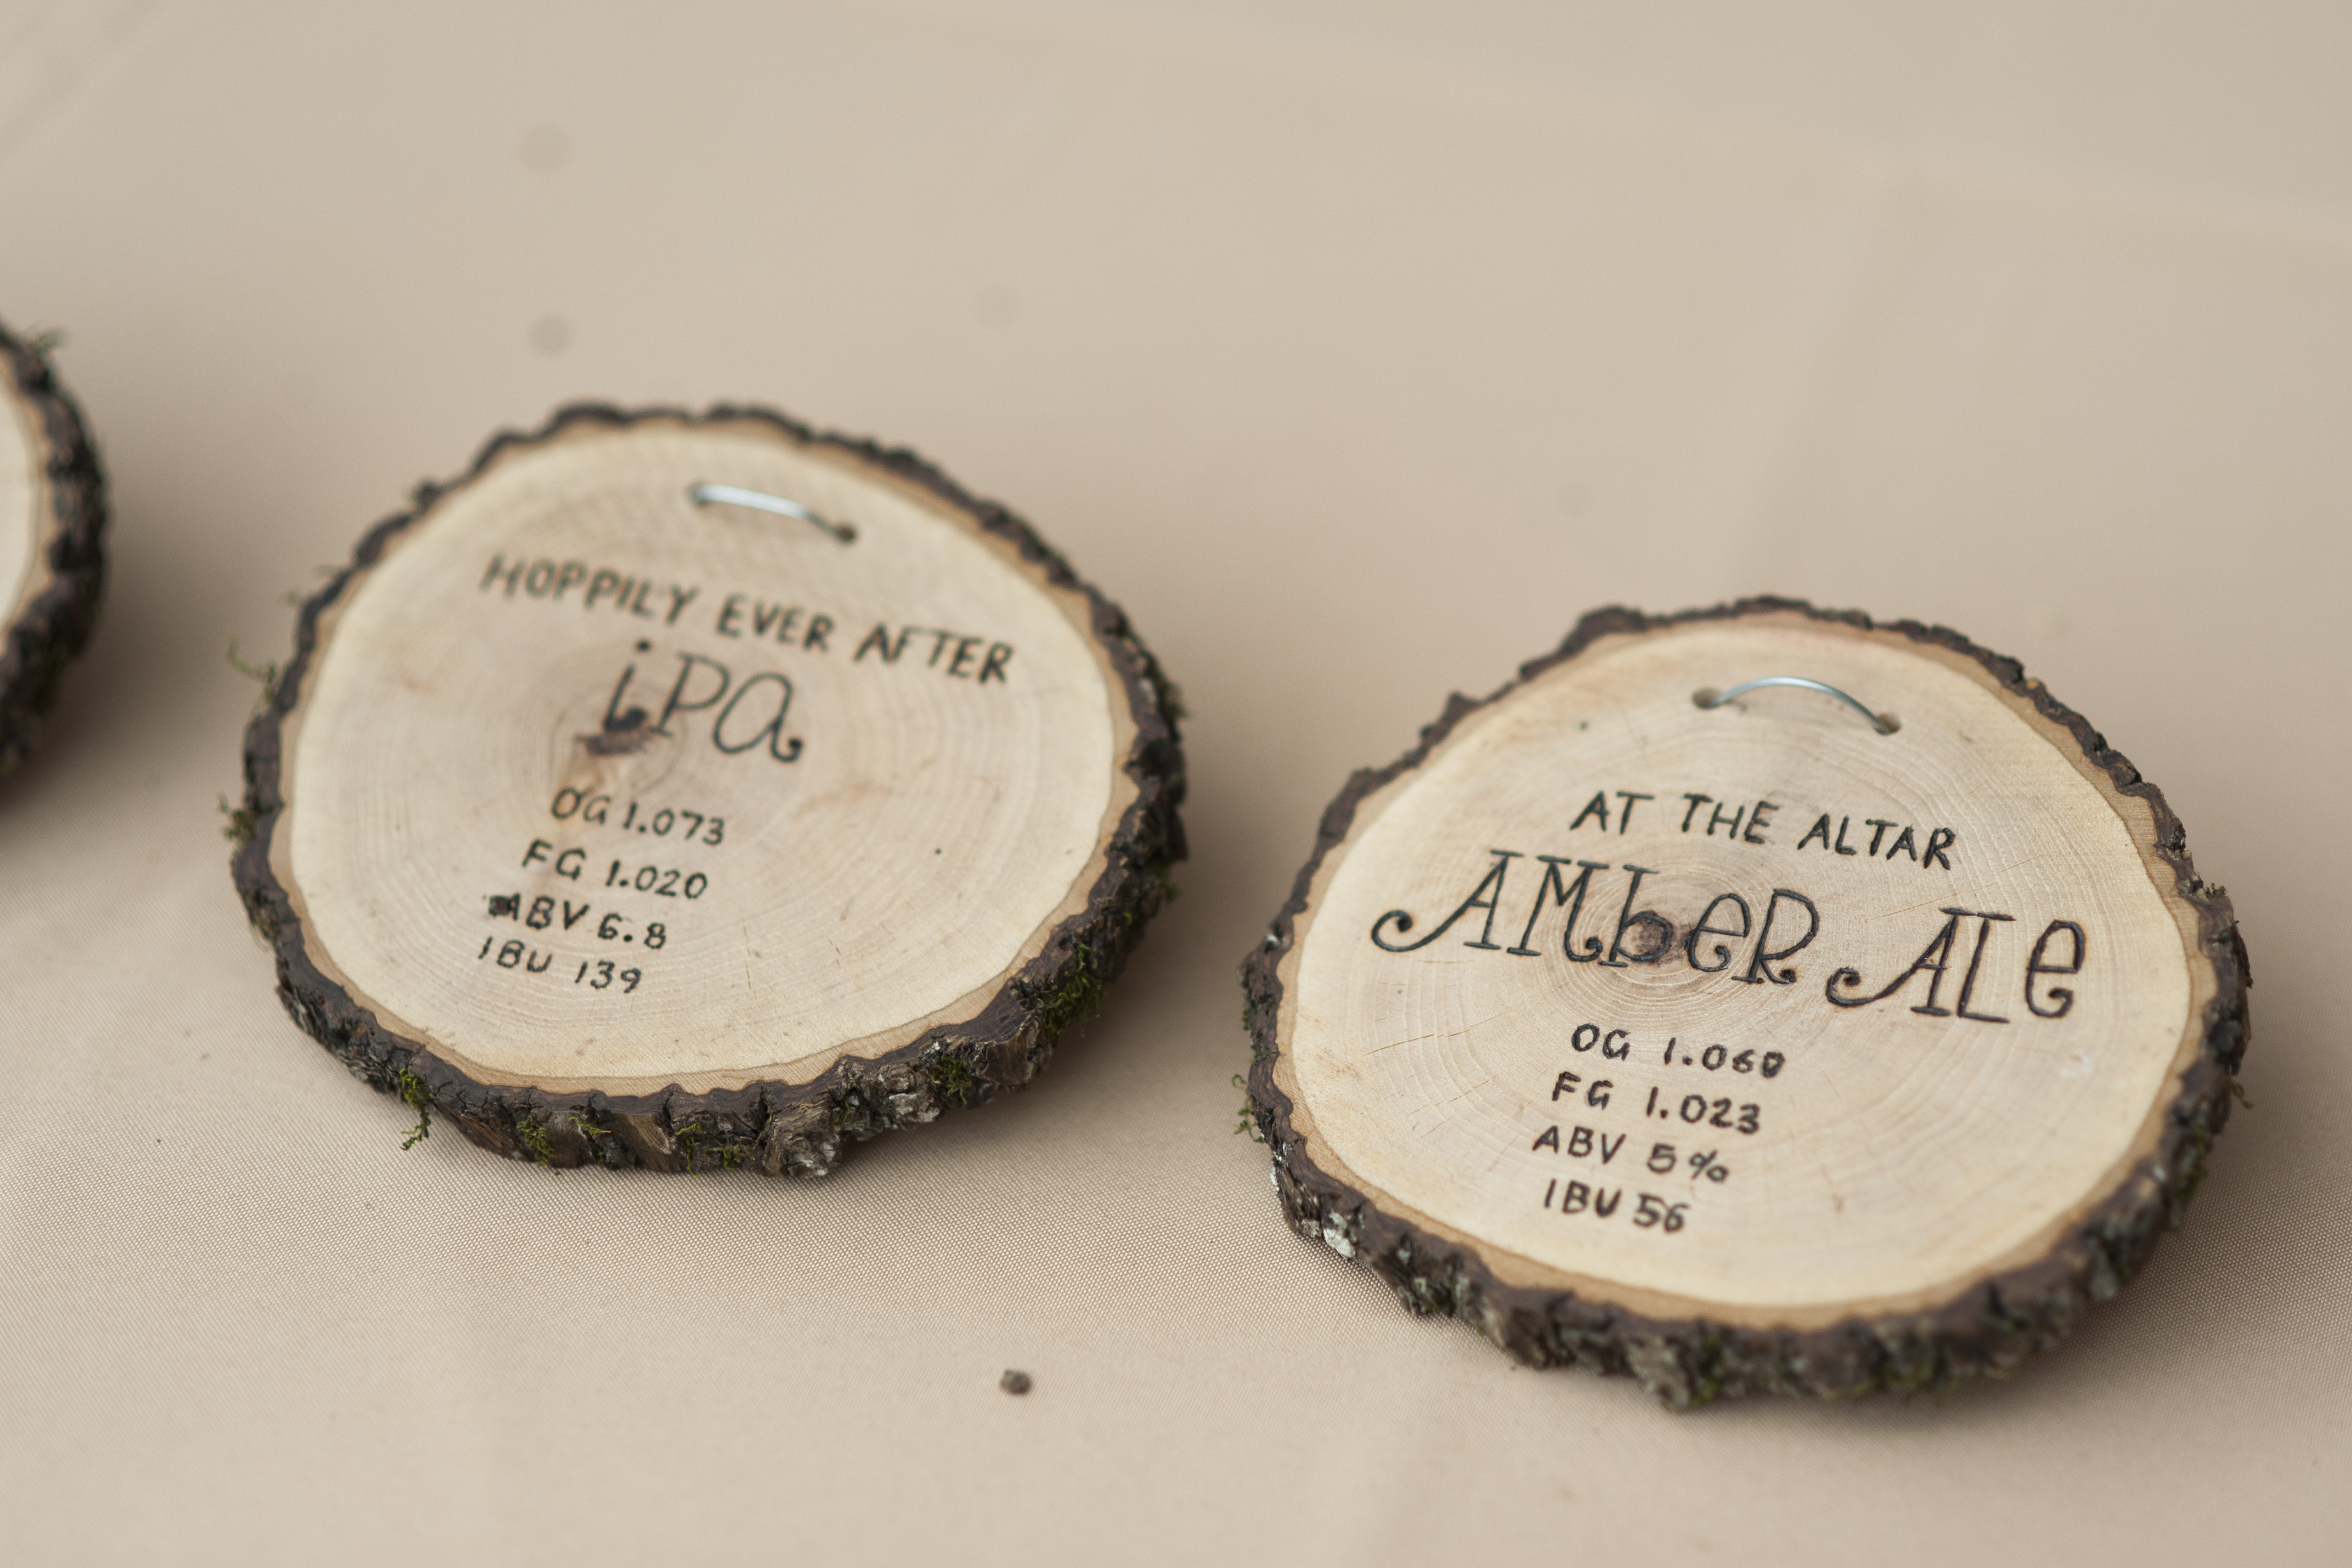
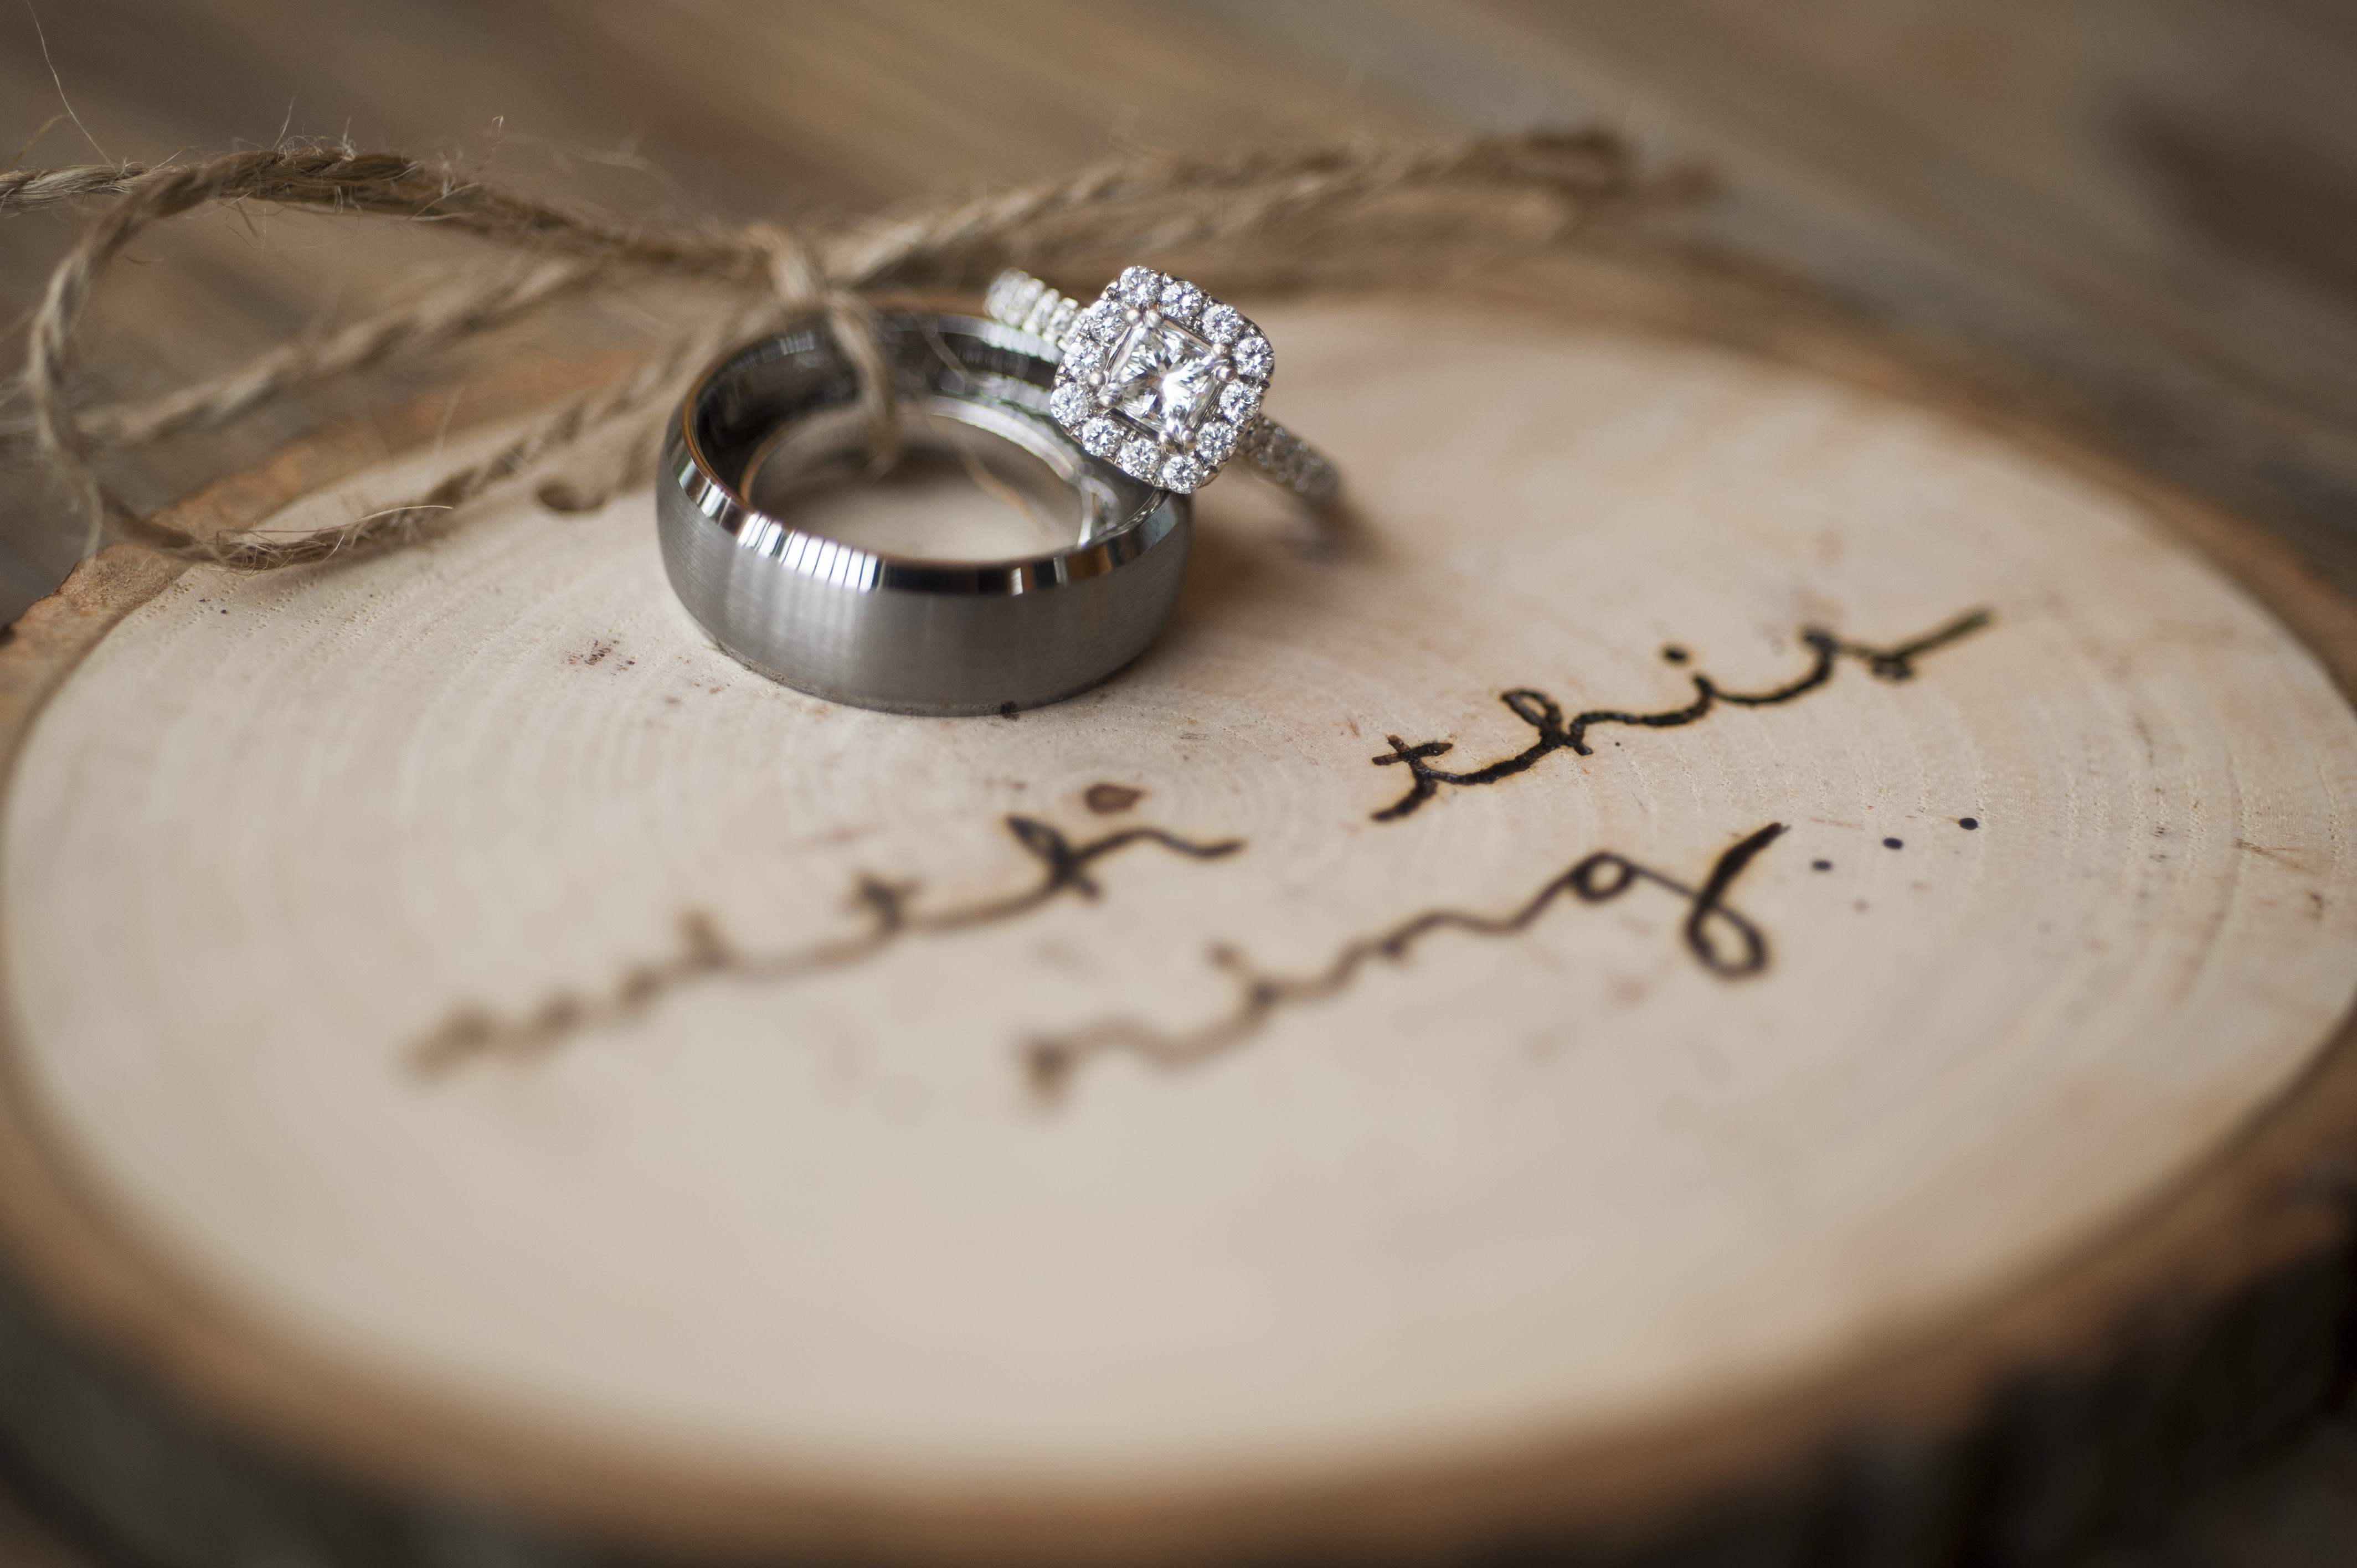
More Wood Slices!
I also purchased a few round wood slices off Etsy that were not basswood and used them to create smaller items for the wedding such as our ring holder and craft beers. These were incredibly difficult to wood-burn because the wood was not smooth or soft.
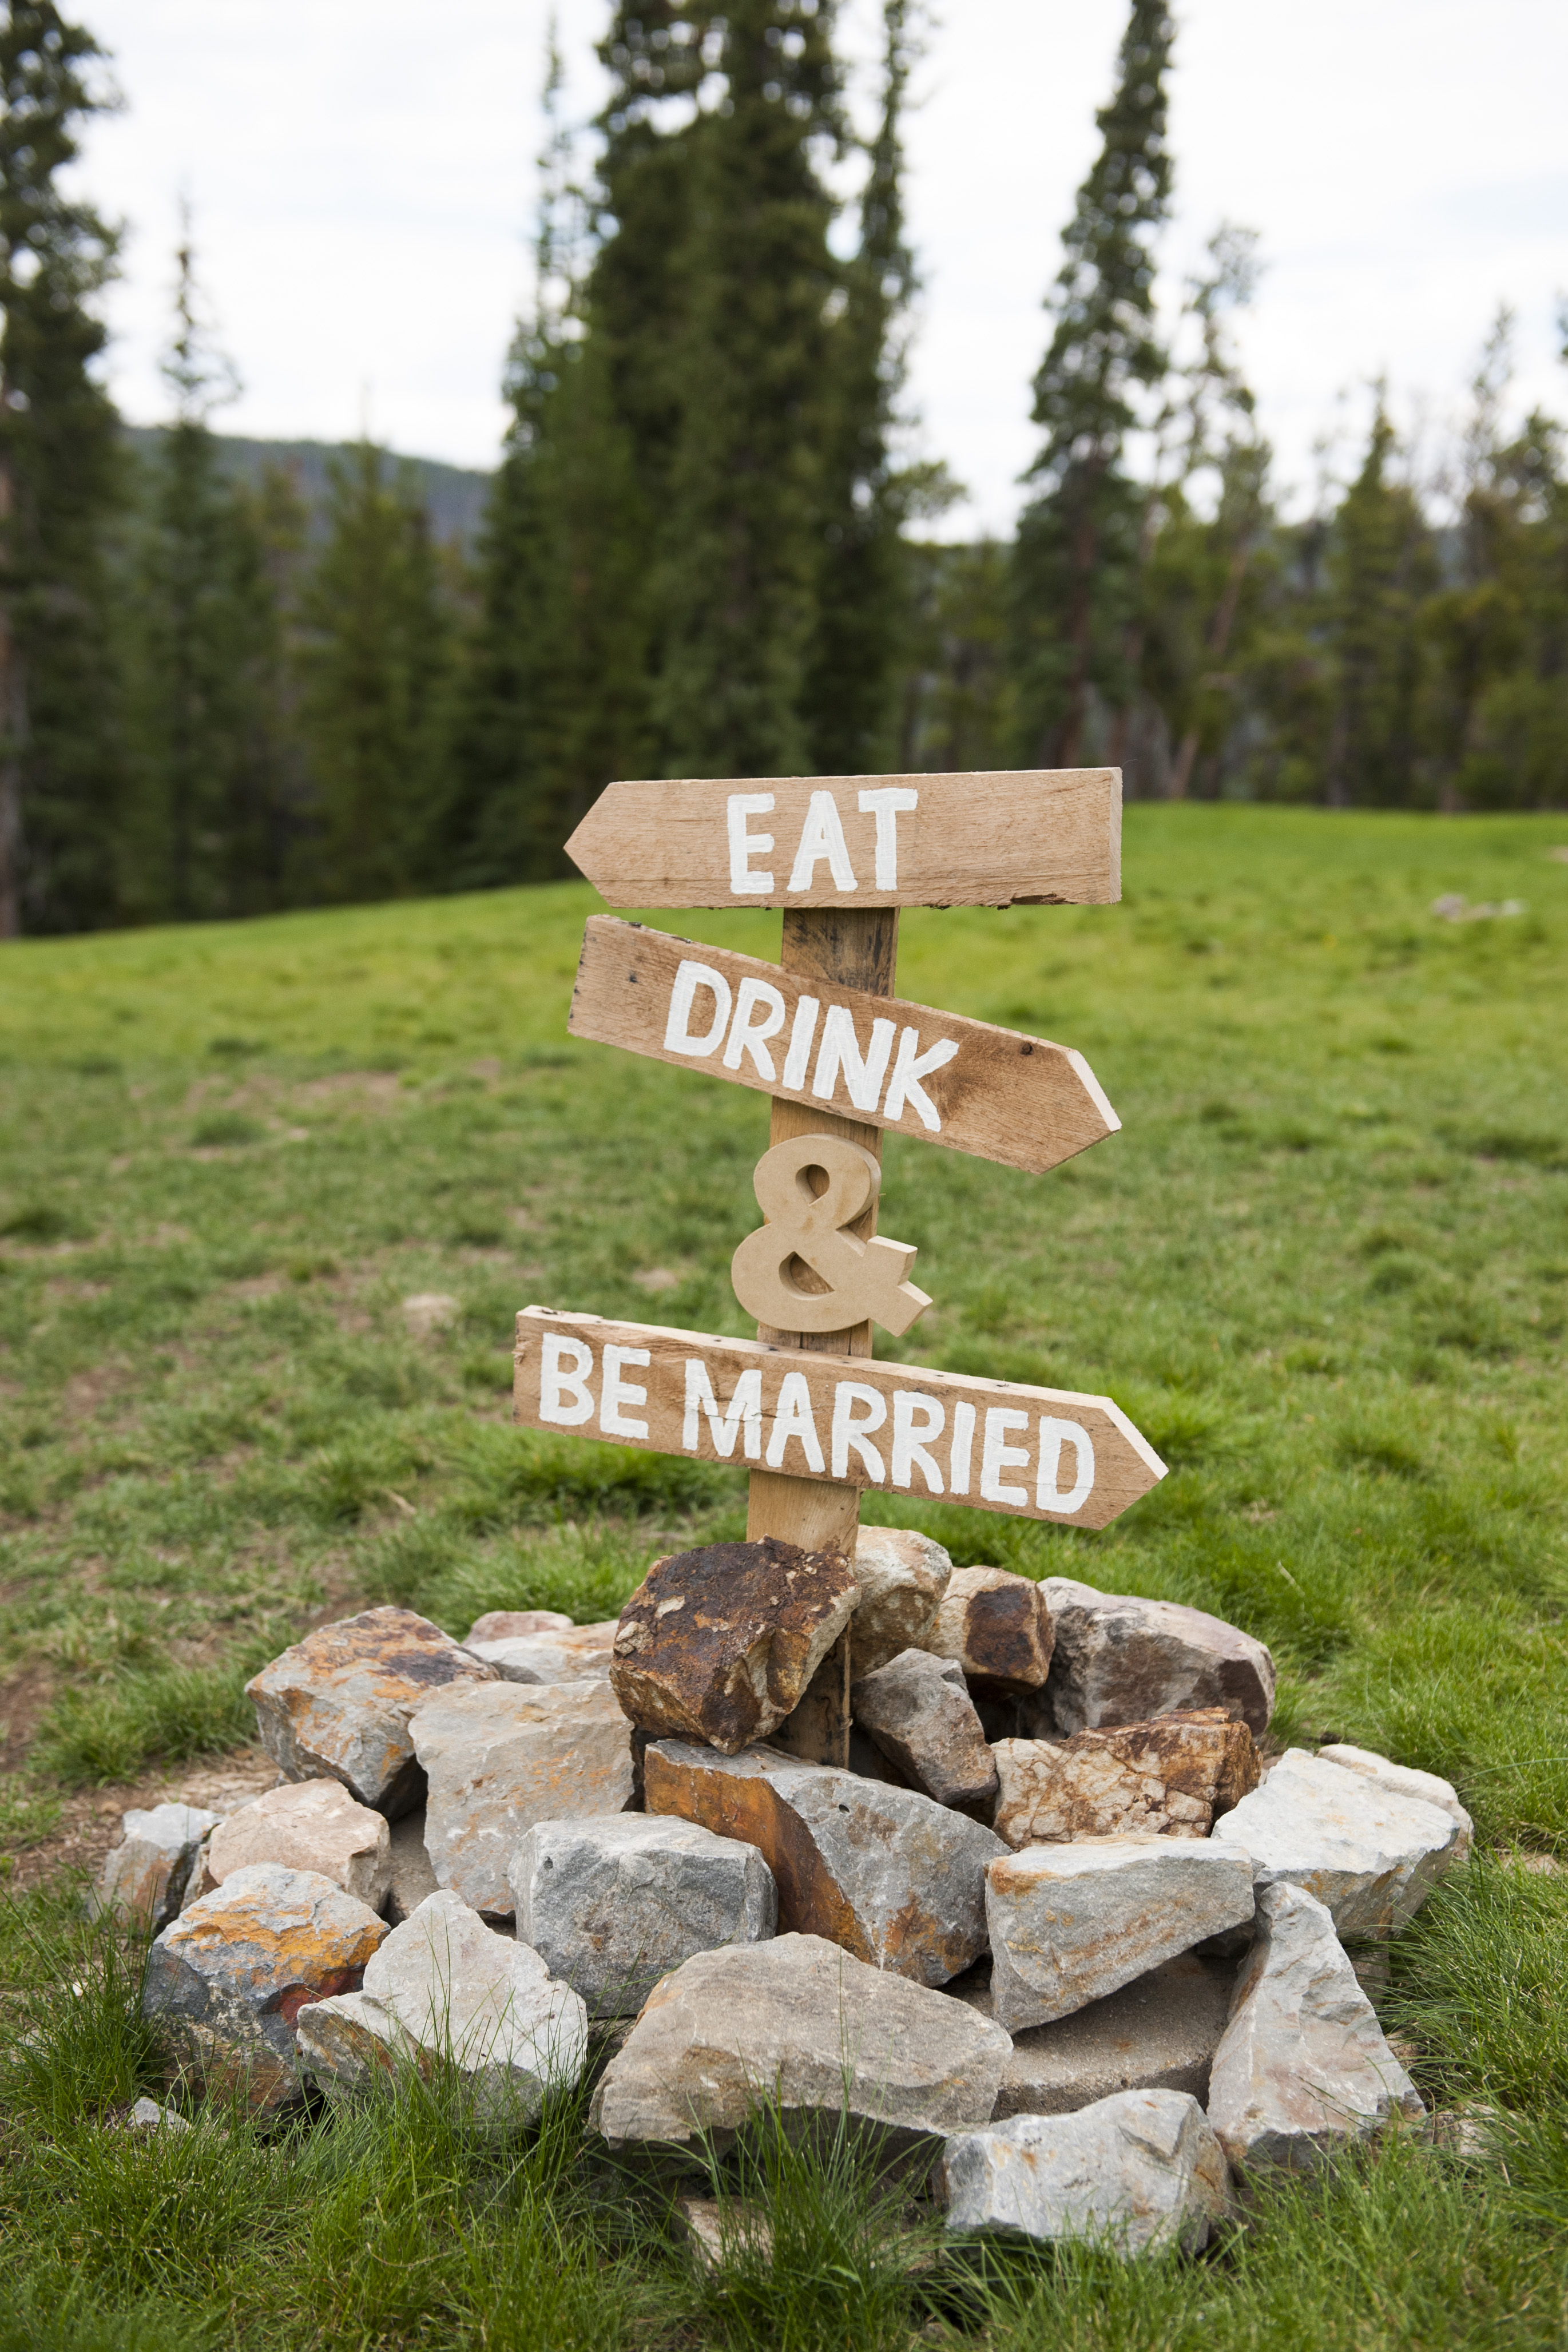
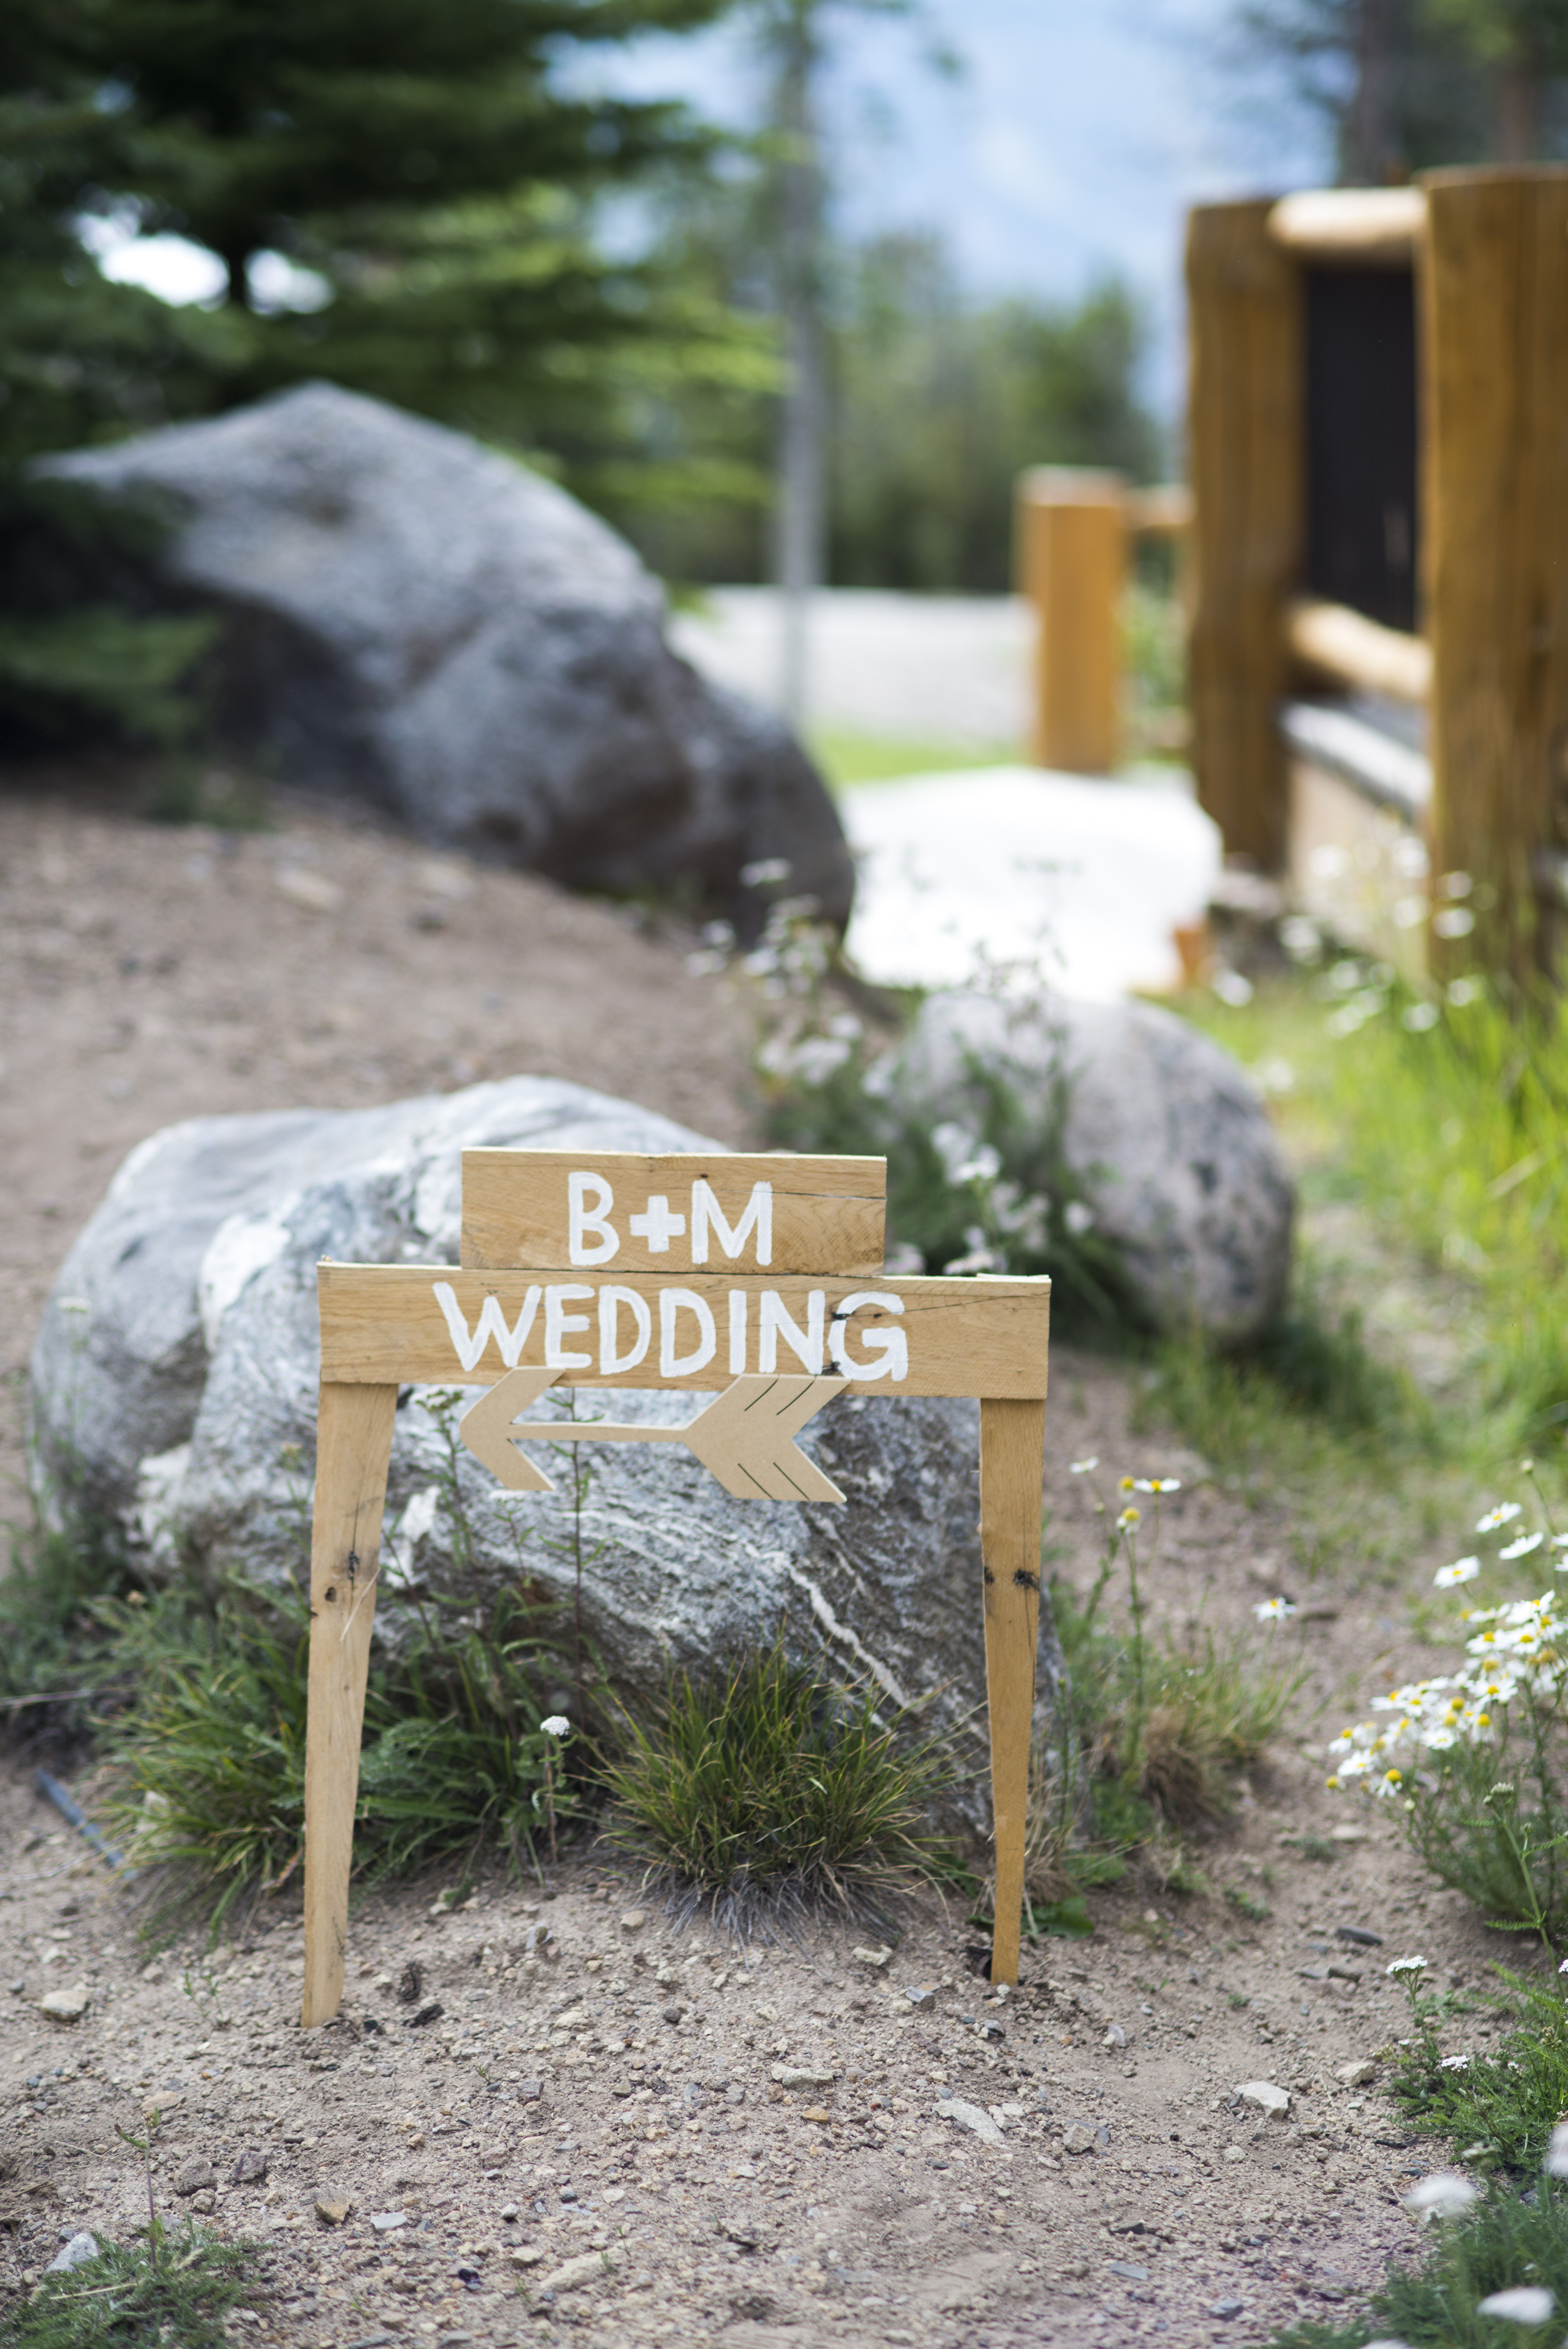
Other Wood Signs
Although not entirely related to our woodsy theme, I did create two other signs for our wedding out of wood. These signs were just for fun and not a major aspect of the decor. We mainly used reclaimed wood and acrylic paint to make these signs. The wood arrow and wood ampersand used in the signs were both purchased from Etsy.
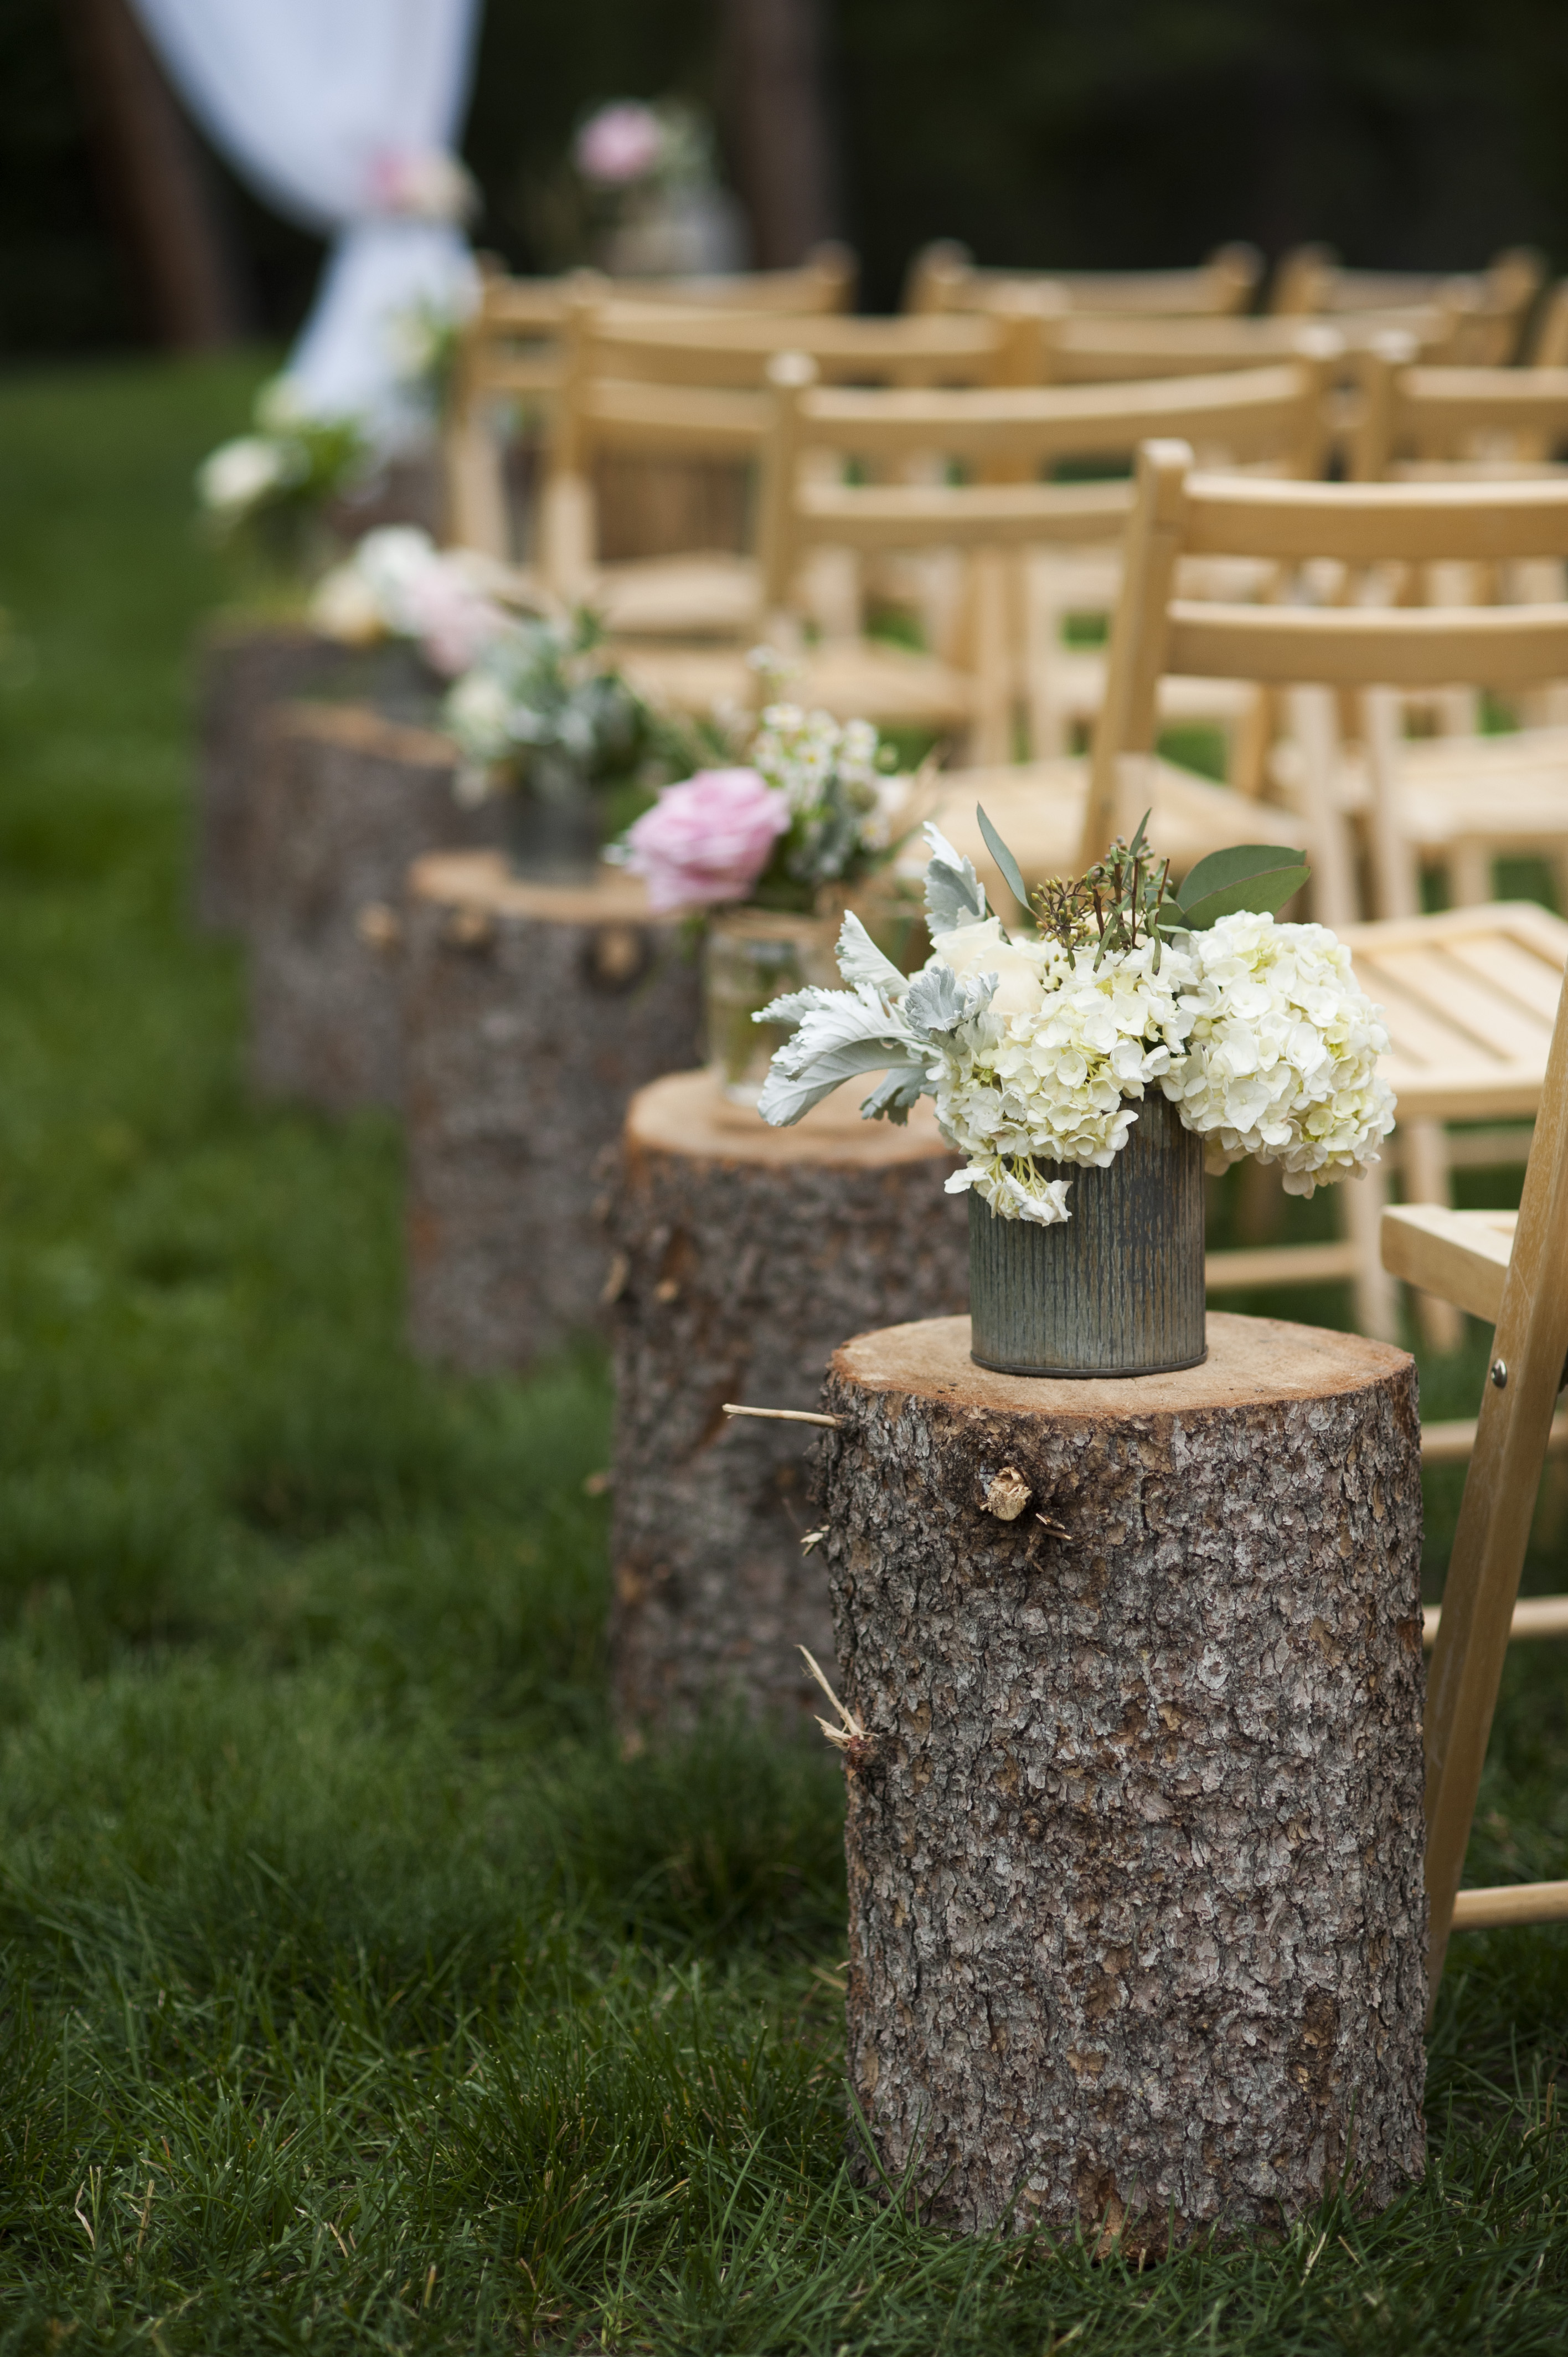
Aisle Decor
Wood, wood, wood! Yes, there was lot of wood in our woodland wedding. For our aisle decor, our wedding planner came up with the brilliant idea to use huge wood stumps instead of the cliche shephard hooks and I was on board with this idea right away!
We had a friend, who already had a permit to get firewood, get us some extra wood stumps that we could use for our aisle decor. This was a simple project that didn’t require any work from us because our friend did all the wood-collecting and chainsawing, but it was a nail-biting experience for months wondering if the wood stumps would dry and crack too much before the wedding day. It was well worth the wait to see them on our wedding day, fitting in so perfectly with our woodsy theme.
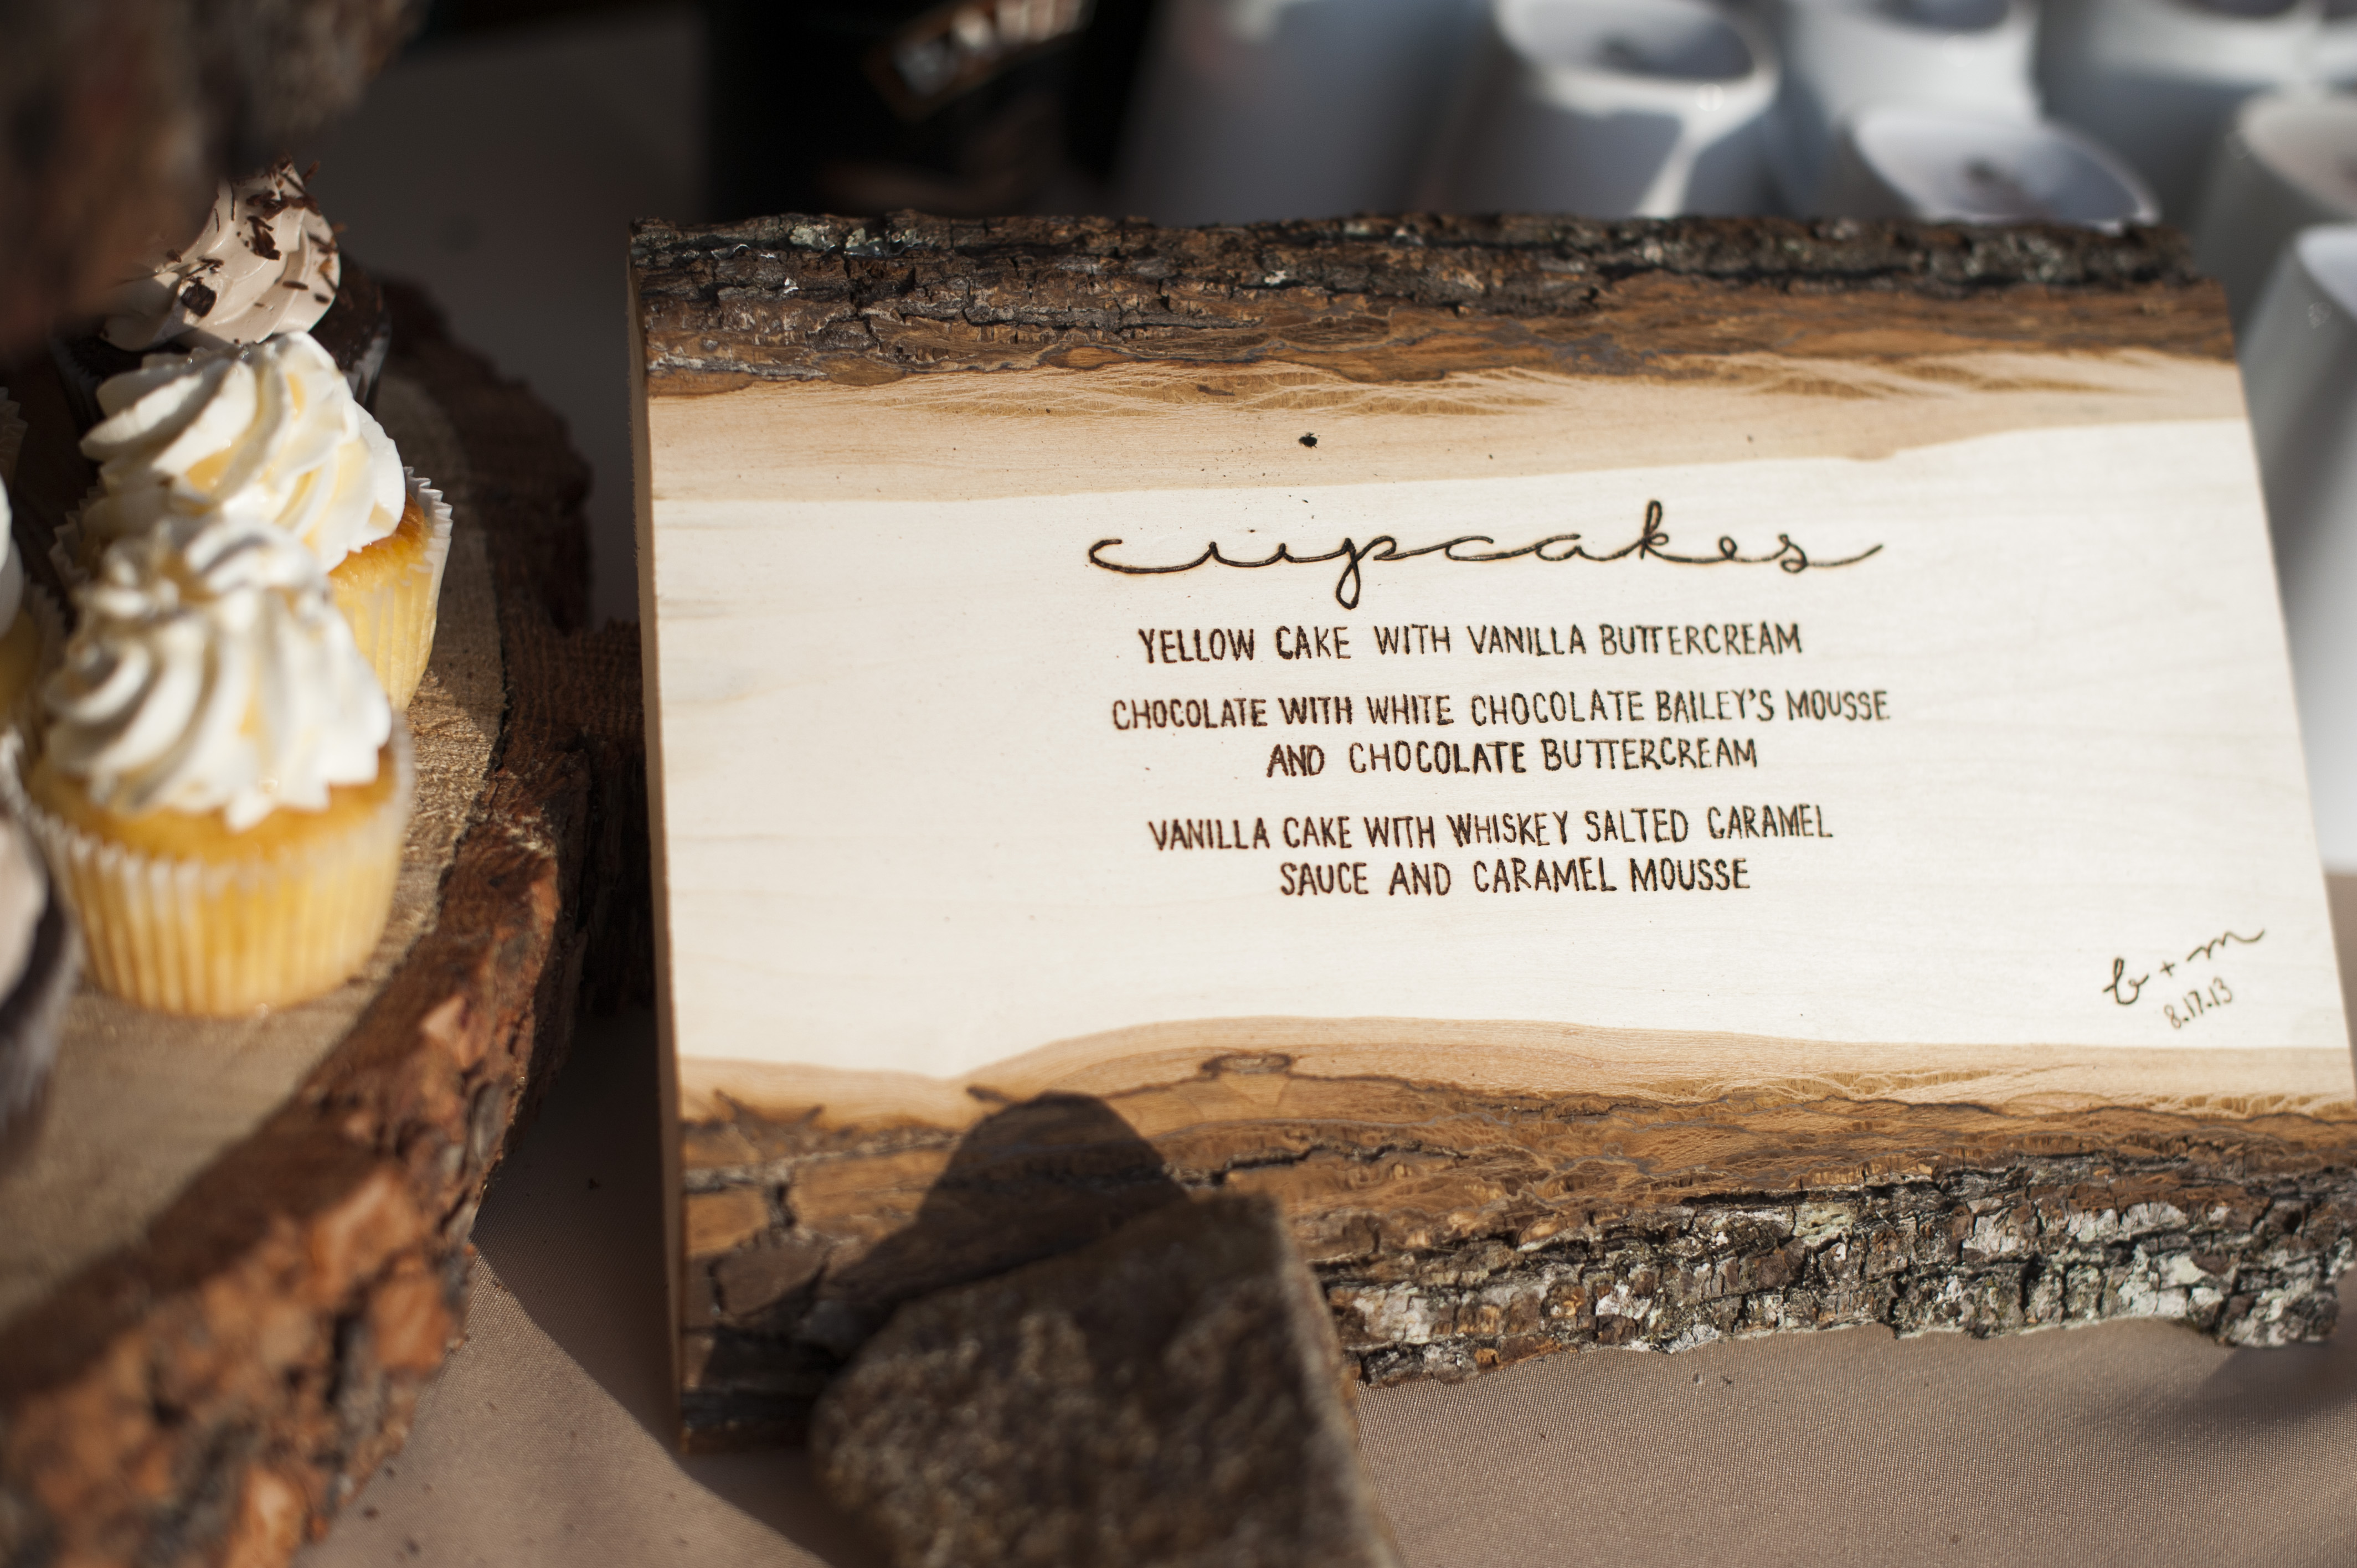
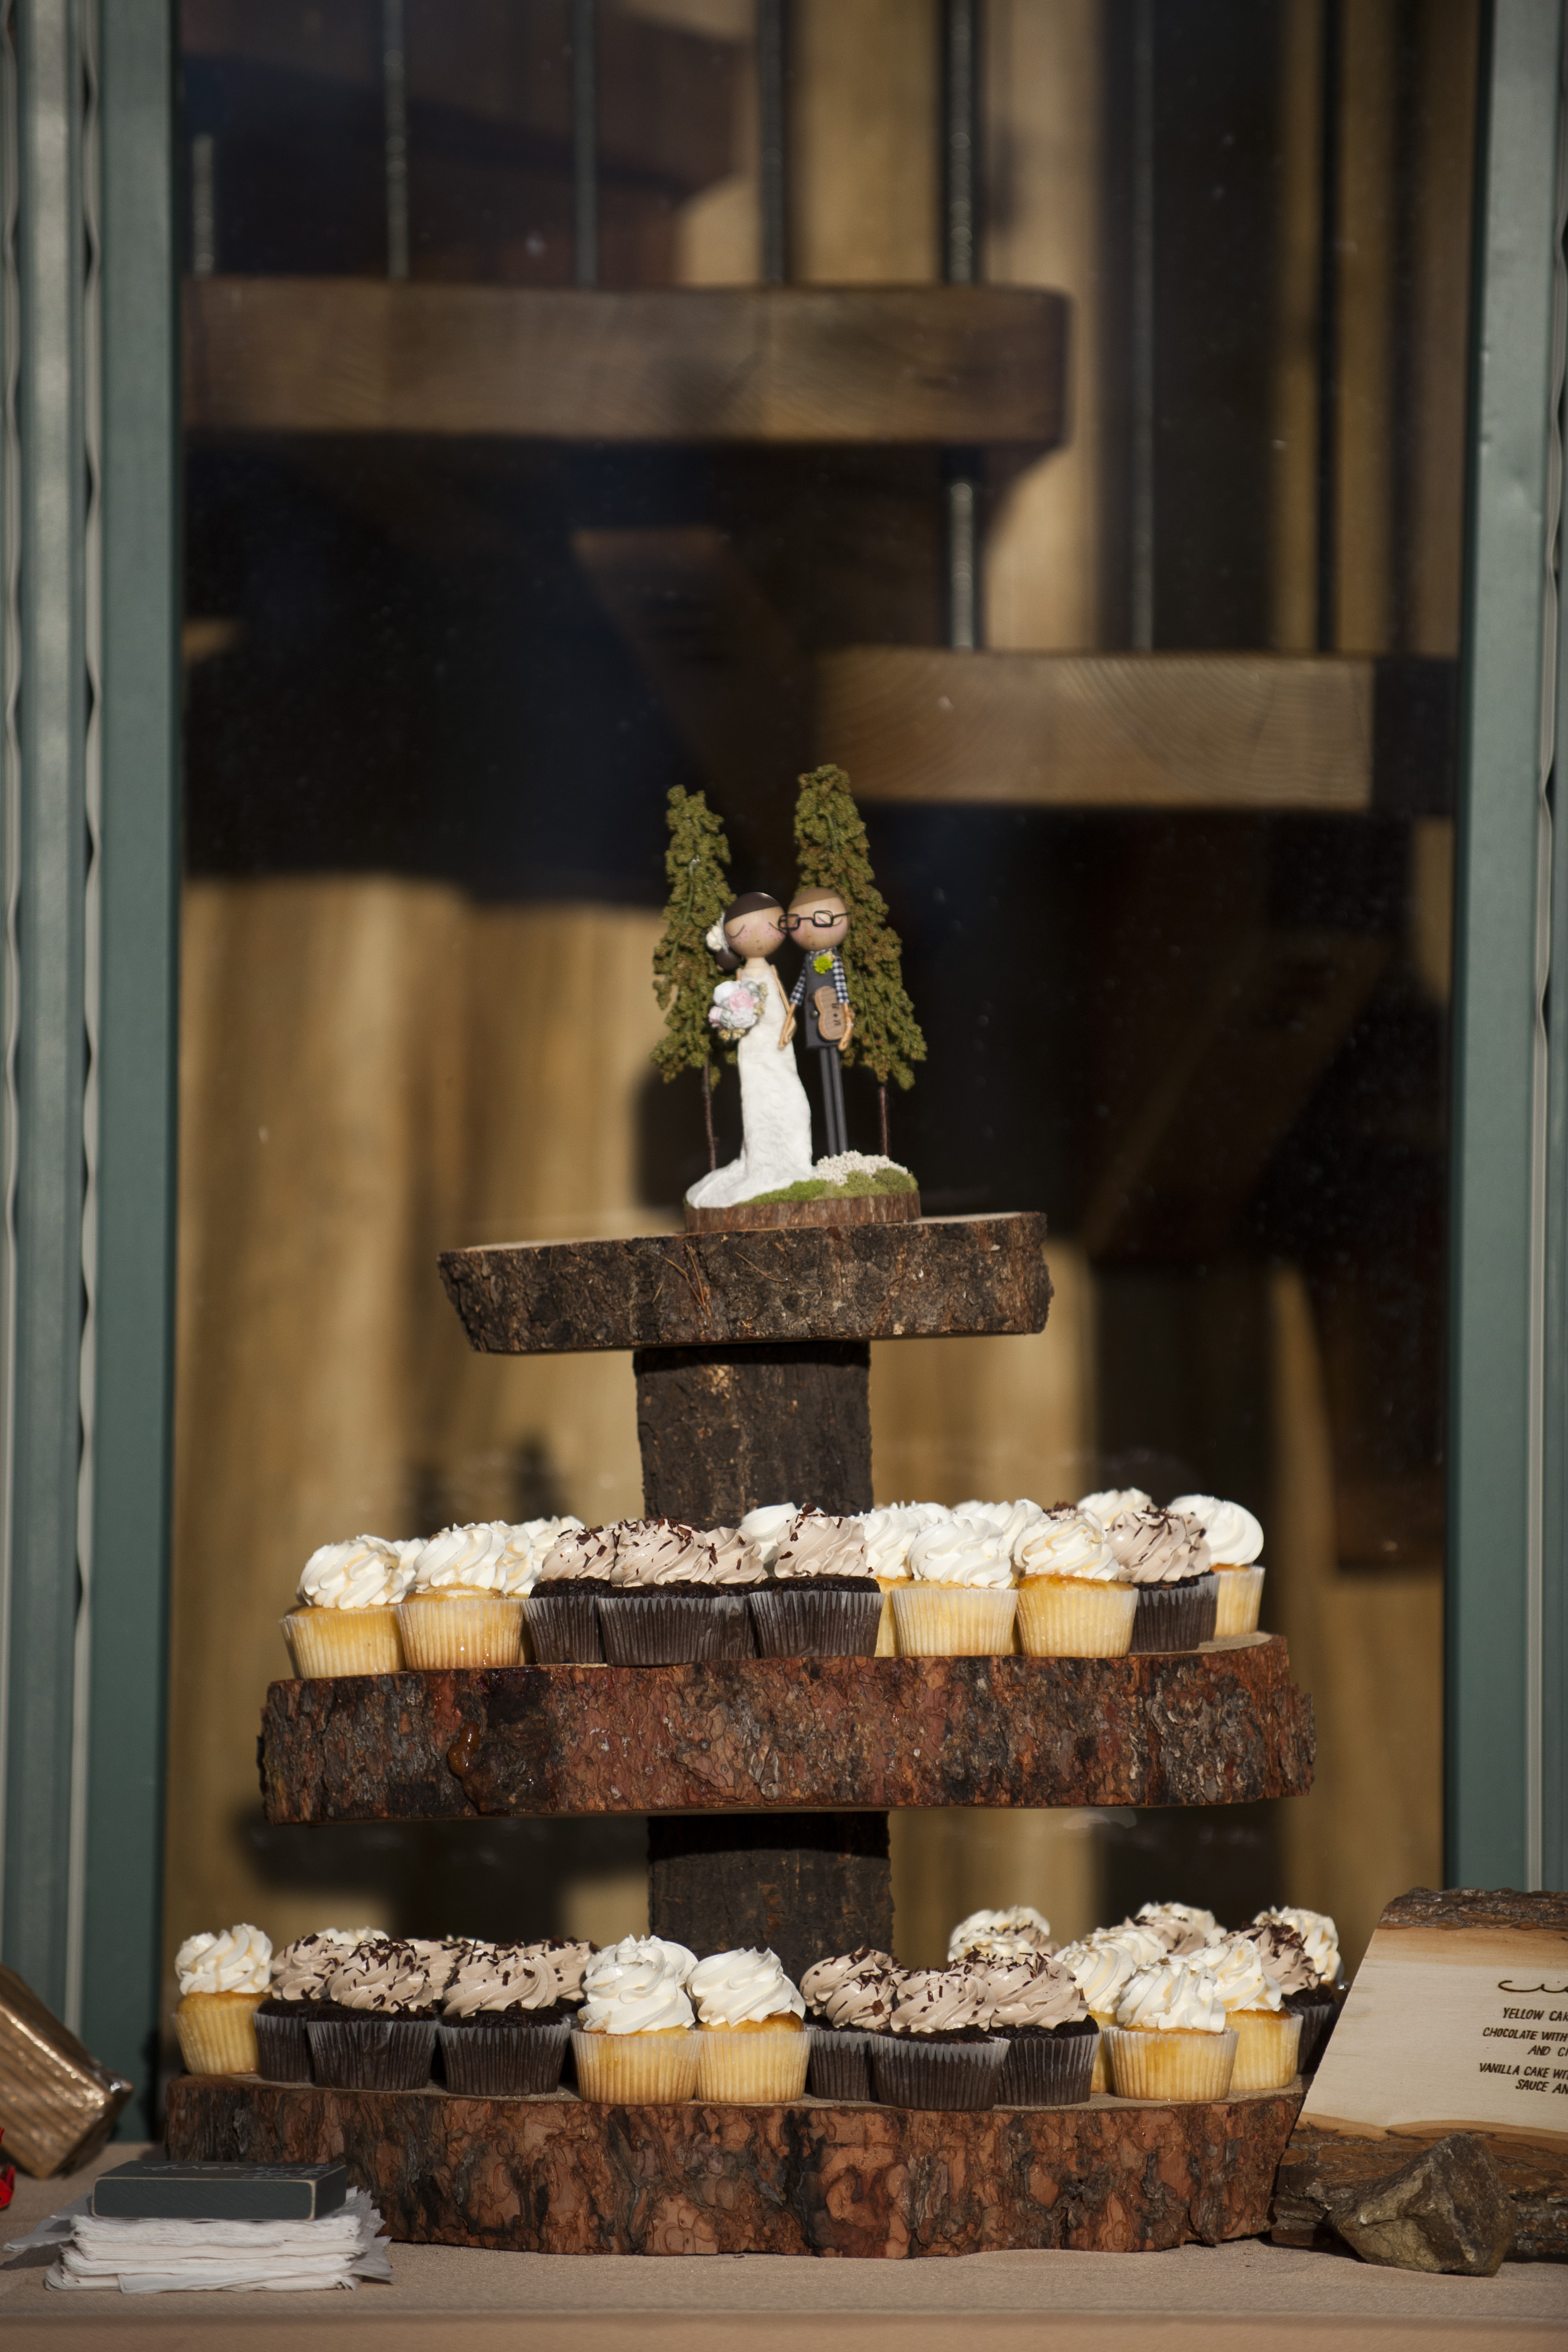
Cupcake Tier
It’s no surprise our cupcake tier was also made of wood slices! When I priced out wood-slice cupcake tiers on Etsy, my heart dropped and I didn’t think we would get the cute cupcake tier I had imagined. Luckily, the friend who got us our wood stumps for the aisle decor, also volunteered to cut some thick slices out of bigger logs so we could make our cupcake tier.
The cupcake tier was an even more nail-biting experience than the aisle wood stumps because the thinner wood was very prone to cracking. We waited about a week before the wedding to cut the wood slices for the cupcake tier and even on night one, the wood slices began to crack. Fortunately, our friend had cut us a few extra pieces, which ended up coming in hand because by the time we got to the wedding, some of the pieces we intended to use had cracked in half completely.
We used other smaller wood stumps in between each tier and glued everything together using wood glue the night before the wedding.

Wood Pallet Heart
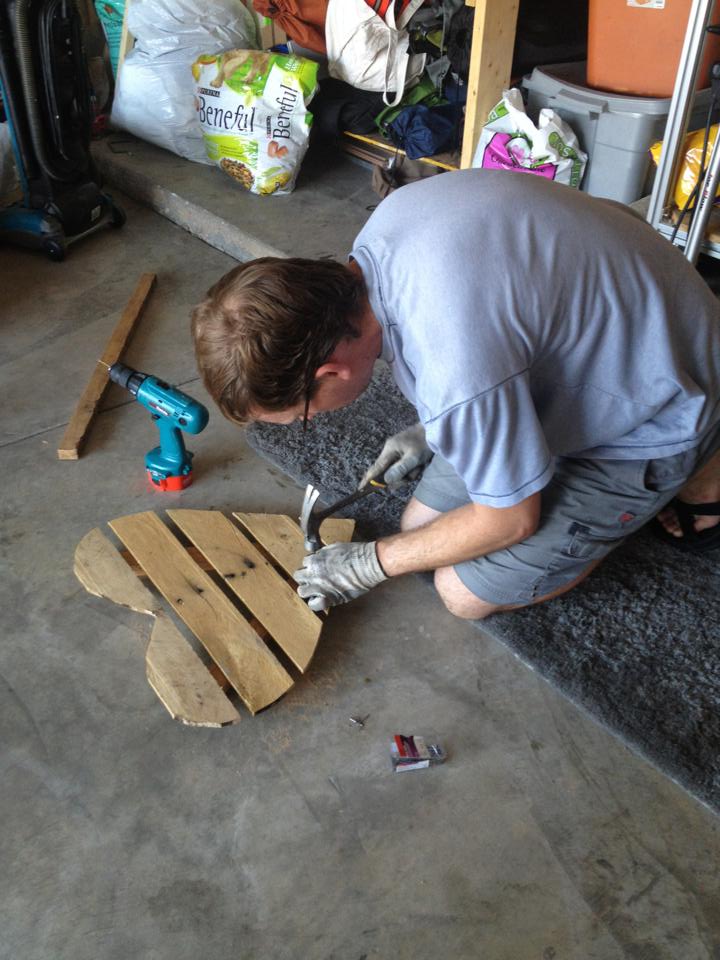
Oh, our heart! I saved the best for last! This was by far one of my favorite projects… partly because this was the only project that my soon-to-be hubby actually helped with, and partly because it came out so stinkin’ awesome!
My work place had a few old wood pallets sitting out back by the dumpsters and with this wood-pallet heart as my inspiration, I put my fiancé to work constructing our heart from a reclaimed wood pallet we rescued.
To make the heart, hubby first carefully pried out all the screws from the wood pallet and separated all the wood pieces. Wood pallets are especially fragile because they can be made from thin, reclaimed wood and sometimes have been sitting around for a long time in the sun, so we had to be careful not to crack the wood when prying out the nails. We laid our wood pieces on the ground and spaced them the way we wanted and used a piece of newspaper to cut out a pattern for our heart to make sure we were cutting our heart to the right size we had available. After getting our heart pattern just right, we cut it out and traced in back out to wood pieces using a pencil. Hubby then cut out all the pieces and used spare pieces to nail to the back of the heart to keep all the pieces together and spaced the way we wanted them. Lastly, I used white acrylic paint and a thin paint brush to paint on the lettering. And voila! The best wood-pallet heart ever, for the best day ever!!!