My birthday is long past, but it’s never too late to show off something cute and dachshund-related!
I was fortunate enough to have hubby’s family throw me a party for my 30th birthday soon after we moved to Denver. I have never had a birthday party in my entire life, so bear with me as I get excited over a birthday – something not many adults seem to get excited about, especially not their 30th!
When asked what I wanted for my birthday party I had only one request – margaritas! Duh! So with that in mind, hubby’s cousins and aunt came up with a birthday fiesta, complete with margaritas, a potluck of Mexican food dishes, mustaches, sombreros, and piñatas! His cousins provided two store-bought piñatas — one for the kids and one for the adults — but I decided it would be fun to make my own piñata, purely for eye candy! It was no surprise that I decided to make it into my favorite thing in the world (next to margaritas, that is) — a dachshund!

When I was younger I used to make tons of cute, painted paper mache art projects, but my knowledge of making pointless stuff like paper mache art has long been replaced by knowledge of more important things like running reports and creating purchase orders — you know, the important things that I need to know for a job that pays my bills.
I must admit, it was fun going back to DIY 101 and learning how to do paper mache for this frivolous piñata project. What else is a jobless girl going to do with her free time anyway? Certainly not cross-check purchase orders!
If you want to know how to make this confetti-colored cutie, gather these supplies and read on!
For building the dachshund:
- 1 cardboard mailing tube for the body
- 1 empty ice-cream pint for the head
- 2 empty toilet paper rolls for the legs
For the paper mache:
- 1 part water
- 1 part flour
- tons of newspaper strips of various lengths (1-3 inches)
For making the piñata:
- gluestick
- scissors
- colored tissue paper for the fur (Hobby Lobby is the cheapest place to purchase this!)
- black, white, and red construction paper for the eyes and tongue
- Pipe cleaner for the tail (or other creative idea you can come up with — I personally used a cardboard tail)
- strong wire or string to hang your piñata
1. The first step is to gather your dachshund body parts. I just happened to have a cardboard mailing tube on hand from something that was mailed to me. In a pinch, if you can’t find a cardboard mailing tube, you could also use a Pringles can. I cut the toilet paper rolls in half so I could come up with four legs.
2. If you plan on hanging your piñata for a party, it is easiest to poke holes in your piñata and thread the wire through before you begin any of this project.
3. The next step is to put together your paper mache paste. I had to Google instructions for making a paper mache paste and most of the sources said to boil the water to make the paste, but I don’t remember doing that when I was younger, so I skipped that step and it didn’t seem to make any difference. I used about 1 part flour (1/2 cup) and 1 part warm water (1/2 cup) to make my paste. I prefer to work with a thinner paste so I added a little bit of extra water and just played it by ear. The consistency of the paste is really just whatever personal preference you have. I have always felt like a slightly thinner paste dries quicker.
4. Dip each newspaper strip one at a time into the paper mache paste and slather it on your dachshund. The purpose of the paper mache is not only to harden the body of our sculpture so it can withstand a good beating, but to also attach all the segments of your sculpture. I started with the ends of the body and legs. Use the longer newspaper strips to cover up the ends of the mailing tube for the body. Criss cross until the ends are completely covered. To do the legs, keep the body upside down and hold the leg/toilet paper roll in place while slathering on each of the paper mache strips. It won’t take long before the leg stays in place where you want them to be. You will want to criss cross your strips and do about 2-3 layers of strips.
5. After you have paper mached your body and legs, let it dry. Drying time will take about an hour or less. Don’t worry about attaching the head just yet!
6. While the legs of your dachshund are drying, paper mache the ice cream pint so that the lid and bottom are not concave and wait for it to dry. You’re almost done with the paper mache now!

7. Now you’re ready to attach the head onto the body. This took lots of layers for me to get it to stay in place on its own.
8. If you prefer to have a “real” tail for your dachshund instead of using a pipe-cleaner, get creative and make your tail now. I used a thin rolled up piece of cardboard for my tail.
9. Lastly, let your dachshund dry really good before you add one or two additional layers, enough to achieve a sturdy piñata.
10. If you plan on stuffing your piñata with goodies, cut open a flap on the top of your piñata to add the goodies. You can stuff it now or later.
11. To cut the paper tissue fringe for the fur it will be easiest if you fold a piece of tissue paper over a few times and then cut a 1-inch wide strip. Keep your strip folded over as you cut the fringe along one edge.

12. Attach your fringe, starting at the booty of your dachshund, using a glue stick. Wrap one layer around the body and then add another layer right next to it, moving closer to the head each time. It’s up to you how often you want to change the color of the fringe. I did about three layers of fringe before changing colors.

13. Once you are done with the fur for the body of the dachshund, move on to the feet, head, and tail. For the feet, start at the bottom of the feet and work your way up. For the head, start at the nose working your way to the back of the head.
14. Your very last step will be to add ears, eyes, nose, and by getting creative with tissue paper and construction paper. If you opted to do a pipe-cleaner tail, add that on now as well.
You should now have a dachiñata that looks something like this, perhaps even better!

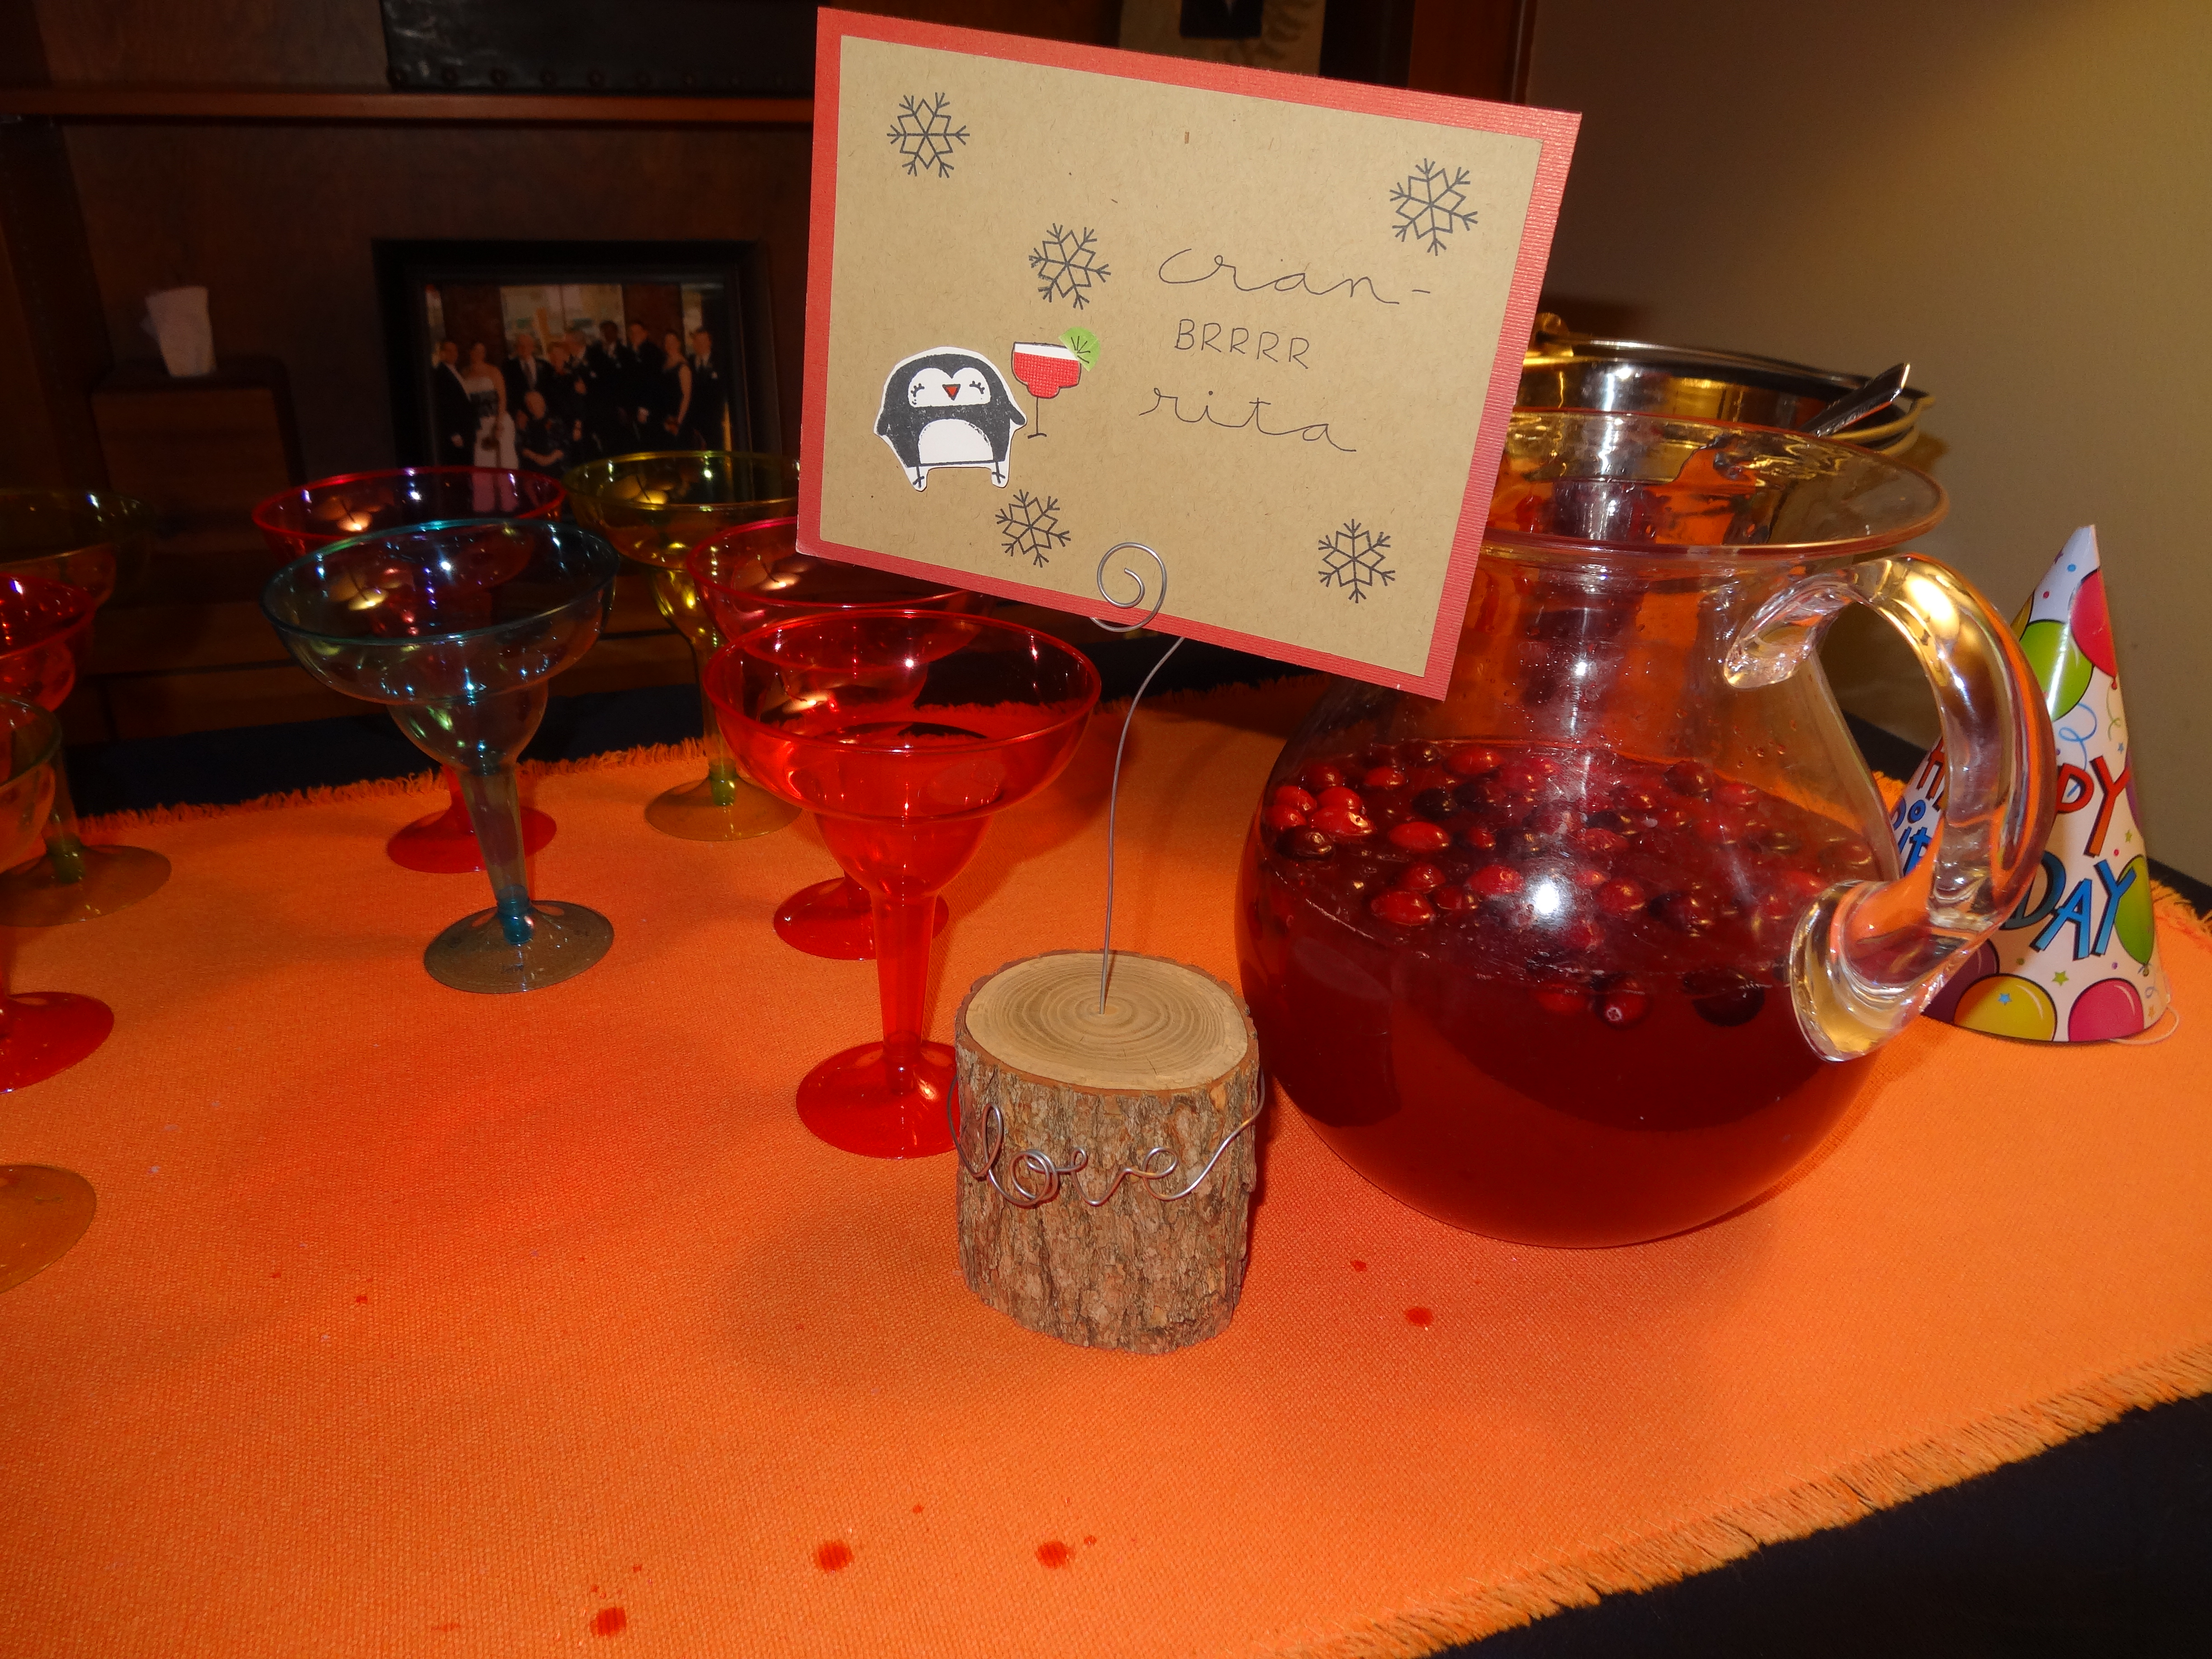
And for those of you more curious about the margarita that we had on that cold December day more than the piñata….

I’m looking to make one of these. Very cute. Thanks for posting.