I noticed right away that something missing from the front door of our new residence in Denver. It took about an hour and a half to get everything moved into out apartment on the second floor. And in that hour and half, we made a gazillion trips up a flight of stairs and down two long hallways, during which I noticed that most of the residents had doormats at their front doors. Some funny. Some simple. But either way, these doormats gave the apartment character to an otherwise boring door.
So I decided our front door needed some character to distinguish it from all the other doors! And you know me… gotta have something cute and different!
I scoured the interwebs for the perfect, witty doormat but nothing was catching my eye until I found this hello doormat by Umbra. Unfortunately, this doormat didn’t seem to be for sale anywhere, so I decided it could be a fun challenge to make! And what better way to occupy my jobless days!
One of the great things about living in Denver is the variety of shops and restaurants that we now have access too. Albuquerque is neither a big or small city, but we did not have a plethora of stores to choose from like Denver does. Our first shopping outing was a visit to IKEA! Who doesn’t love IKEA? Especially when you’re on a budget and want something trendy.
It just so happened that IKEA had the first item I needed to get started on my doormat project: a $10 coir doormat. You could probably use any texture of doormat you want, but I liked the course texture of this one to really help get the snow and mud off the crevices of our shoes when we come in the apartment.
The other supplies I gathered were:
- scissors (maybe ones you don’t care about too much, because you WILL ruin them)
- blade
- pencil
- wrapping paper
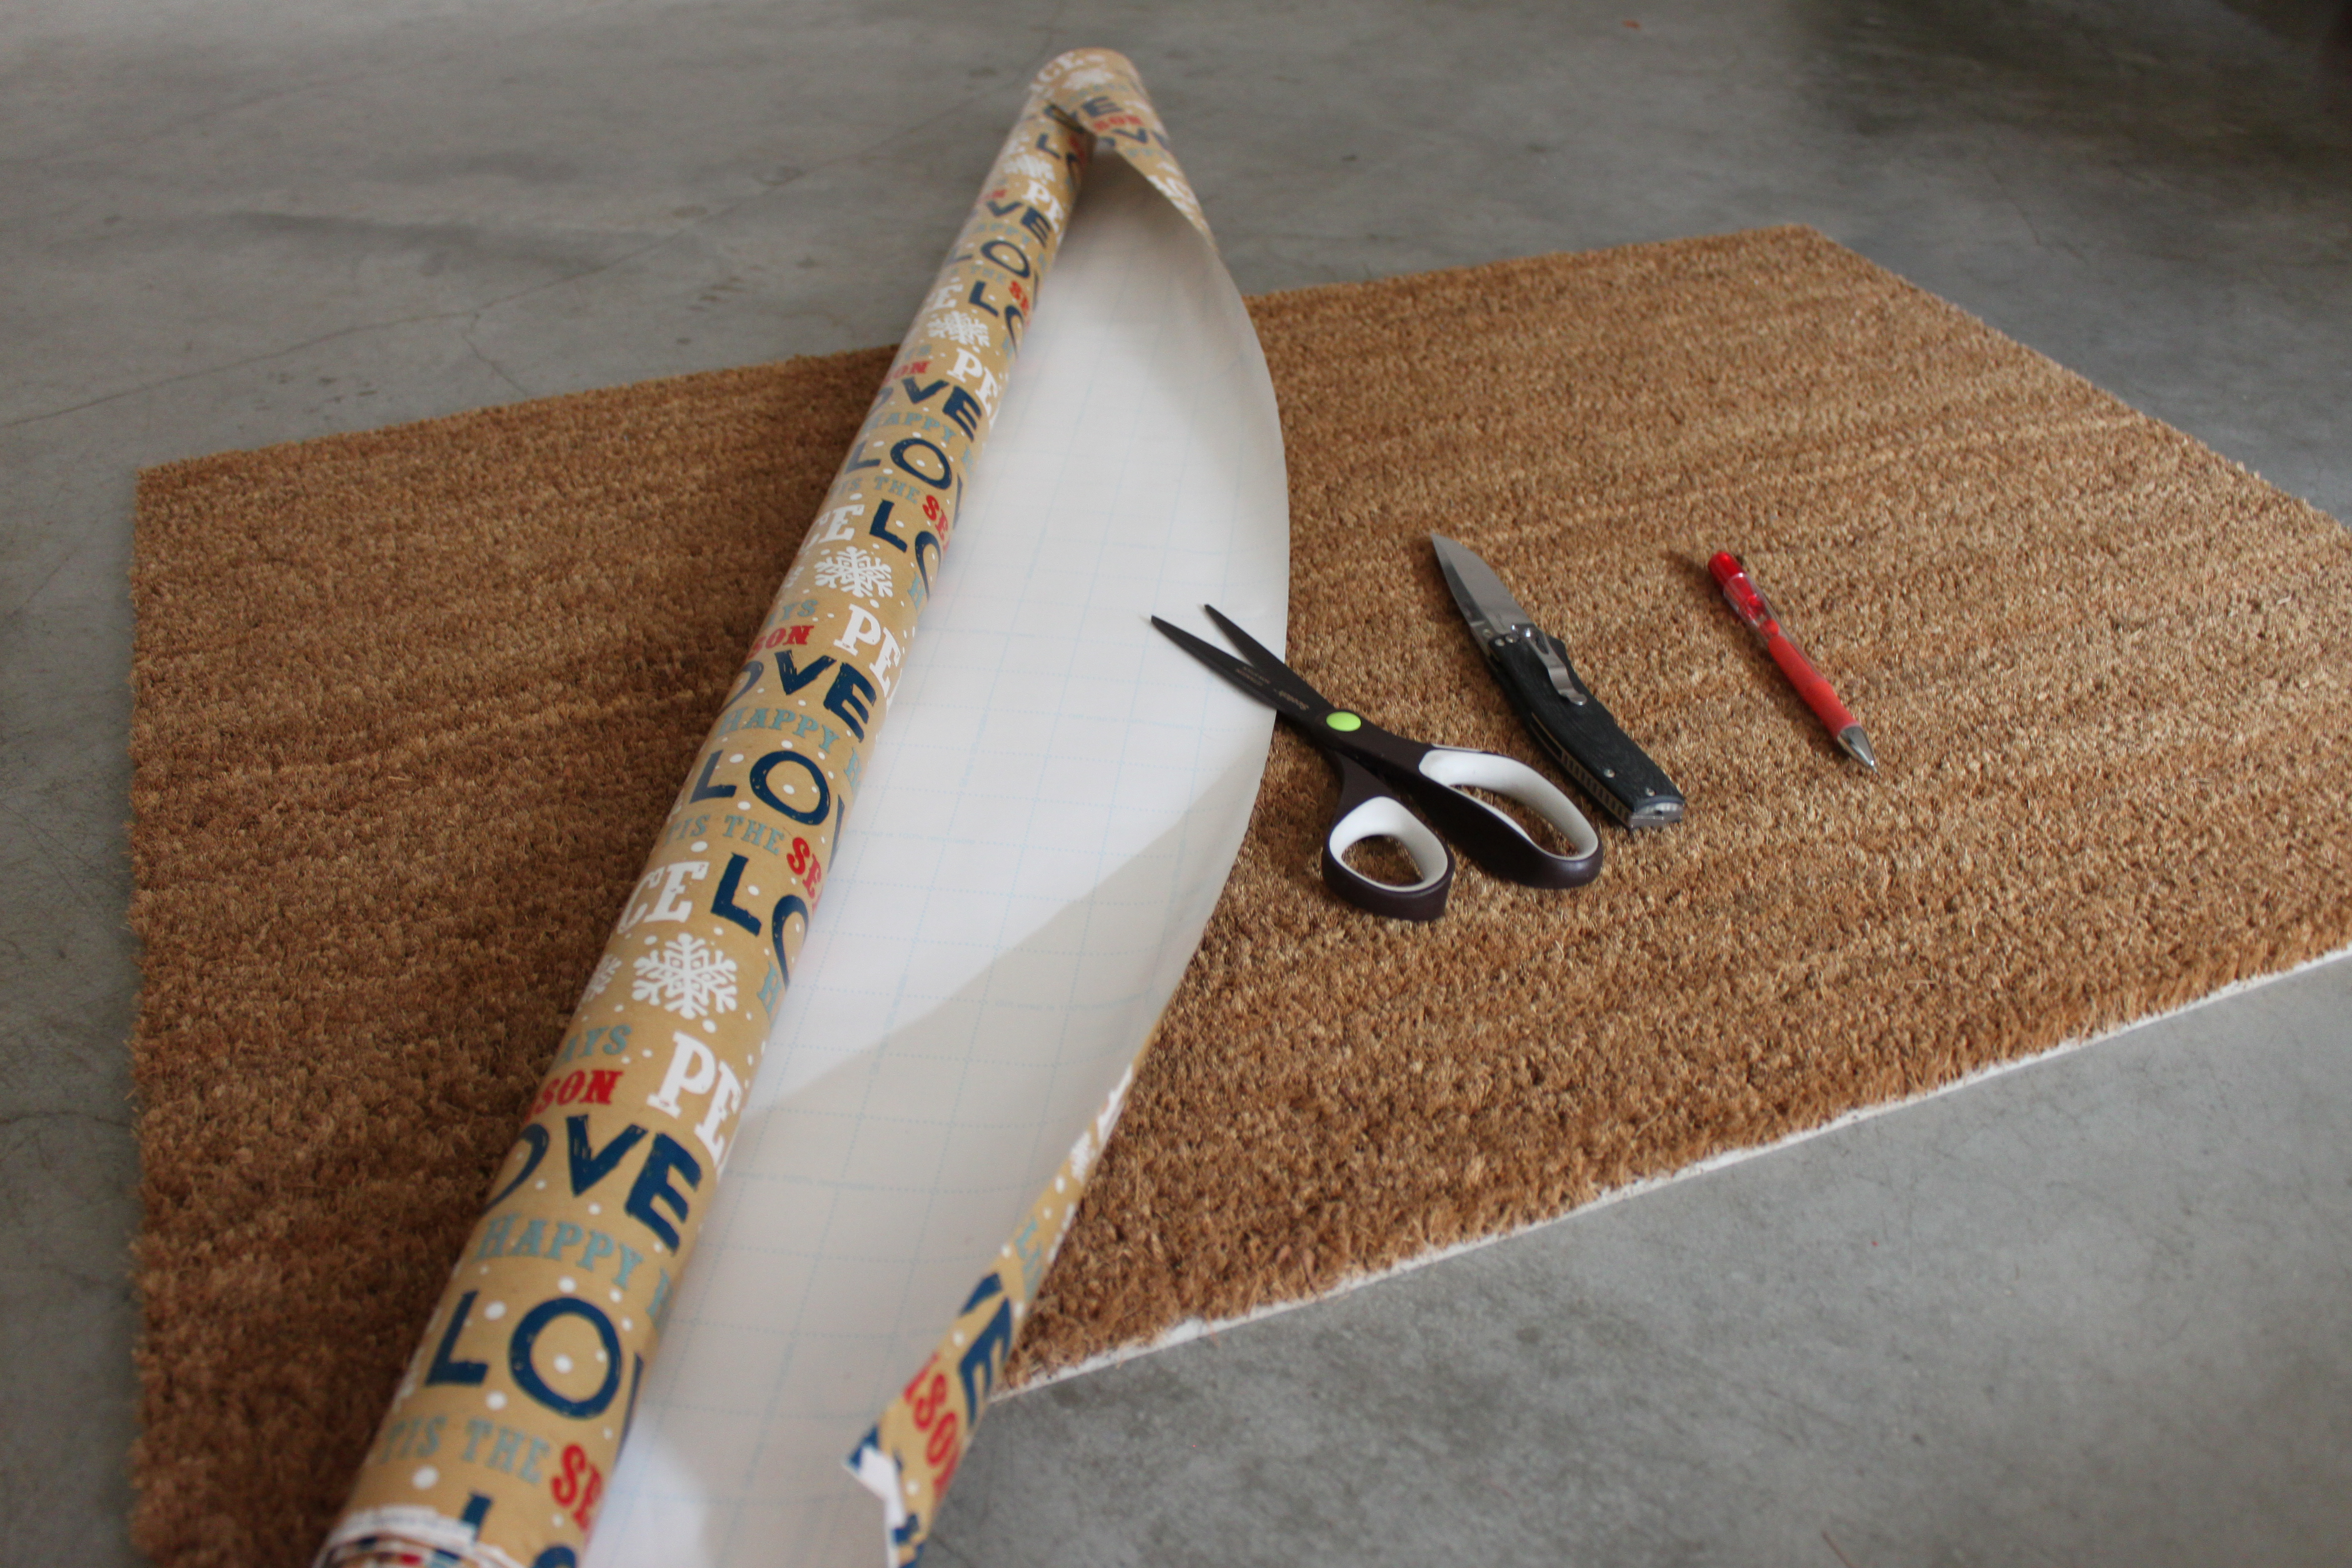
The first step is to cut a piece of your wrapping paper to the exact size of the mat, that way when you go to draw your words you will already know they fit to the exact dimensions of your doormat.

The second step is to draw your words on the side of the wrapping paper without the design. I chose a wrapping paper with guidelines on it. Although it isn’t necessary to have wrapping paper with guidelines, I felt this really helped make sure my letters came out the same size. I used the doormat picture as my guideline for how I would draw my “hello” words in cursive.

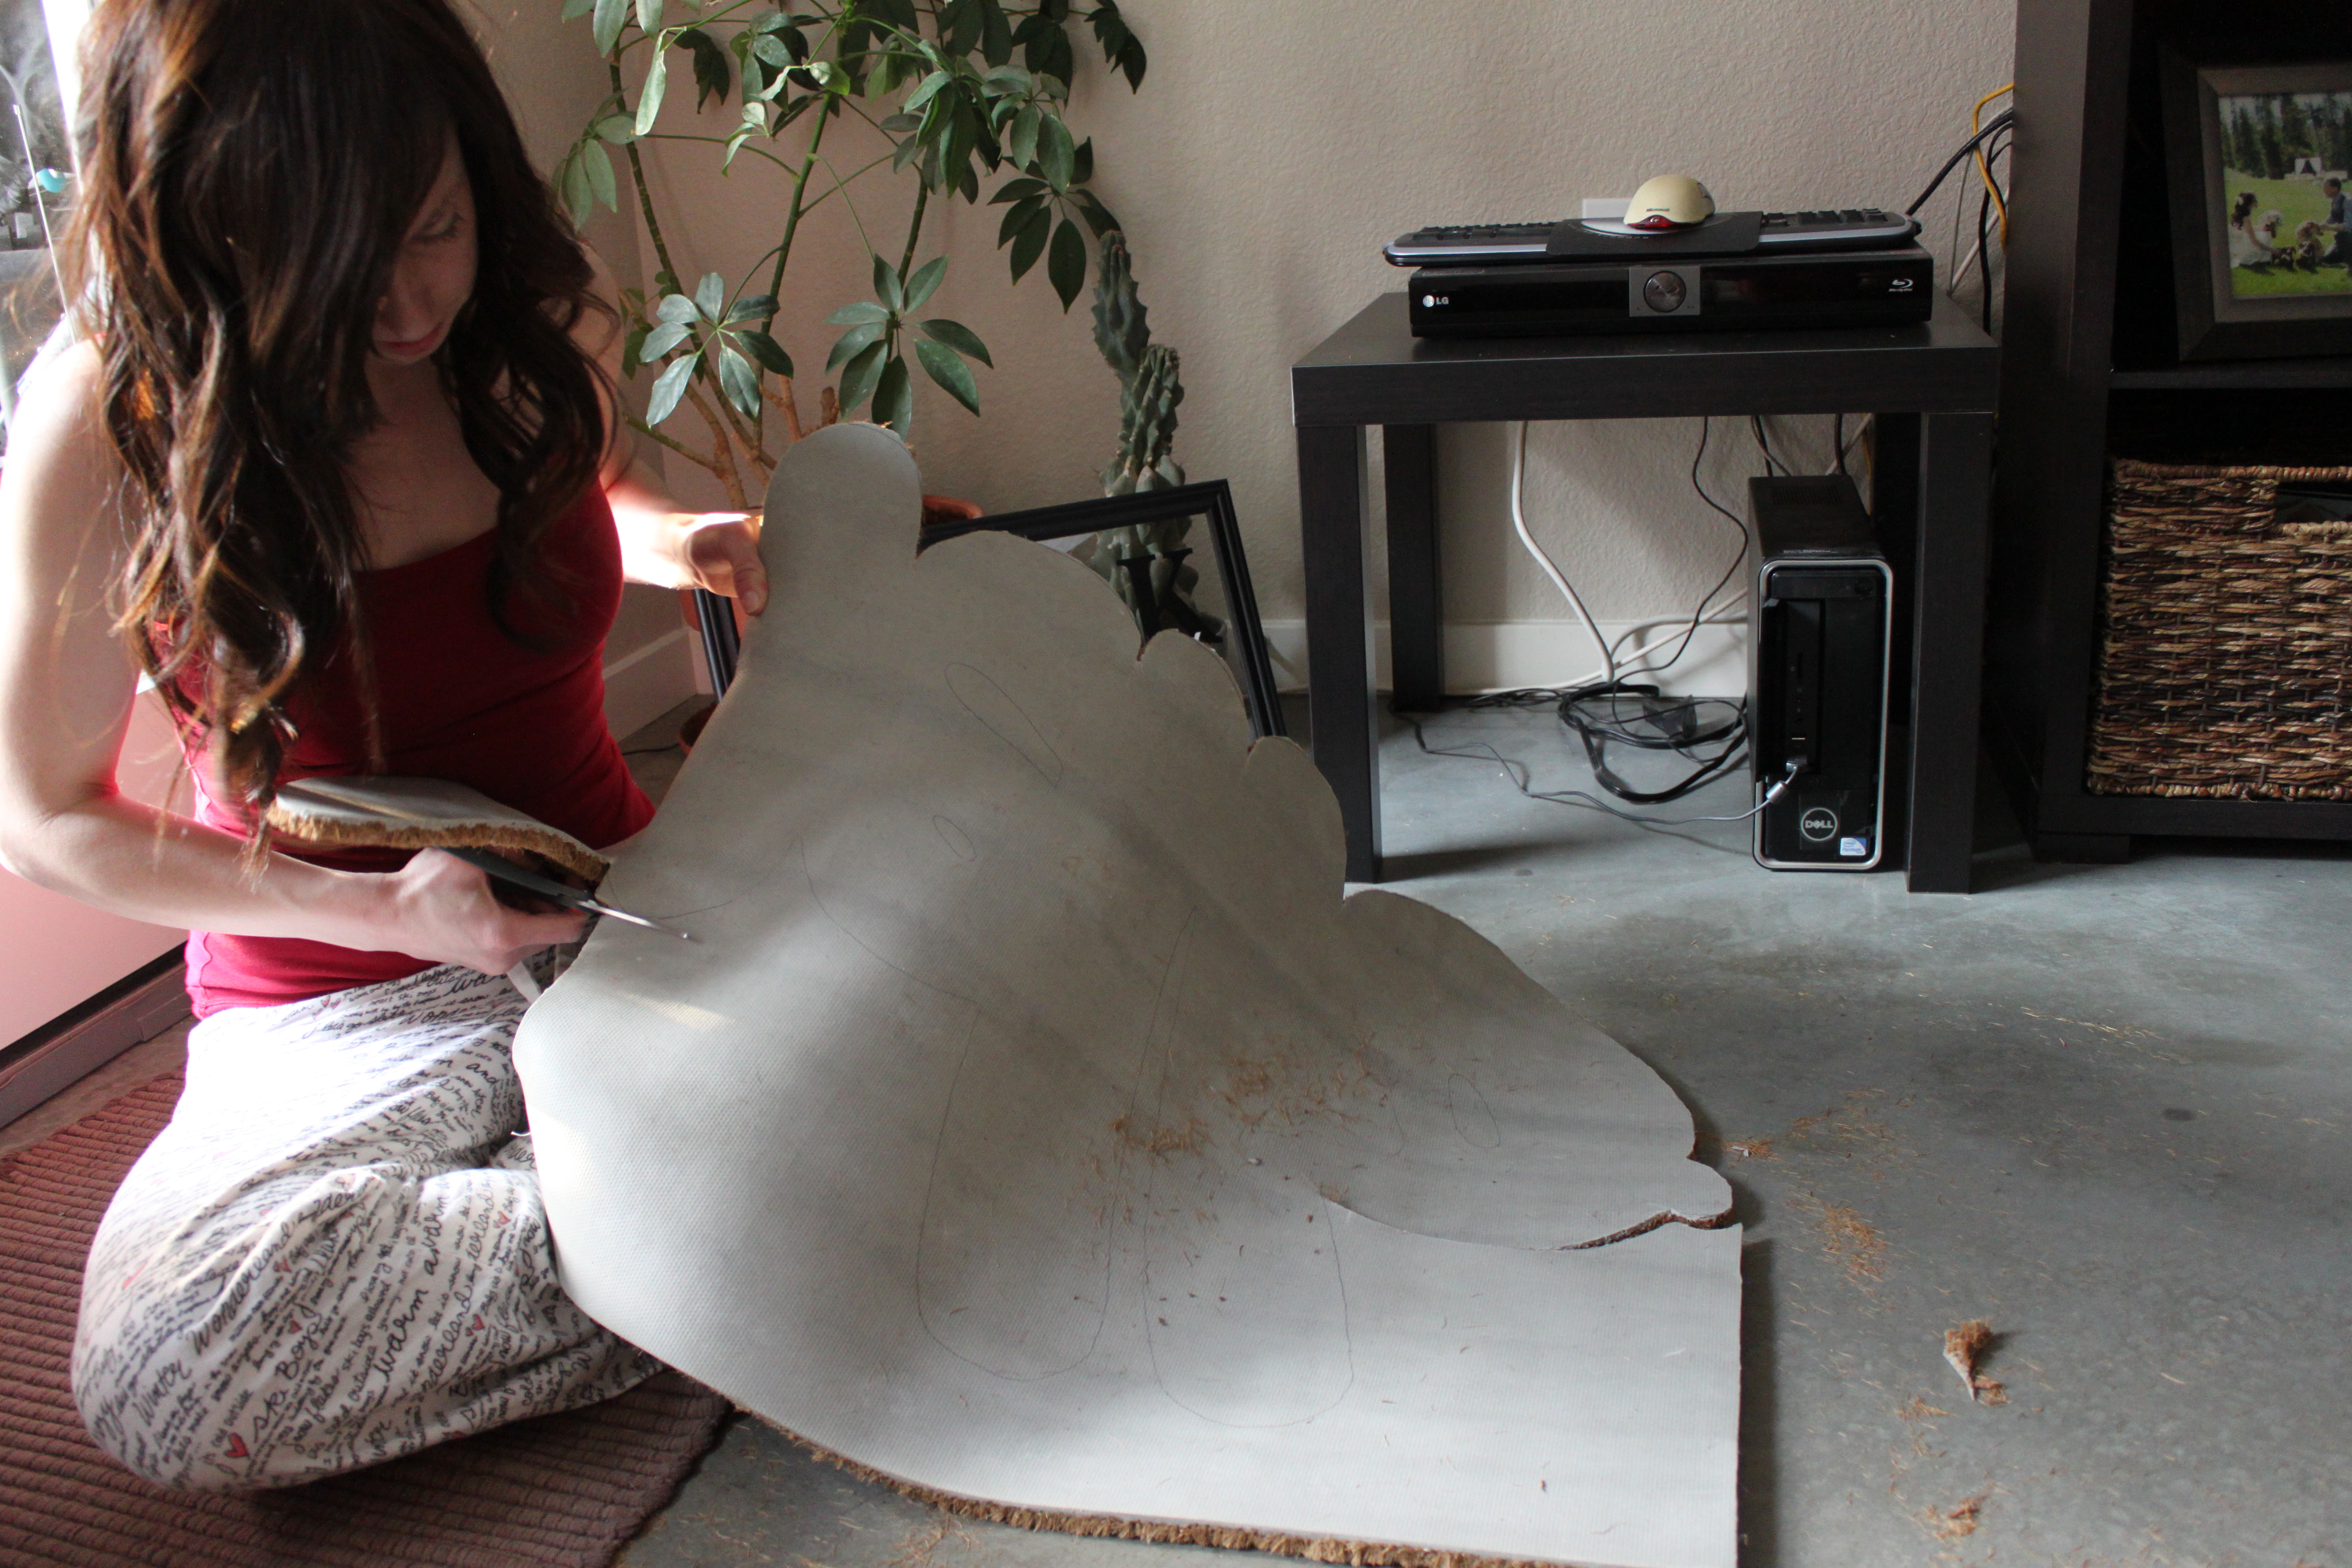
Next, cut out your drawing. This doesn’t have to be too perfect because once you start cutting your mat, you’ll realize that you won’t be able to cut it exactly like your tracing anyway.
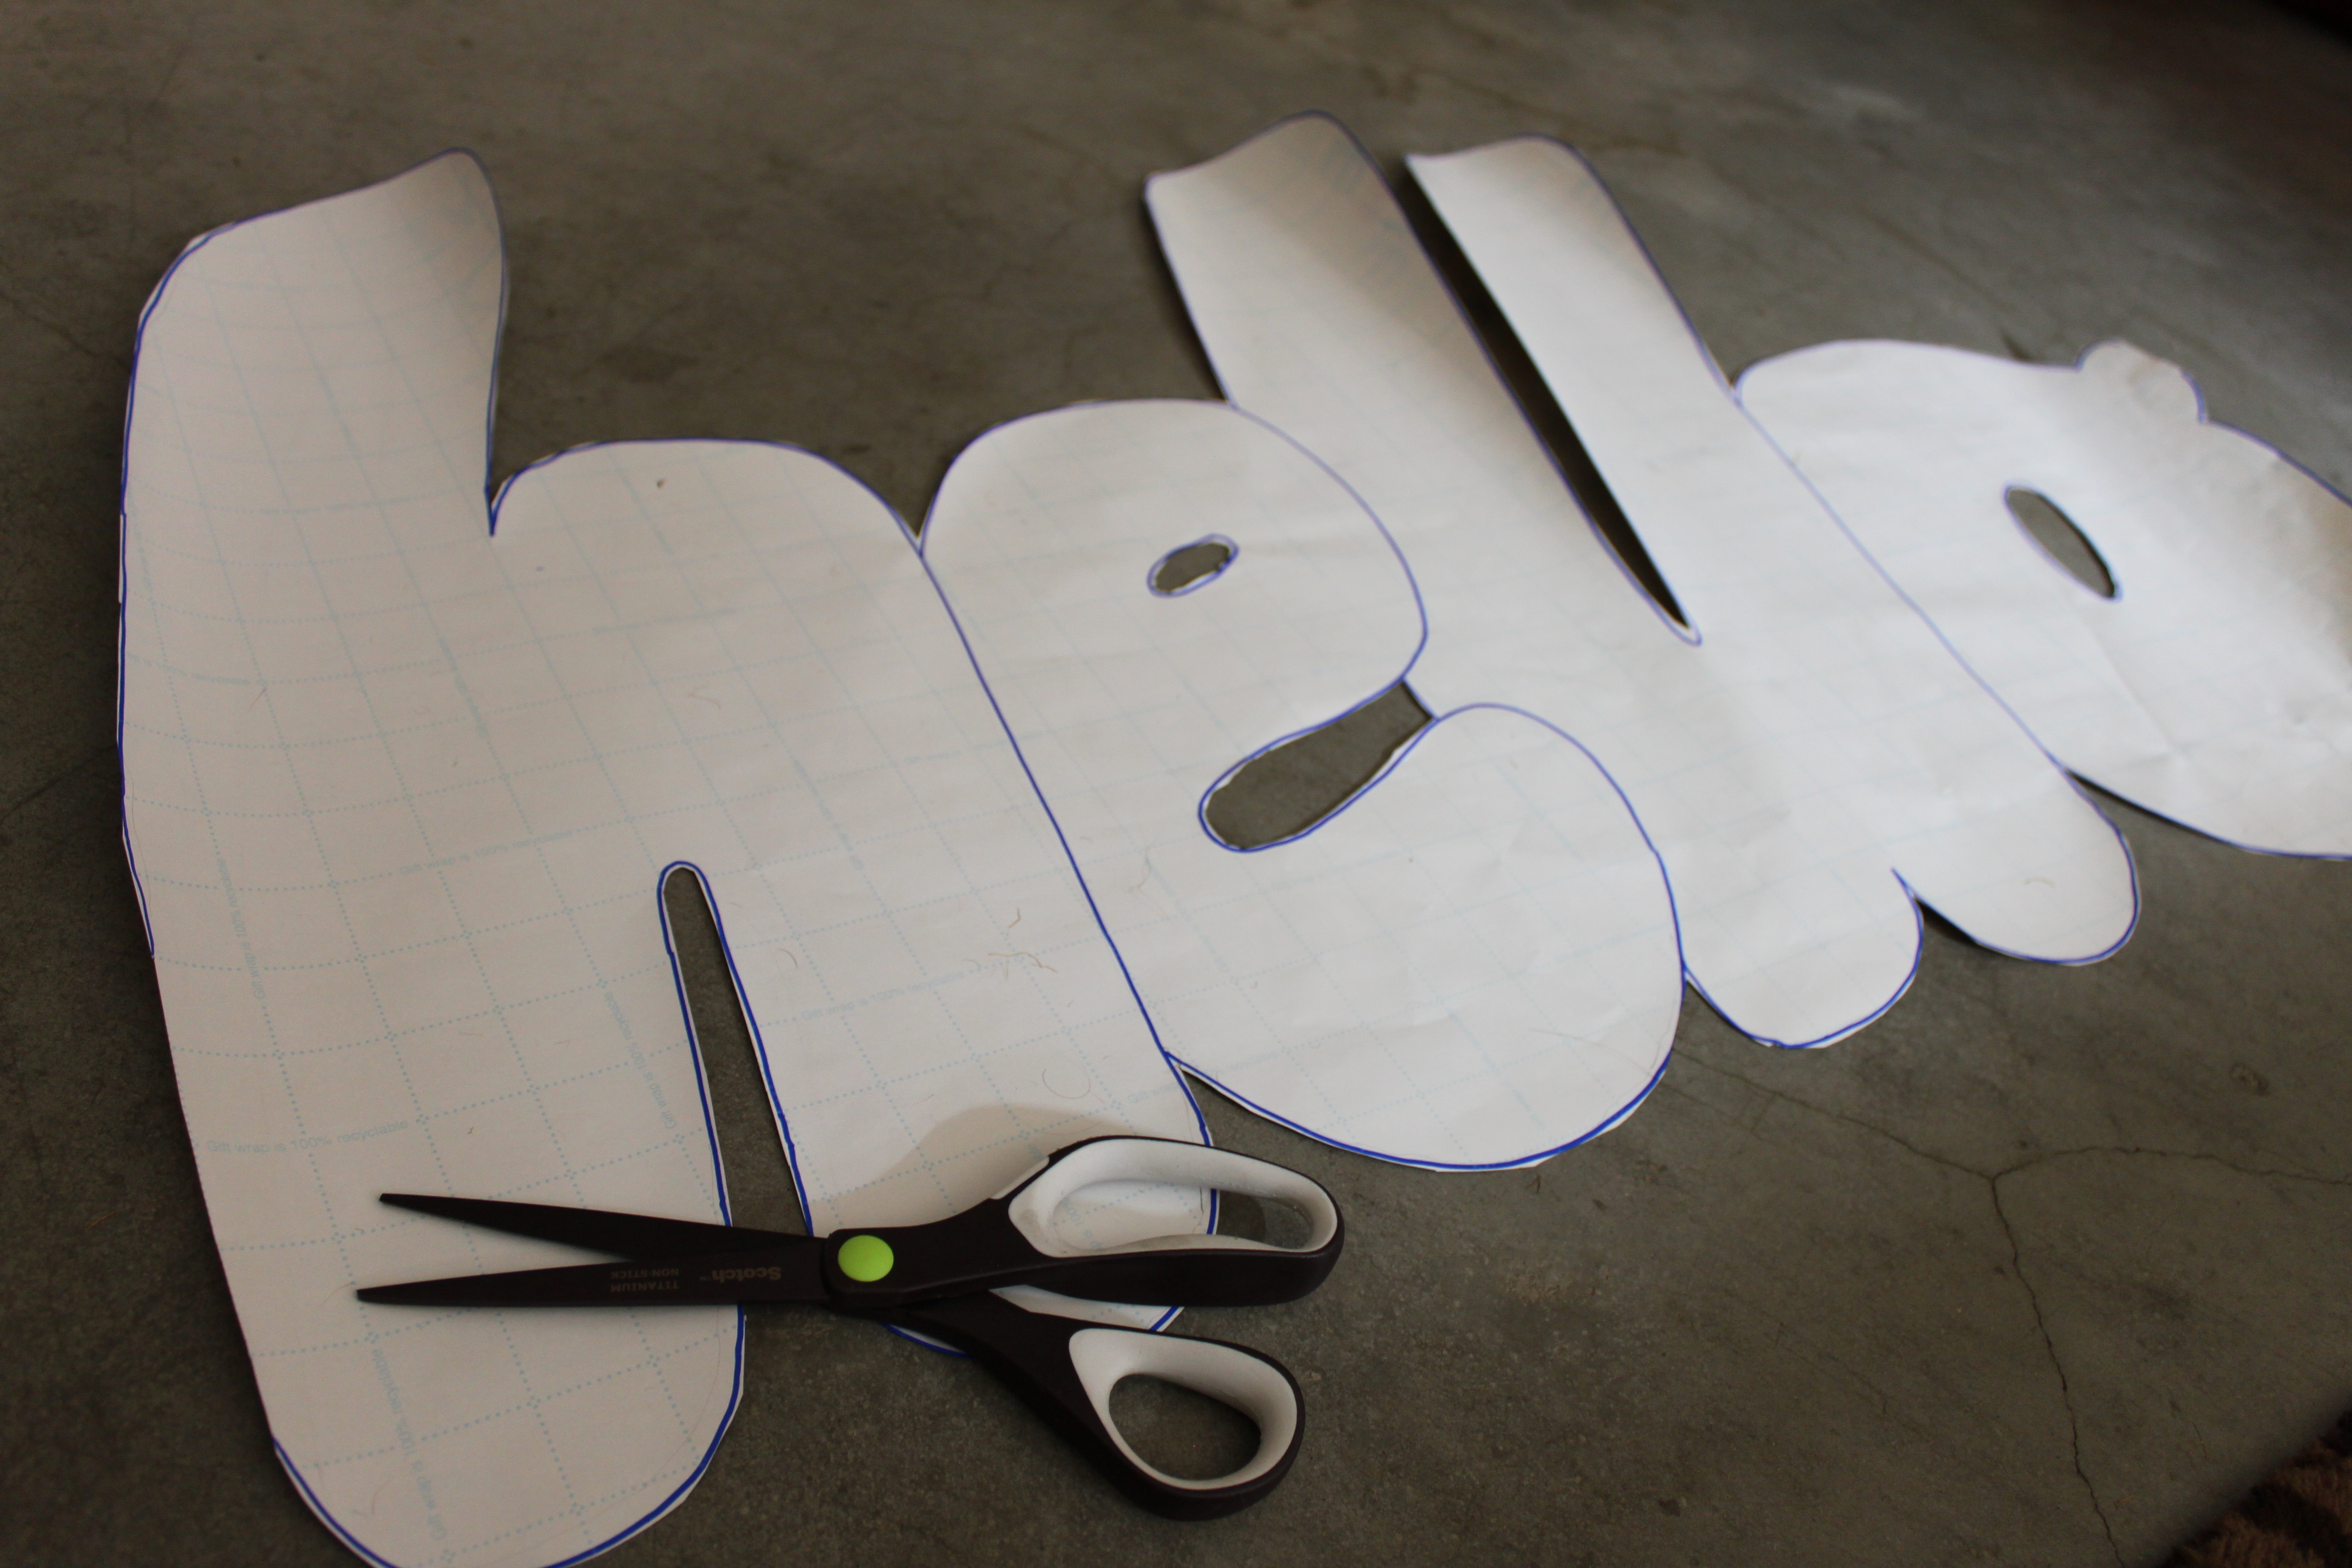
The fourth step is to flip your drawing around and put in on the back of your door mat to trace it. You will be tracing it backwards. Again, no need to be precise about your tracing.
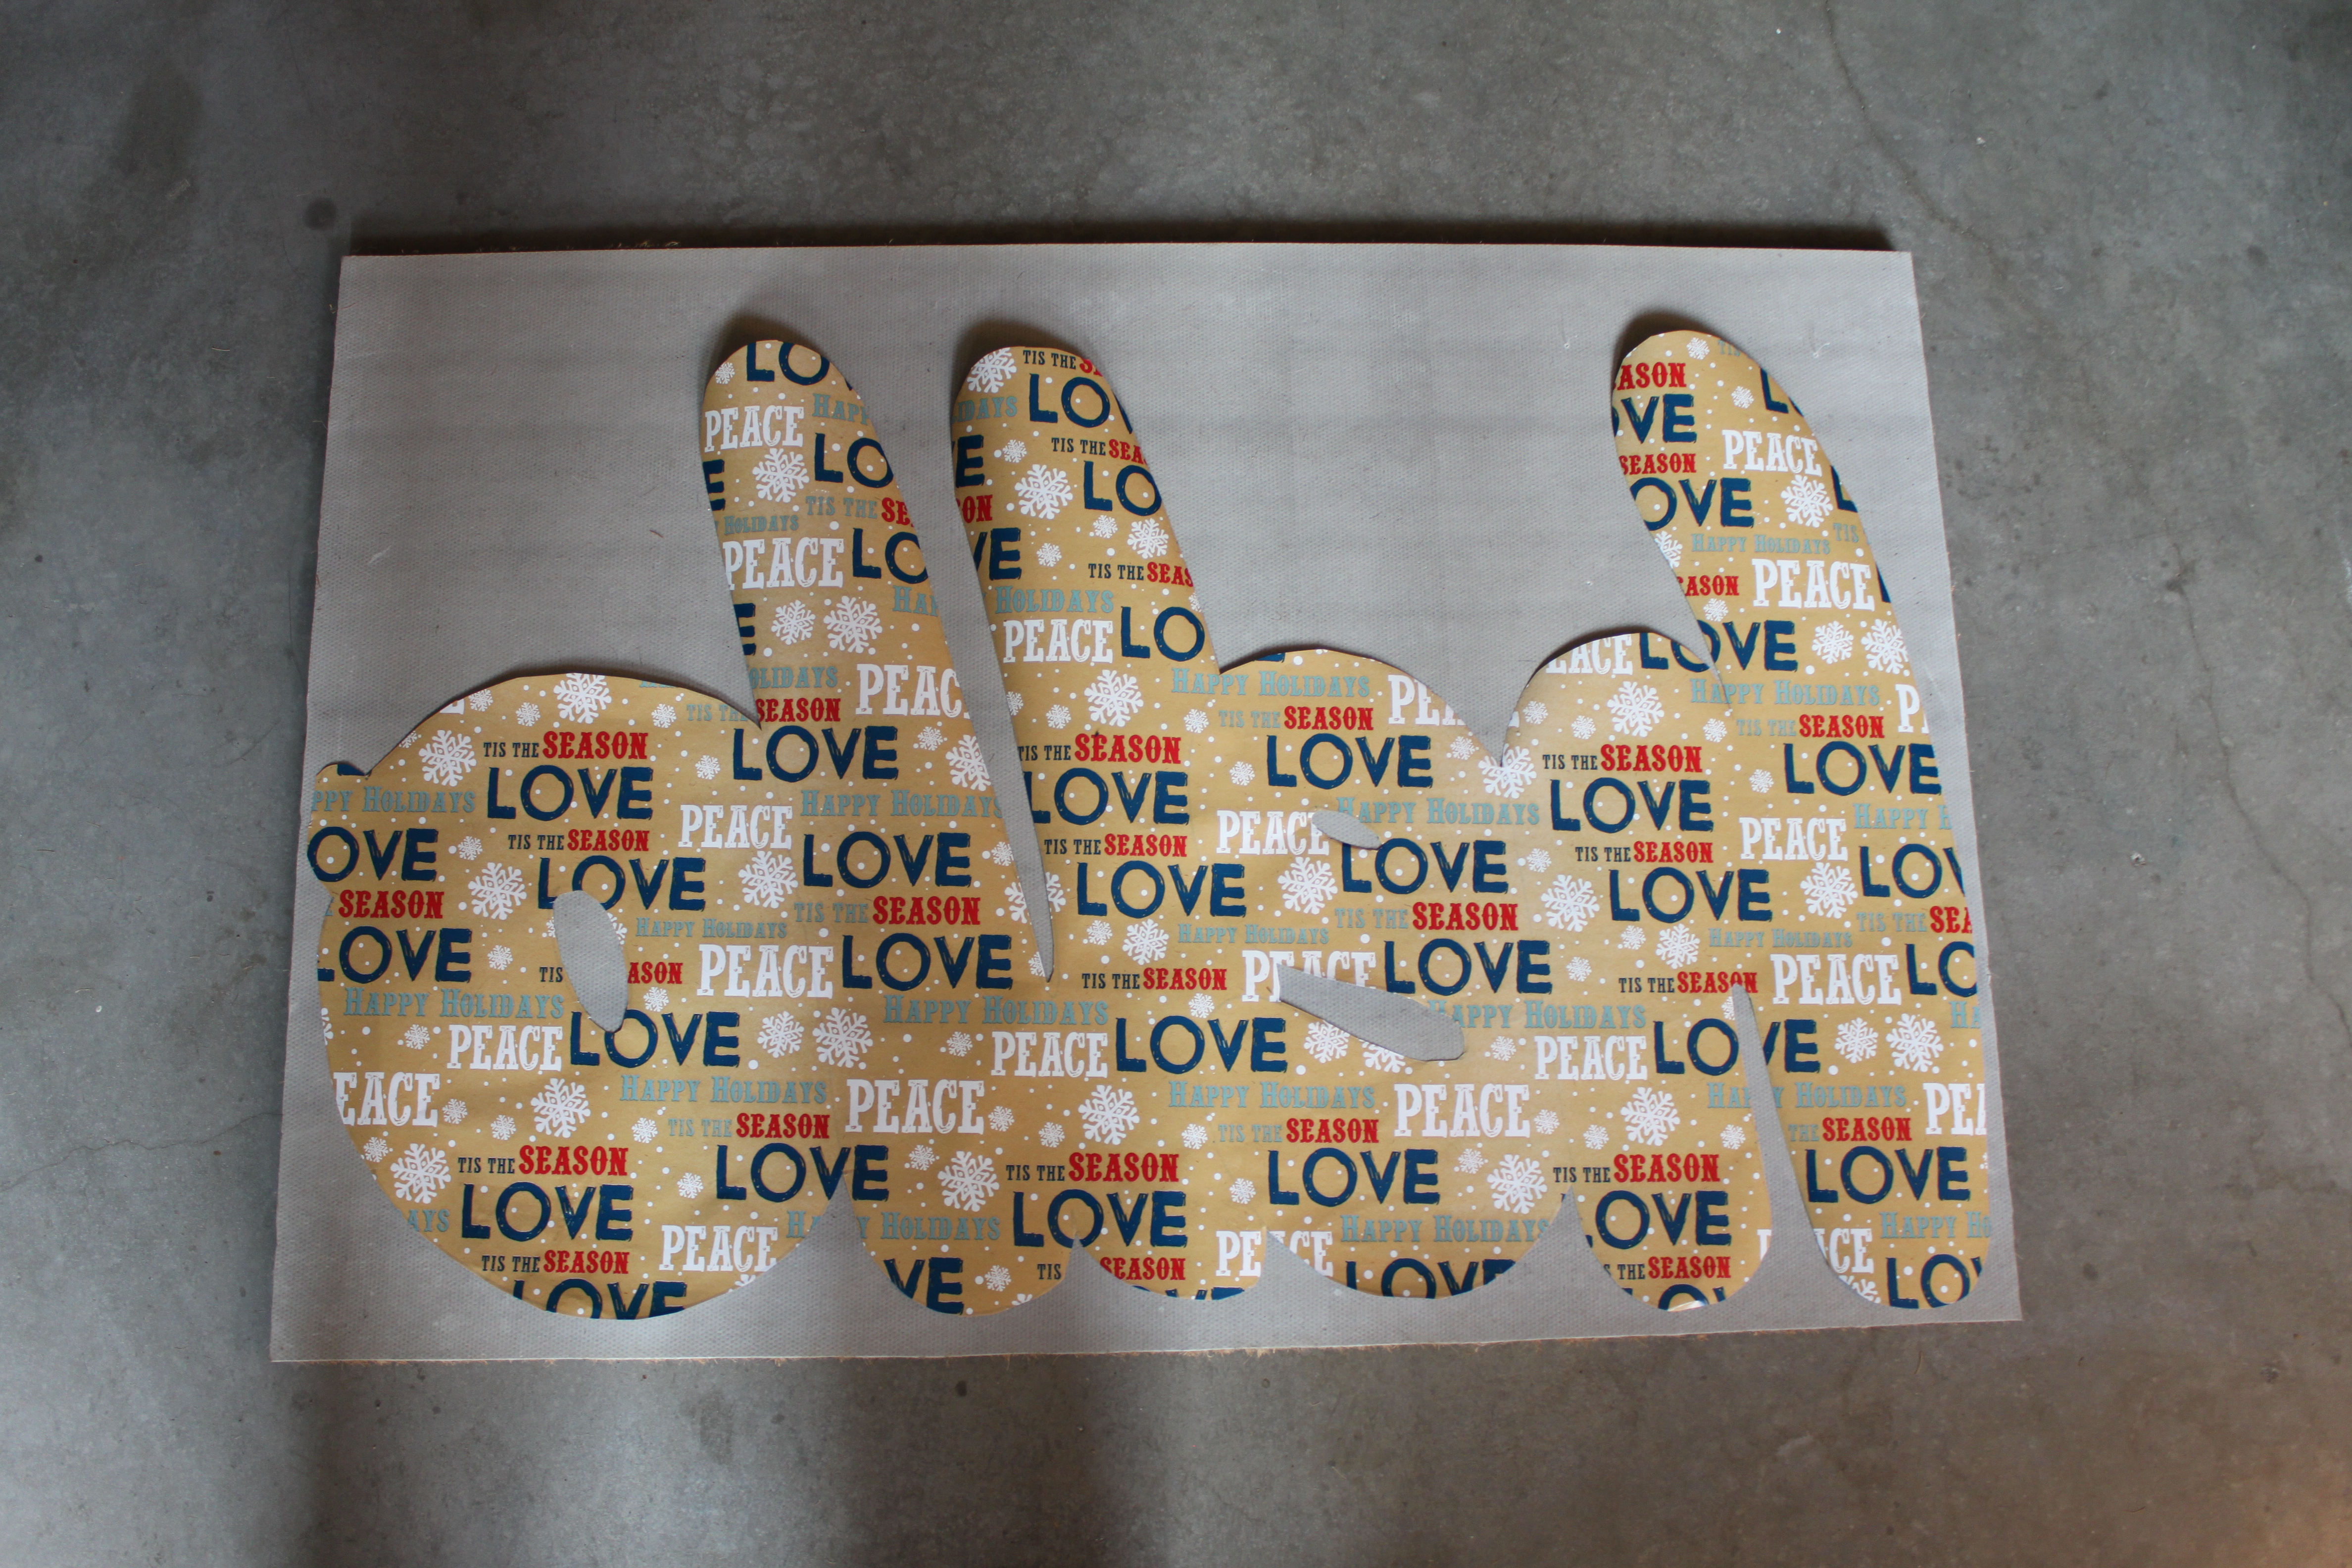
Next, cut away!!!
If you have two pathetic-looking, attention-hogging dachshunds like me, you will need to cut and play fetch at the same time. Trying to cut the doormat can be very exhausting and tough on your hands. You will have to take a lot of short breaks to let your hands rest. Also, frequently check your scissors for trapped fibers from the door mat that might prevent your scissors from cutting easily. I didn’t realize why I was having such a hard time cutting (me, a wimp? naw!!) until I realized halfway through my project how much crud was stuck in the hinge of the scissors (see, it wasn’t just me and my wimpy arms!).
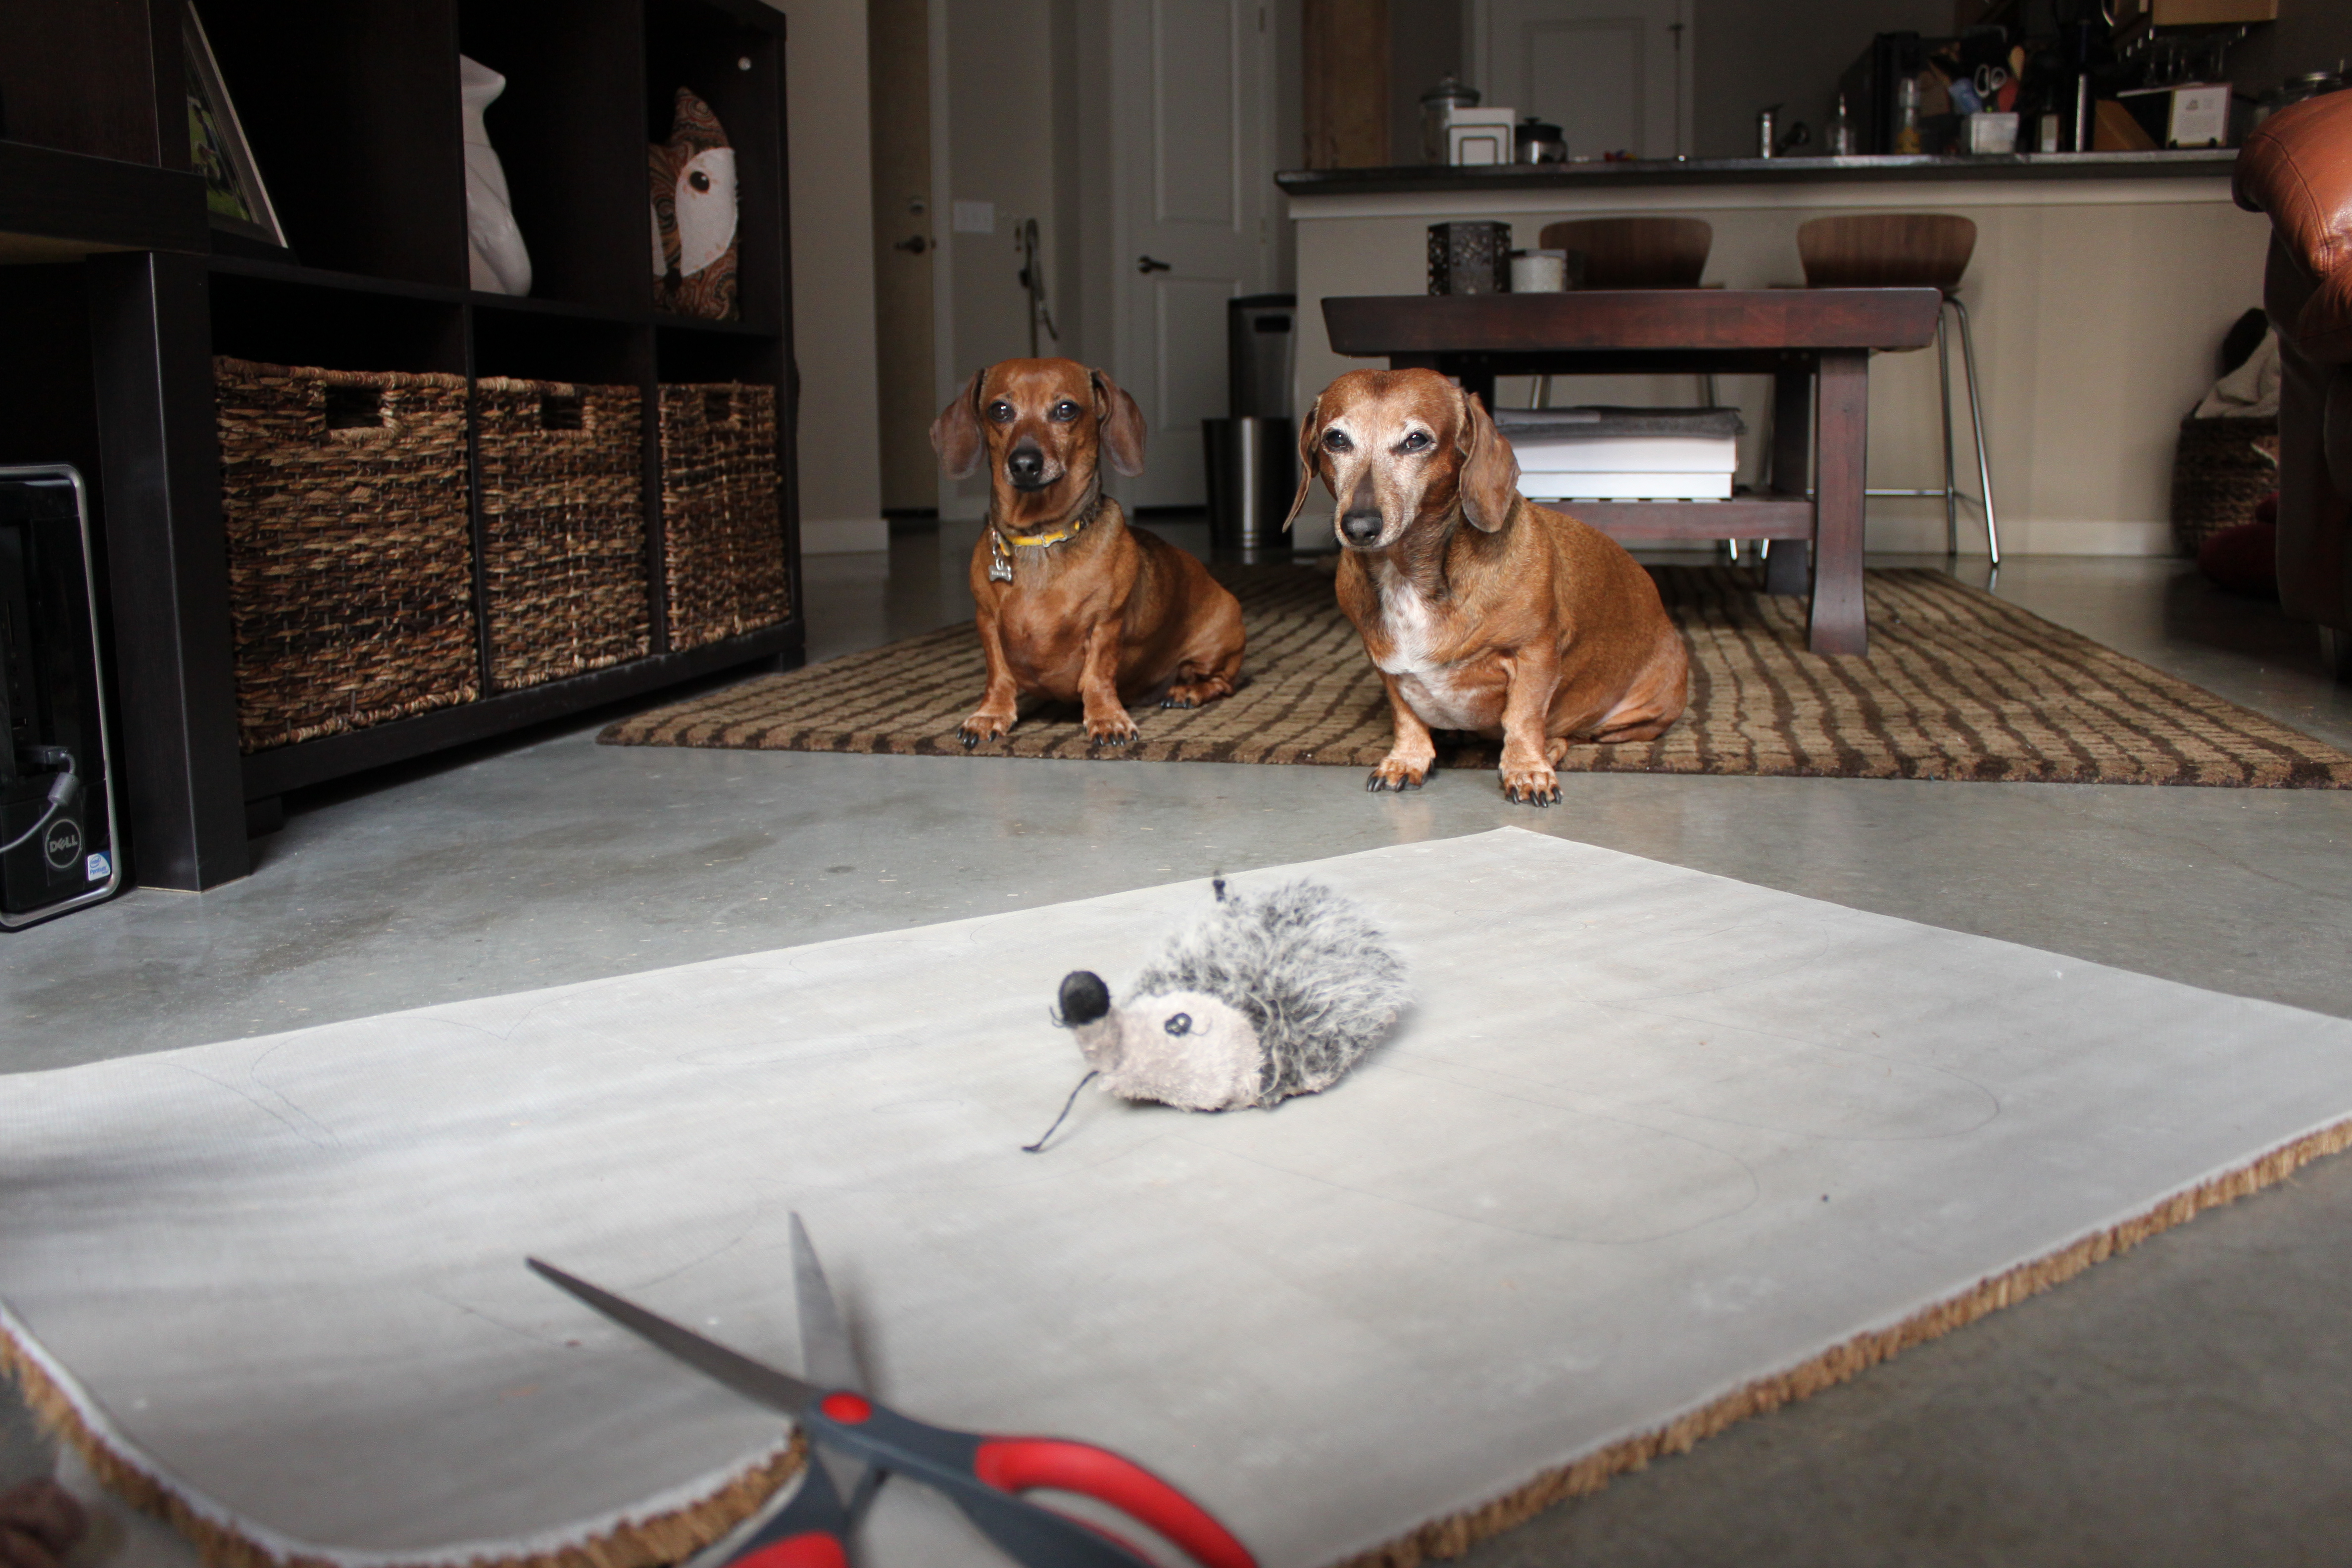
Oh, I forgot to mention, you’ll make a huge mess! If you have a wife or husband that is a clean freak, do this when they’re not around so you don’t make them nervous with the huge mess that you are creating. We have concrete floors in our apartment so it was easy for me to clean up this evidence before my hubby came home. He just got to see the pretty finished product. But I would recommend doing this outside if you have carpet.

Your last step will be to cut the middle holes of some of the letter’s like your “e” and “o” using the utility blade and scissors. This can be very tricky and you want to get this right the first time because it’s almost impossible to go back and trim more off if you make the openings too small.
After an hour of cutting (and another 30 minutes of cleaning), you’ll probably have something like this that you can proudly display on your front porch! Ta-da!!!

Why hello, neighbor!
